
Positioning the Patient on the Treatment Table in HOF
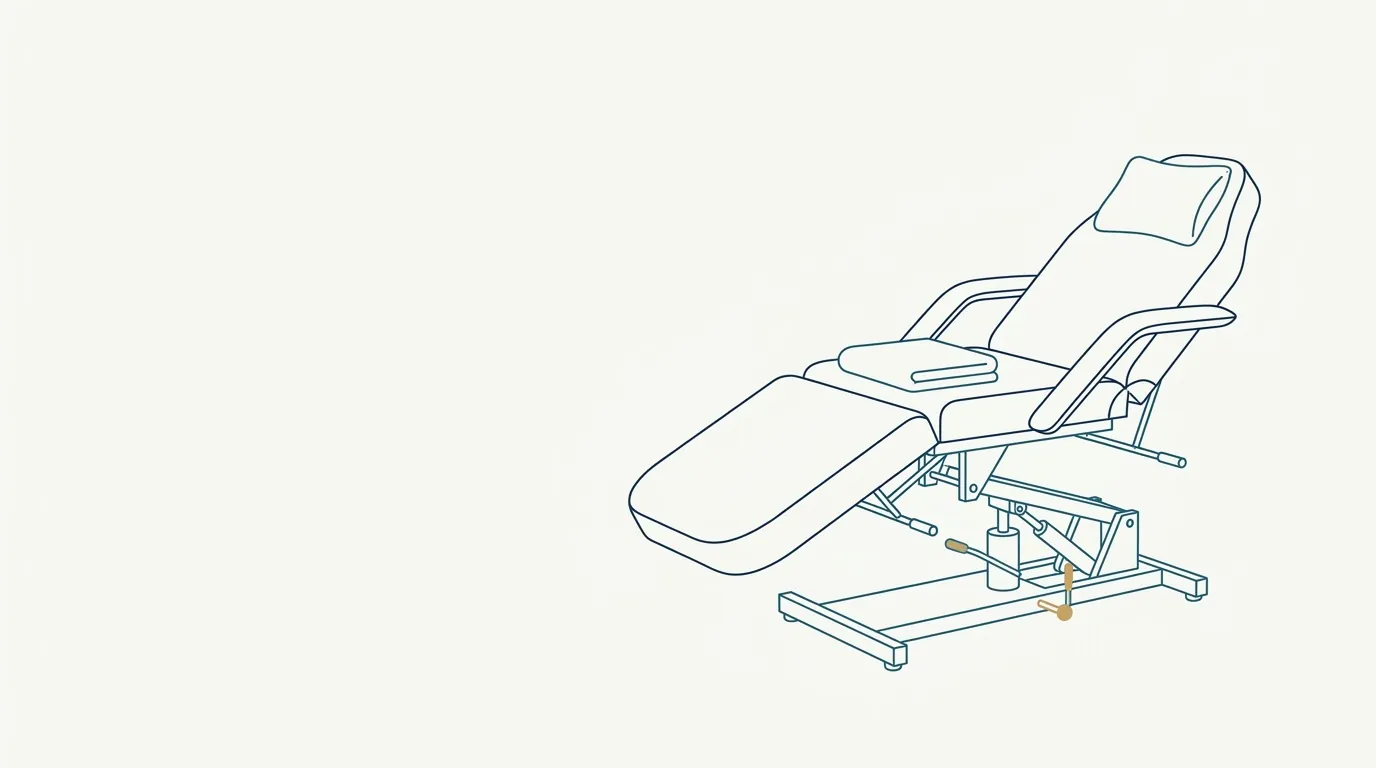
Quick facts
- Core idea
- The patient's position changes what you see, how gravity acts on the tissue and your own posture during the procedure.
- Classic trap
- Assessing with the patient lying down and injecting without checking upright: gravity alters folds, volume and contour.
- Safety
- A comfortable position reduces anxiety, malaise and sudden movements; the professional needs quick access to reposition during a complication.
- Who adjusts
- The decision belongs to the qualified professional, depending on the procedure, the patient and the practice's setup.
The treatment table seems like an infrastructure detail until the day the patient is uncomfortable, your neck is locked and the angle of the light does not show the contour you need to check. Patient positioning in orofacial harmonization (HOF) procedures affects the quality of the assessment, the precision of the movement, safety in case of a complication and the ergonomics of someone who works for hours. This guide organizes the points of attention at a review level. The choice of position, equipment and technique is a decision for the qualified professional, according to the procedure, the practice setup and their professional board's rules.
Why does position matter so much?
There are three practical reasons, and they add up.
- Gravity changes the face. Soft tissue does not behave the same lying down and sitting up. Nasolabial folds, bags, double chin and jawline look different depending on the tilt. Deciding on volume in one position and injecting in another can lead to misreading.
- Access and vision depend on the angle. The light that shows contour, the working distance and the ability to compare both sides change when the head is higher or lower.
- The patient needs to be comfortable and safe. Neck pain, shortness of breath when reclined and anxiety are causes of sudden movement, malaise and complaints afterward.
Which positions are commonly used?
There is no single position. The table organizes the most described ones, with their advantages and limits.
| Position | When it is usually used | Advantage | Point of attention |
|---|---|---|---|
| Sitting, standing or in a chair | Initial assessment and final check | Shows the face under the action of gravity | Not very stable for injecting |
| Semi-reclined | Much of the procedures | Balance between access, comfort and vision | Adjust head support |
| Lying down, face up | Procedures requiring wide access or an anxious patient | Stability and relaxation | Gravity shifts swelling and tissue |
| Head slightly elevated | Patients with reflux, dyspnea or discomfort lying flat | Breathing comfort | May limit access to some areas |
| Lateral decubitus | Specific situations, such as syncope with emergency repositioning | Airway safety | Not a routine position for the procedure |
The exact angles vary with the table and the patient's anatomy. What matters is being able to move from one position to another in a few seconds.
How do you combine a seated assessment with a lying-down procedure?
A simple flow avoids the most common mistake, which is marking and planning in one position and checking in another.
Checking with the patient seated, after lying down, is one of the most useful habits for avoiding surprises. With filler, swelling and position are misleading; with toxin, the reading of symmetry changes. See clinical follow-up visit for later follow-up.
How do you look after the patient's neck and spine?
Head and neck support is a common source of discomfort. Some general precautions:
- Support the nape and head, avoiding neck hyperextension.
- Use a pillow or small roll according to the patient's anatomy.
- Ask about neck pain, herniated discs and spine problems in the medical history.
- Avoid prolonged positions without a break, especially in long procedures.
- Watch the patient who has difficulty breathing lying down, and raise the head if needed.
- Advise getting up slowly, because of the risk of dizziness when sitting up fast.
In older patients, with cervical osteoarthritis or limited mobility, adapt position and duration. See HOF in patients over 50.
What about the ergonomics of the person working?
Whoever injects tends to be bent over with arms held up. Over the years, this causes lower back, neck and shoulder pain. The patient's position must take the professional into account.
The topic is covered in more depth in ergonomics for the HOF professional and shoulder and wrist pain in injectors.
What is the role of light?
Patient position and light work together. Lateral, diffuse light brings out contour and helps show shadows; light from above flattens the face. Adjusting the table without adjusting the light loses part of the benefit. See lighting for the HOF practice and diffuse lighting.
What changes in case of a complication?
The starting position should allow a quick change of posture if something happens. In malaise, syncope or an allergic reaction, you need to reposition the patient, clear the airway and have access to the chest and limbs. A few general preparation rules:
- Free space around the table, with no objects in the way of movement.
- Easy access to the emergency kit. See emergency kit for the HOF practice.
- A table that allows quick height and tilt adjustment.
- A team that knows its role. See complication SOP for the practice.
- Periodic training in safe repositioning.
For specific conditions, the flows are in anaphylaxis in the HOF practice, panic attack in the practice and when to call SAMU (Brazil's emergency ambulance service).
How do you talk about comfort?
Patients rarely speak up when they are uncomfortable. It is worth asking actively, before and during the procedure. Ask about the neck, breathing, room temperature and anxiety level. Offer breaks.
How does positioning enter the record and the photos?
For comparison photos, keep the same position, the same head support and the same distance in every session. Photographing the patient lying down before and sitting up afterward produces misleading comparisons. See standardized clinical photography. In the patient record, note the position used, comfort issues and any adjustments. If the patient reported pain, dizziness or discomfort, write it down.
How does Harmy fit in?
Harmy starts from a frontal photo, and the quality of the simulation depends on how the photo is framed, not on the table. Still, it is worth taking the planning photo with the patient seated, in the reference position, before lying them down.
Summary
Positioning the patient well is a clinical, ergonomic and safety decision. Assess seated, work in a comfortable position, check seated at the end, protect the patient's neck and your own, keep the space clear for an emergency and record what you do. These are small adjustments that improve the reading of the face, everyone's comfort and the speed of the response when something goes off plan.
Frequently asked questions
At what angle should the table be set for HOF procedures?
Many professionals use a semi-reclined position, with the head supported and the face on an accessible plane, and vary the angle depending on the procedure and the assessment. The ideal is whatever gives visibility, access and comfort without strain for the patient or for you.
Why is it important to assess the patient both upright and lying down?
Because gravity changes the look of the face: folds, bags and contours differ between the two positions. Assessing standing or sitting, before lying the patient down, helps with planning and with checking the result.
What should I do if the patient feels unwell on the table?
Stop the procedure, assess consciousness and vital signs, reposition according to the picture and trigger the practice's complication flow. Having the procedure written and rehearsed makes the response faster.
Can I use support under the knees or arms?
Simple supports, such as cushions and rests, improve comfort and stability. Each service decides what to use, as long as the patient stays stable and safe and access to the face is clear.
Harmy images are illustrative simulations generated by AI from the patient's photo to support the conversation between practitioner and patient. They are not a promise of results. Indication, technique, product and volume are solely the decision of the licensed practitioner. This content is for information only and does not replace a clinical assessment.