
Standardized Clinical Photography in Orofacial Harmonization
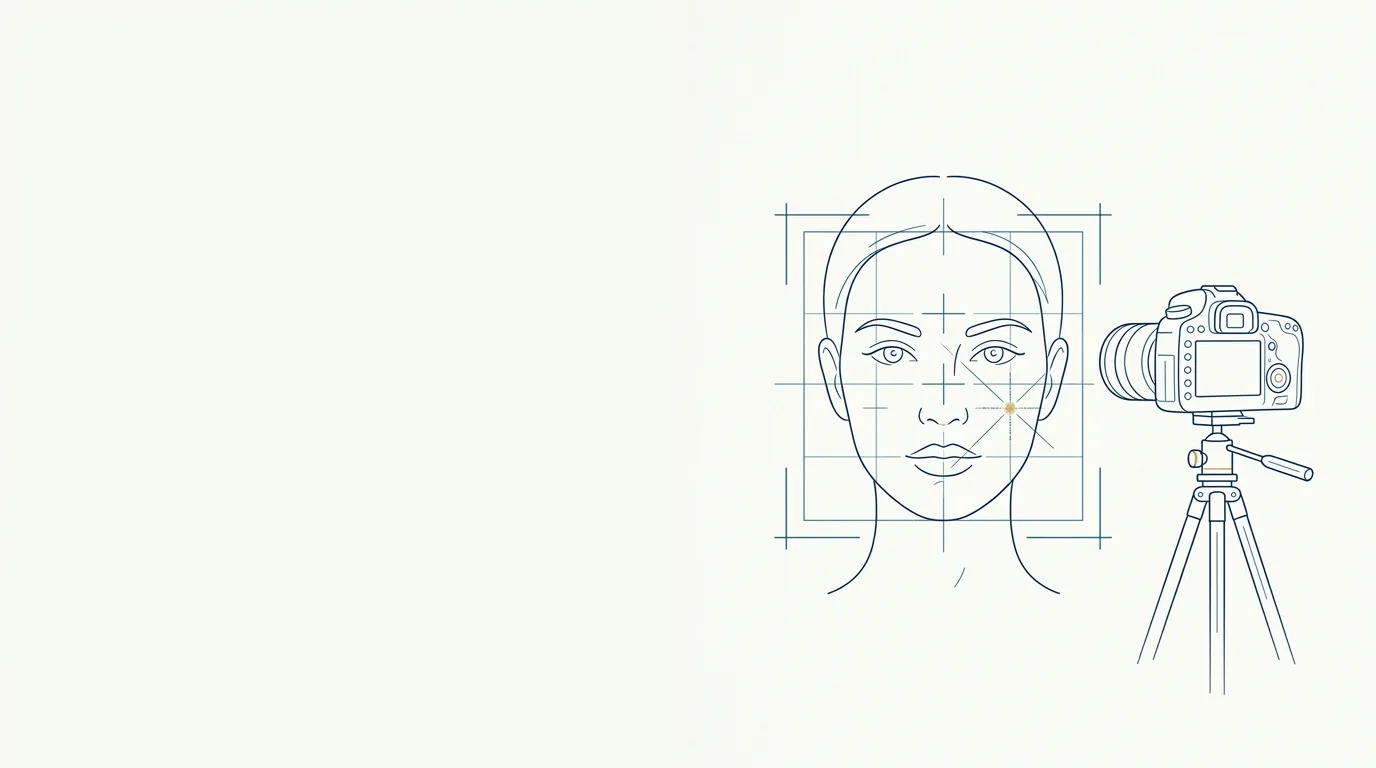
Clinical photography is the record that underpins everything else in orofacial harmonization (HOF) care: assessment, planning, documentation in the patient record, before and after comparison and, when authorized, communication. A good photo is not the prettiest one. It is the one that can be repeated in exactly the same way 15 days, 3 months or 1 year later, so that any difference comes from the treatment and not from the camera.
This guide covers the points that most affect comparability: light, background, distance, lens, height, poses, expression and patient preparation. At the end, it shows how this connects to the frontal photo used in Harmy.
Why standardize clinical photography?
Without a standard, before and after stop being comparable. Light coming from above deepens the nasolabial fold (smile lines) and the under-eye area; flat frontal light erases those same folds. A head tilted slightly downward shortens the chin and hides the jawline. None of these differences has anything to do with the procedure.
Standardization serves three goals:
- Clinical: assess proportions, volumes and facial asymmetry with minimal distortion.
- Documentary: keep in the patient record a faithful account of the patient's condition before and after each intervention.
- Relational: show the patient, honestly, what changed and what did not.
How do you set up a photography space in the office?
The ideal is a fixed corner, used only for this, with everything marked. Fixed means that the light, the background and the position of the patient and the photographer do not change from one session to the next.
Which background should you use?
Use a plain, matte background in a neutral color: medium gray, dark blue or non-glossy white. A glossy background reflects light onto the face; a patterned background distracts the eye. The patient should stand a little away from the wall (somewhere between 50 cm and 1 m), to reduce the shadow cast behind the head.
Which light should you use?
The light should be diffuse, symmetrical and always the same.
- Prefer two identical sources, one on each side, at about 45 degrees to the face, at eye level or slightly above. A softbox, an LED panel with a diffuser or a ring light does the job.
- Avoid mixing window light with artificial light: daylight changes throughout the day and over time, and skin color changes with it.
- Turn off the ceiling light when it casts strong shadows in the eye sockets and under the nose.
- Avoid the phone's built-in flash: it flattens relief and creates shine on the forehead and nose.
If the room does not allow dedicated lighting, choose the position with the most even light available and note the conditions (time, lamps on, curtain) so you can repeat them.
Which distance and lens should you use?
Distance and lens define the proportions of the face in the photo. This is where most phone-made records fail.
The wide-angle lens, the default on the main camera of many phones, used a few centimeters from the face, enlarges what is closer (nose, center of the face) and shrinks what is farther away (ears, sides of the face). The effect is similar to a selfie with an outstretched arm.
To reduce this distortion:
- Step back from the patient, generally 1 to 1.5 meters.
- Use the phone's telephoto lens (2x or 3x) when available. On cameras with interchangeable lenses, portrait lenses are usually the choice.
- Avoid heavy digital zoom, which loses sharpness.
- Always keep the same combination of lens and distance. Mark on the floor the spot for the patient and the spot for the photographer.
At what height should the camera be placed?
The camera should be at face height, with the lens roughly aligned to the center of the face, and the phone vertical and parallel to the face. A high camera makes the forehead look bigger and the chin smaller; a low camera does the opposite.
A tripod with a leveling head solves most of the problem and frees your hands to direct the patient. If the patient is much taller or shorter, adjust the height of the patient's stool, not the camera angle.
How do you position the patient's head?
The most widely used reference is the Frankfurt plane (the line from the lowest point of the orbital rim to the highest point of the ear's tragus) parallel to the floor. In practice:
- Patient seated on a backless stool, spine upright, shoulders relaxed and level.
- Eyes on a fixed point ahead, at eye level (a mark on the wall helps).
- No lateral tilt and no rotation: both ears appear similarly in the frontal view.
- Hair pulled back behind the ears, forehead and jaw line clear.
Which poses should be photographed?
The most common full set in HOF has five views at rest. Some concerns also call for photos with expression.
| View | How to take it | What it best assesses |
|---|---|---|
| Frontal | Face straight on, Frankfurt plane horizontal | Symmetry and proportions of the upper third, middle third and lower third |
| 45-degree oblique, right and left | Patient turns the body (not just the head) until the tip of the nose visually touches the contour of the cheek | Cheekbone, transition between eyelid and cheek, folds |
| 90-degree profile, right and left | Patient sideways, only one eye visible | Facial profile, projection of lips and chin, jaw angle |
| Expression (when indicated) | Frowning, eyebrows raised, smiling | Dynamic lines in the glabella, forehead and perioral area |
| Detail (when indicated) | Same light, tighter framing | Lips, under-eye area, local texture |
Turn the patient on a swivel stool or mark positions on the floor for the obliques and profiles. That way the angles repeat without depending on the photographer's eye.
How do you direct the patient's expression?
For photos at rest, the expression should be neutral: mouth closed without pressing the lips, teeth lightly touching, relaxed gaze, no smile. Ask the patient to swallow and let out a breath before the click; this usually relaxes the perioral muscles.
For photos with expression, always use the same instruction ("frown hard", "raise your eyebrows as high as you can", "smile showing your teeth"). Intensity varies from person to person and day to day, so take two or three shots and pick the most characteristic one.
How do you prepare the patient before the photo?
Preparation prevents the after photo from looking different for reasons unrelated to the procedure.
- No makeup, with a clean face. Foundation and concealer change how the under-eye area and folds read.
- No accessories: large earrings, glasses, facial piercings, headbands.
- Hair pulled back and away from the face and ears.
- Neutral clothing, without a high collar that hides the jaw line.
- Timing of the record: the before photo is taken before any topical anesthetic, pencil marking or manipulation, which can cause redness or swelling.
How do you ensure consistency between before and after?
The best practice is to turn the protocol into a checklist and follow it at every session.
| Item | Before | After |
|---|---|---|
| Same place and same background | yes | yes |
| Same lighting (sources, position, intensity) | yes | yes |
| Same lens, same zoom, same distance | yes | yes |
| Same camera height | yes | yes |
| Frankfurt plane horizontal | yes | yes |
| Same views, in the same order | yes | yes |
| Clean face, hair pulled back, no accessories | yes | yes |
| Neutral expression in photos at rest | yes | yes |
A few additional precautions:
- Timing of the after photo: photographing right after a filler records swelling, not the result. Set a follow-up interval for the final photo in your routine, at clinical discretion.
- Camera settings: turn off beauty filters, portrait mode with blur and any automatic skin "enhancement". If possible, lock exposure and white balance.
- No editing: do not crop differently, do not adjust brightness on one photo and not the other, do not retouch skin. Any editing invalidates the comparison.
- Organized files: name photos with date, patient and view, and store them securely. On consent and storage, see consent and LGPD for patient photos (LGPD is Brazil's data protection law).
How does the photo fit into Harmy?
Harmy works with one frontal photo per session, taken with the app's camera or chosen from the gallery. From it, the app detects the face on the device itself, shows the points for the areas and, after you mark the areas and volumes, generates the after projection.
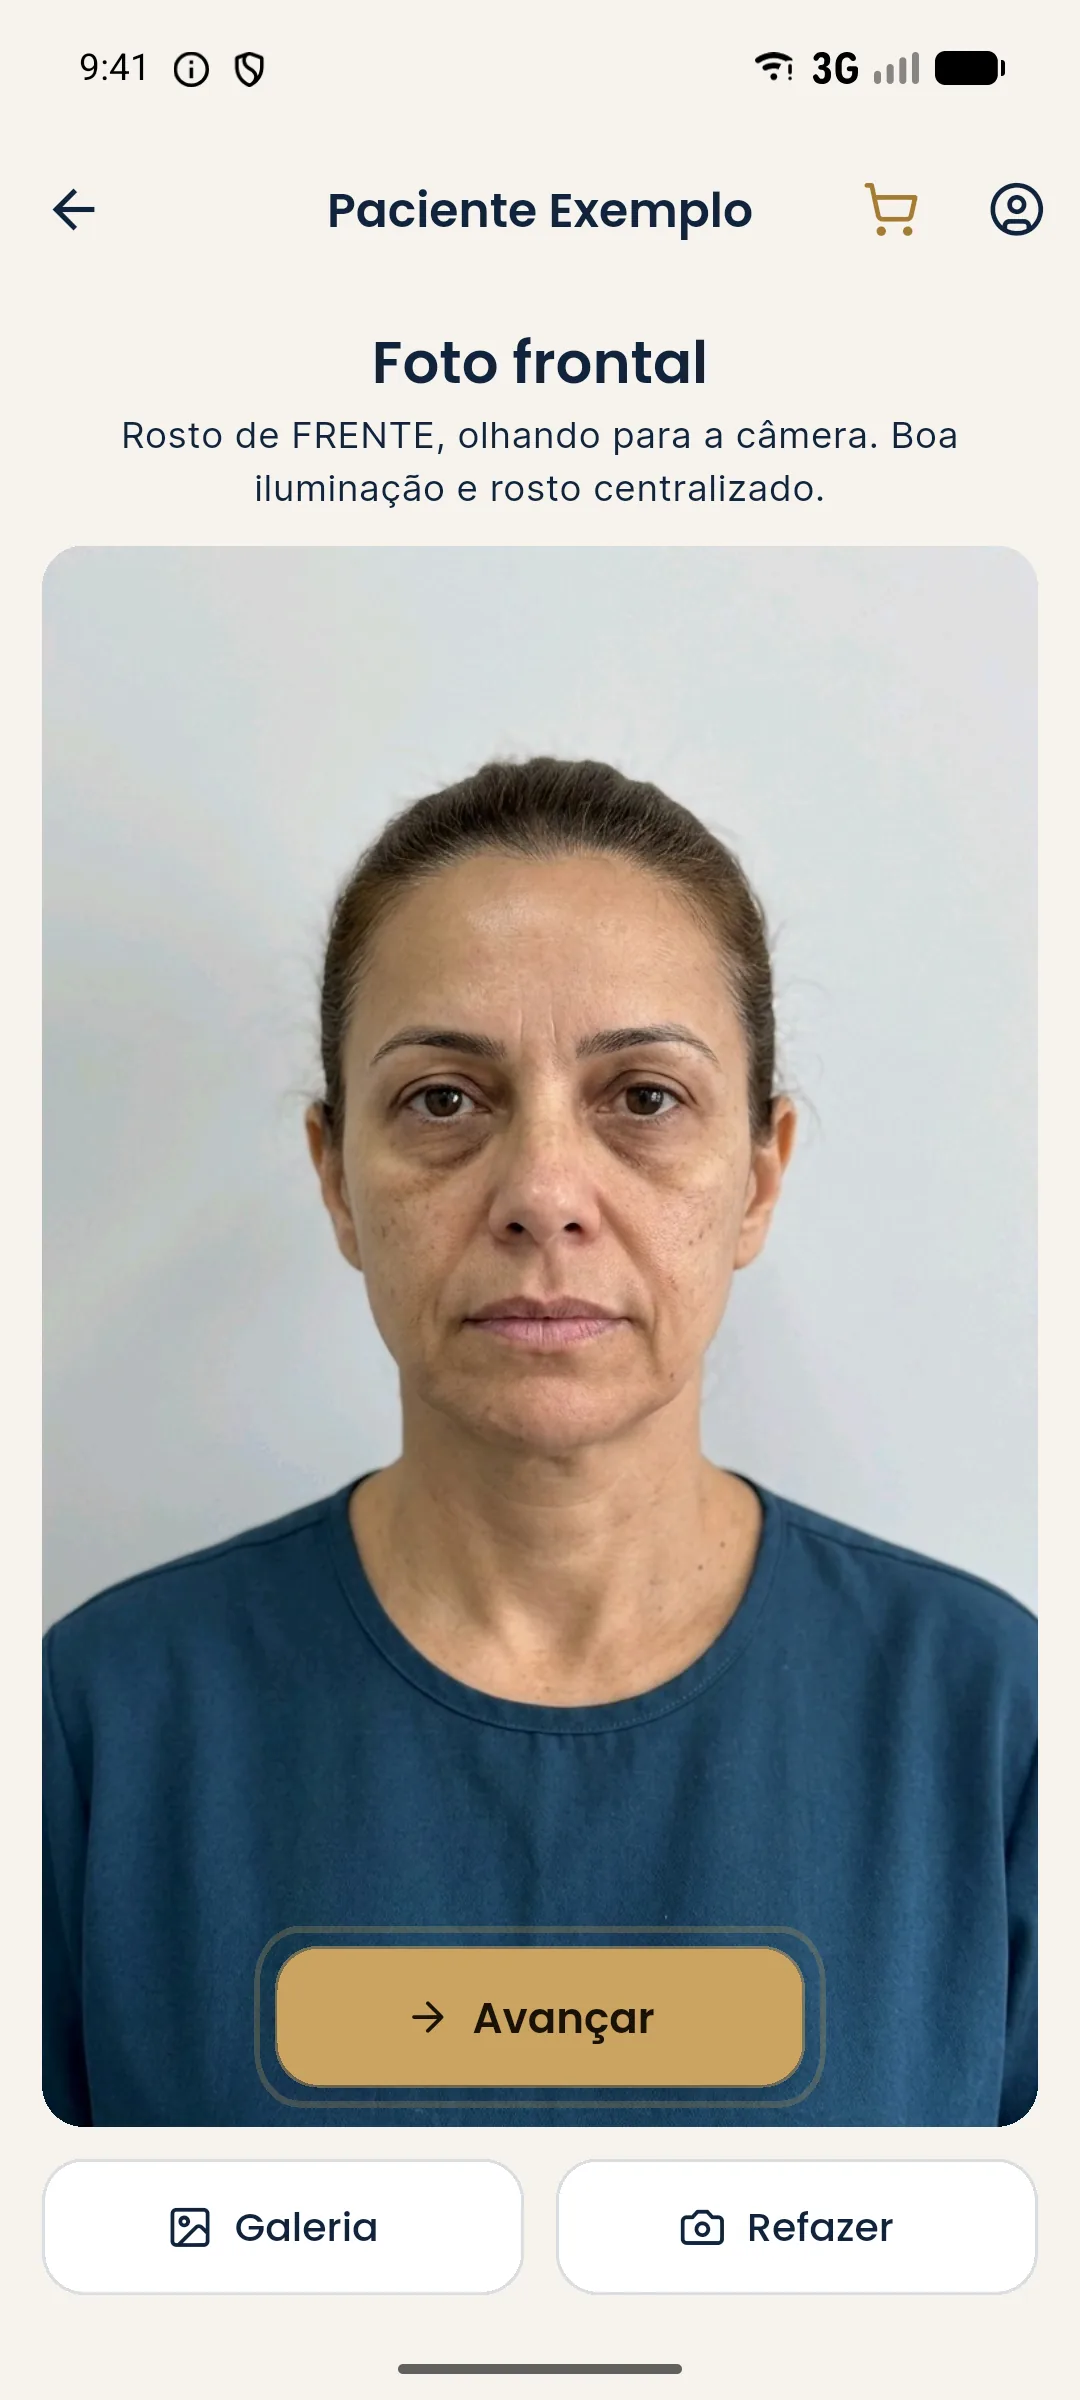
Because the projection changes only the marked areas and keeps skin, background, hair and lighting, the quality of the input photo weighs heavily on the illustrative simulation. In practice, the same frontal rules from the clinical protocol apply:
- entire face in the frame, centered, facing forward;
- even light on both sides, no strong shadow;
- neutral expression, mouth closed;
- telephoto and some distance, instead of wide-angle up close;
- no heavy makeup, no glasses, hair pulled away.
The step-by-step inside the app is in how to take the standardized frontal photo.
After the procedure, the "Add actual result" feature in History stores the result photo aligned by the eyes with the before photo and lets you compare Projection vs Actual. That alignment helps, but it does not correct different light, lens or expression: the more standardized the follow-up photo, the more honest the comparison. See history and actual result.
What are the most common mistakes?
- Photographing up close with the wide-angle lens.
- Using window light one day and ceiling light the next.
- Taking the before after the pencil marking or anesthetic.
- Photographing the after with recent swelling.
- Leaving portrait mode or the beauty filter on.
- Changing the framing between sessions.
- Keeping the photos in the phone's personal camera roll, mixed with private photos.
Quick checklist before every click
- Informed consent signed, including image use.
- Clean face, hair pulled back, no accessories.
- Patient on the floor mark, stool at the right height.
- Lights on in the standard position, ceiling light off if needed.
- Camera on the mark, same lens, same distance, filters off.
- Frankfurt plane horizontal, gaze on the fixed point.
- Views in the standard order, at rest and with expression when indicated.
- Check sharpness and framing before letting the patient go.
Standardizing takes effort once and saves arguments later. A consistent photo protects the patient, the practitioner and the conversation between them. Before using any photo outside the patient record, also check what can be advertised in health advertising, which follows Brazil's CFO and CONAR rules.
Frequently asked questions
What is the best phone lens for a clinical photo of the face?
Generally the telephoto lens (2x or 3x) at about 1 to 1.5 meters from the patient, because a wide-angle lens used up close enlarges the nose and thins the ears. The most important thing is to always repeat the same lens and the same distance.
What background should be used for clinical harmonization photography?
A plain, matte background in a neutral color (medium gray, dark blue or non-glossy white), with no objects and always the same in every session. A patterned background or one with shadows distracts and makes comparison harder.
Which poses should be photographed before a facial procedure?
The most commonly used set includes a frontal view, 45-degree obliques on both sides and 90-degree profiles on both sides, at rest and, when the concern involves movement, also with expression. Harmy uses only the frontal view to generate the projection.
Why does the after photo look different even without a real change?
Small variations in light, distance, lens, head tilt or expression alter shadows and proportions. That is why standardization matters more than camera quality.
Harmy images are illustrative simulations generated by AI from the patient's photo to support the conversation between practitioner and patient. They are not a promise of results. Indication, technique, product and volume are solely the decision of the licensed practitioner. This content is for information only and does not replace a clinical assessment.