
Standardized Frontal Photo in Harmy: How to Photograph Patients
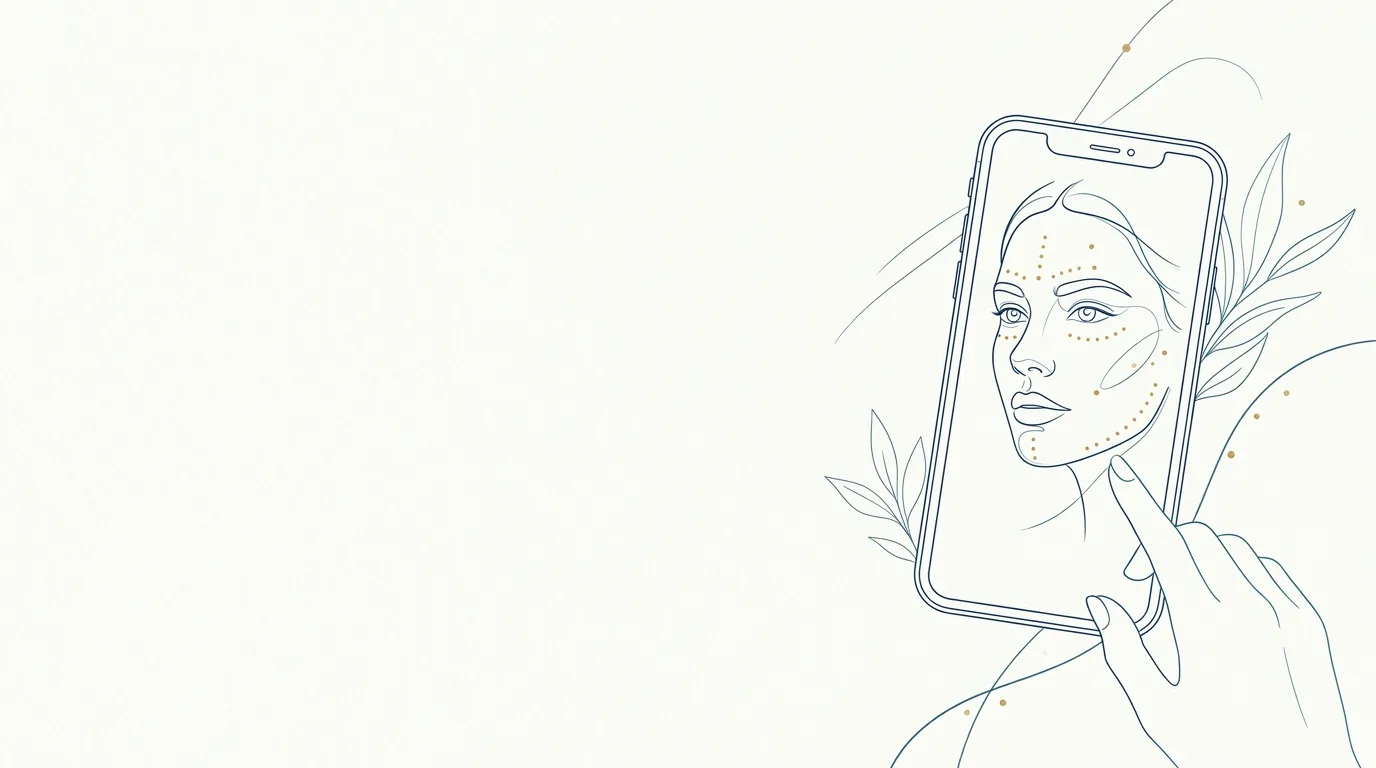
The frontal photo is the raw material of every projection in Harmy. It is on this photo that the app detects the face, places the marking points and generates the after image. A standardized photo is also what lets you compare, months later, the projection with the actual result. This tutorial gives practical guidance for taking the photo and explains what the app checks before continuing.
What is the standardized photo for?
Harmy's AI is instructed to change only the marked areas and to keep skin, expression, background, hair and lighting as they are. That is why the projection inherits everything in the photo: a harsh shadow becomes a shadow in the projection, a tilted head becomes apparent asymmetry. A well-taken photo makes the illustrative simulation more honest and more useful in the conversation. For the full clinical photography protocol, see standardized clinical photography.
How to prepare the environment and the patient
| Item | Practical guidance |
|---|---|
| Light | Diffuse, frontal light, from a window or a soft panel. Avoid overhead ceiling light, which emphasizes the under-eye area and folds, and strong light from one side only. |
| Background | Plain and neutral (light, gray or bluish wall), with no objects or other people. |
| Distance | About 1 meter, framing the whole head and the start of the shoulders, with the face centered. |
| Camera height | At the patient's eye level, with the phone vertical and level. A camera from above or below distorts the forehead, nose and chin. |
| Posture | Head straight, without turning or tilting, looking straight into the lens. |
| Expression | Neutral, mouth closed and relaxed, no smile and no frowning. |
| Skin | No heavy makeup. Foundation and concealer hide under-eye hollows and spots that you need to assess. |
| Hair | Tied back, away from the forehead, temples and face outline. |
| Accessories | No glasses, caps or large earrings that cover the jawline. |
Step by step in the app
- After typing the patient's name, tap Continue to photo. The Front photo screen shows the guidance "Face FORWARD, looking at the camera. Good lighting and face centered."
- Photograph with the app's camera or tap Gallery to use a photo you already took.
- Wait for the Checking photo... message. The app checks, on the device itself, whether there is a face, whether there is only one face, whether it is facing forward and whether the lighting is adequate.
- If the photo passes, the Next button appears over the image. If you want another one, tap Retake.
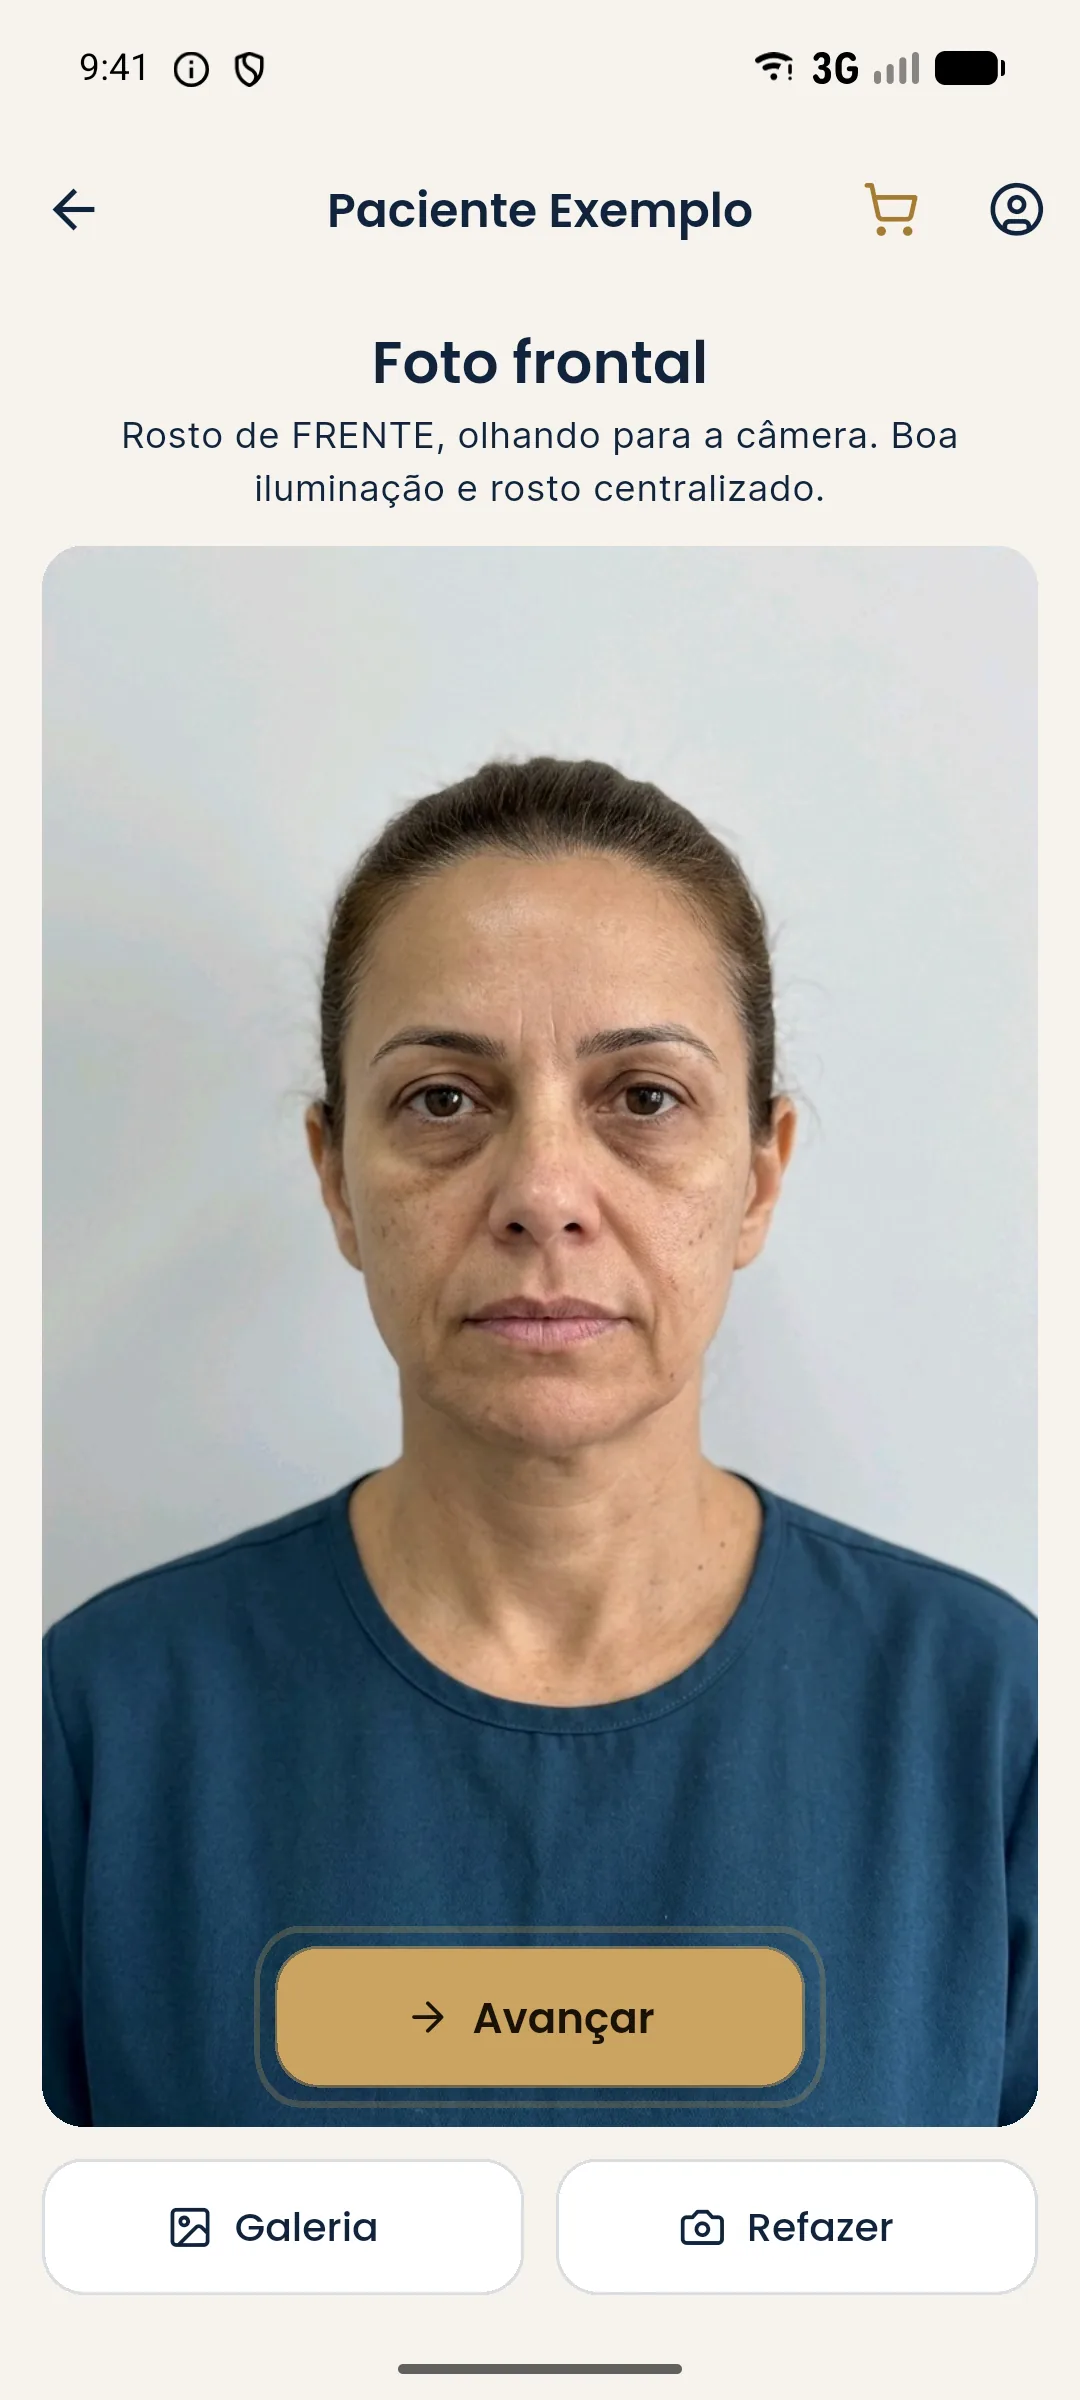
Notice the example photo above: plain light background, hair tied back, neutral expression, head straight and even light on the face. This is the standard you want to repeat with every patient.
What does the app check in the photo?
When something isn't right, the app opens the Let's improve the photo window with the reason:
- No face detected: frame the patient's face better.
- More than one face: leave only the patient in the frame.
- Face turned sideways: ask the patient to look straight ahead, without turning or tilting the head.
- Dark photo: find a brighter environment.
- Photo too bright: avoid strong light directly on the face.
- Uneven lighting: use more uniform light.
Tap Got it, adjust and photograph again.
Tips
- Set up a fixed photo spot in the office. Same background, same light and the same mark on the floor for the patient. That way all photos are comparable.
- Photograph before any procedure of the day, with the face free of pen marks and topical anesthetic.
- Repeat the standard at the follow-up. When you add the actual result, the app asks for the same position as the first photo: face forward, same distance, good lighting. See history and actual result.
- Ask for consent before photographing. The photo is the patient's personal data. See consent and LGPD for photos.
Common errors and how to fix them
| Problem | Effect on the projection | Fix |
|---|---|---|
| Phone below the chin | Chin and jawline look larger | Camera at eye level |
| Patient smiling | Folds and lips out of their resting state | Neutral expression, mouth closed |
| Bangs on the forehead | Glabella and temples covered | Tie the hair back |
| Ceiling light | Under-eye area and folds more pronounced than real | Diffuse frontal light |
| Social media photo | Filters and compression alter the skin | New photo, no filter |
Next step
With the photo approved, you reach the marking screen. Continue to how to mark areas and volumes.
Frequently asked questions
What kind of photo does Harmy accept?
A frontal photo with a single face, looking at the camera, without turning or tilting the head and with adequate lighting. It can be taken on the spot or picked from the gallery.
Can I use a photo from the gallery in Harmy?
Yes. On the Front photo screen, tap Gallery. The app runs the same face and lighting check as it does with a camera photo.
Why does Harmy say the photo is too dark or too bright?
The app measures the image's lighting before continuing. A dark, blown-out or unevenly lit photo hurts face detection and the quality of the projection.
Can the patient wear glasses in the photo?
It is not ideal. The app's own tip is to photograph without glasses, because frames cover the eye area and alter how the under-eye area and temples read.