
Patient History and actual result in Harmy

History keeps every projection in your account and is the starting point for follow-up. After the procedure, you go back to the same projection, add the actual result photo and have, in one place, the before, what was projected and what actually happened. This helps at the return visit, in the conversation about touch-ups and in the long-term relationship with the patient.
What is History for?
Each time you create a projection, it is saved to the account with the patient's name, the date, the Before photo, the projection and the plan (areas and volumes). In History you find those projections, reopen the Before and After screen, generate a new quote or share again, without spending a credit. Only creating a new projection uses a credit.
How to find a projection in History
- On the home screen, tap History.
- Type the patient's name in the search field. The list filters as you type.
- Each card shows the photo, the patient's name and the date. Projections made with the fictional test person carry the Sample badge. Those that already have an actual result photo get an icon showing that.
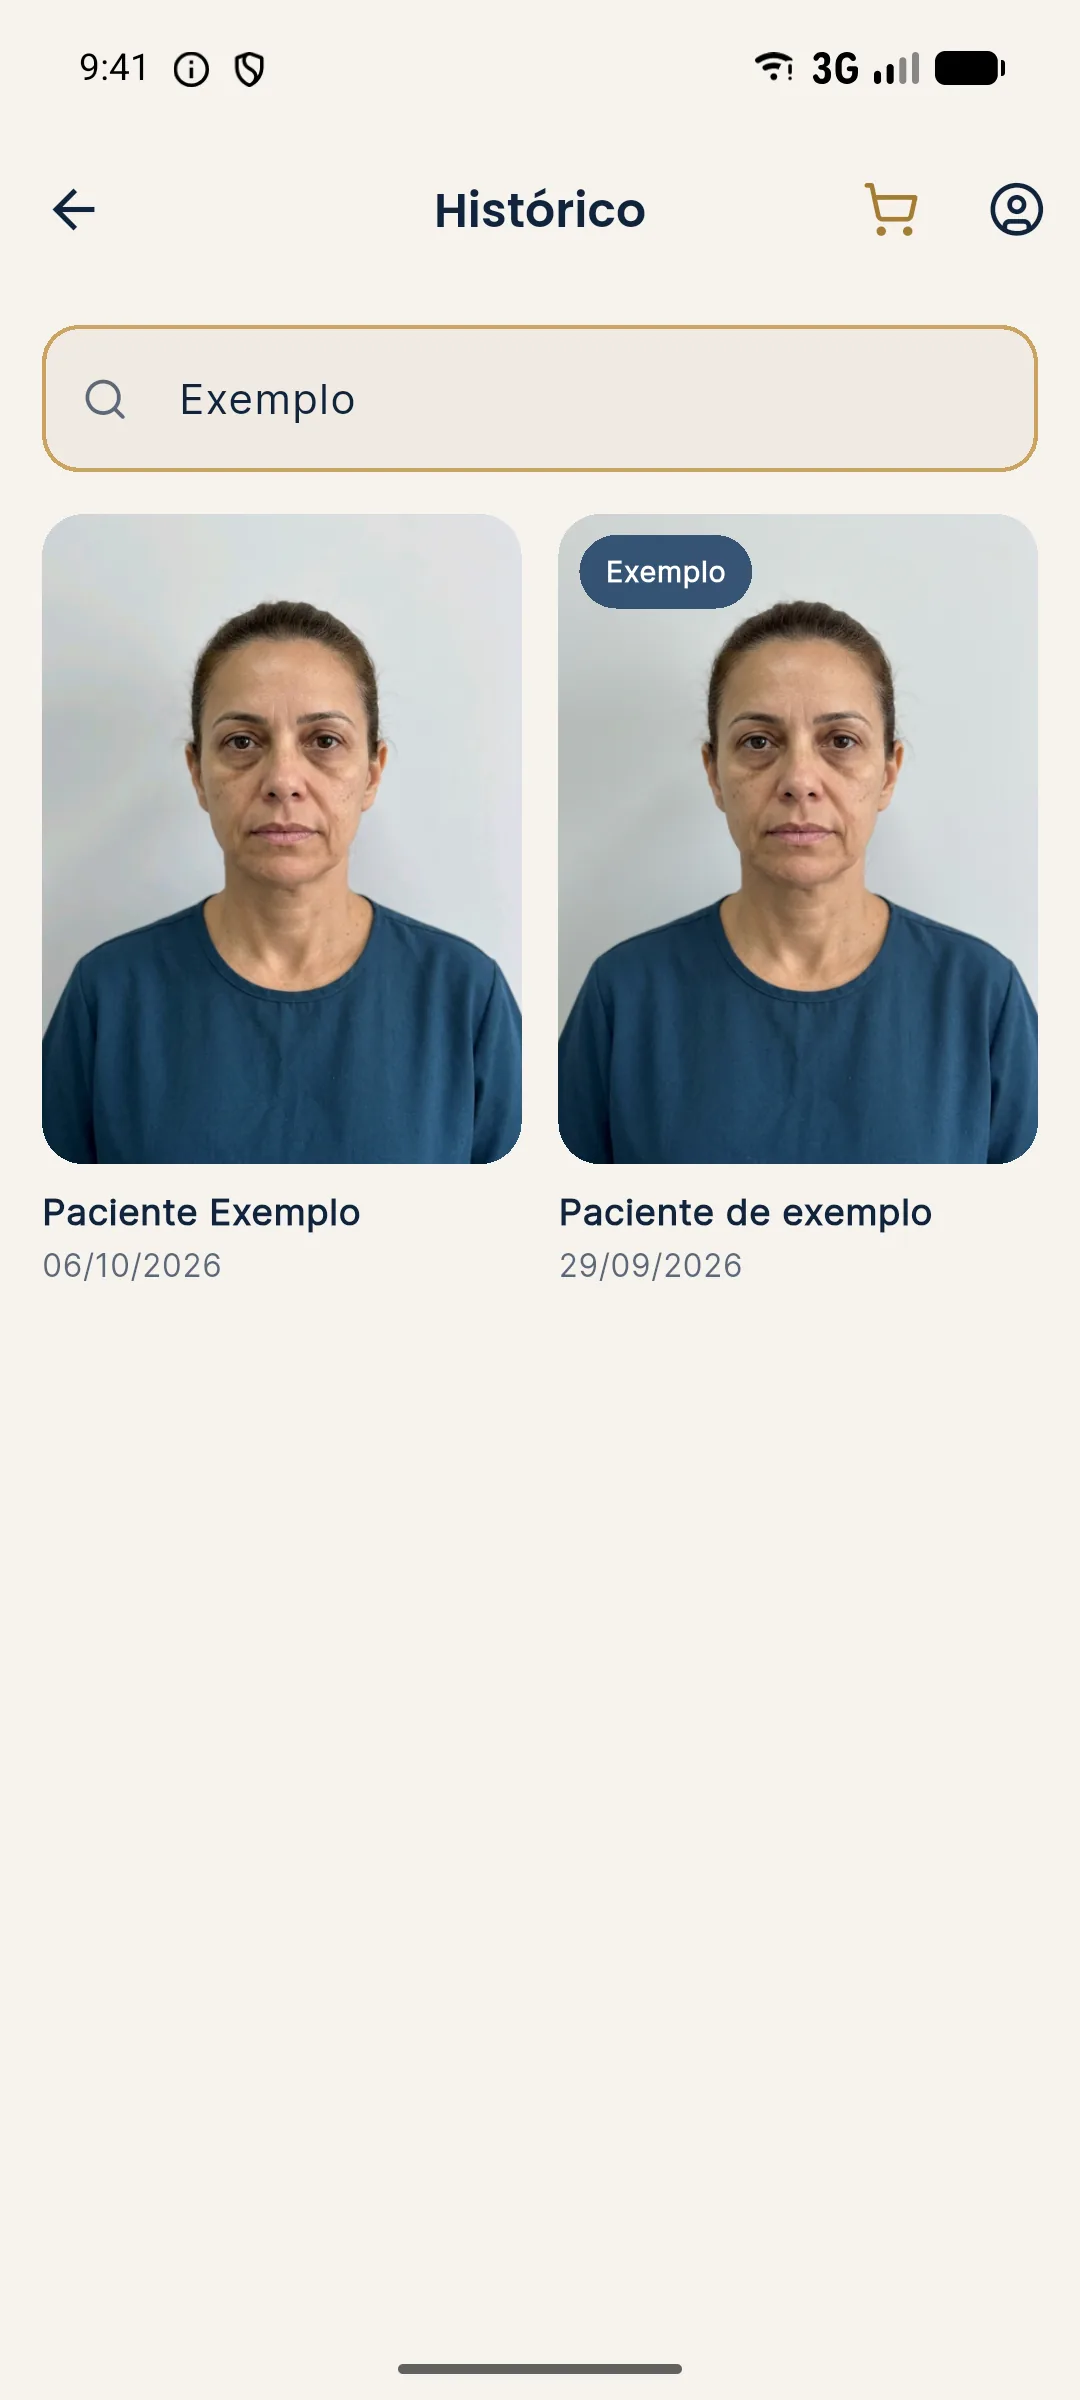
- Tap the card to open the projection on the Before / After screen.
- To correct a patient's name, press and hold the card and use Edit patient name.
How to add the actual result
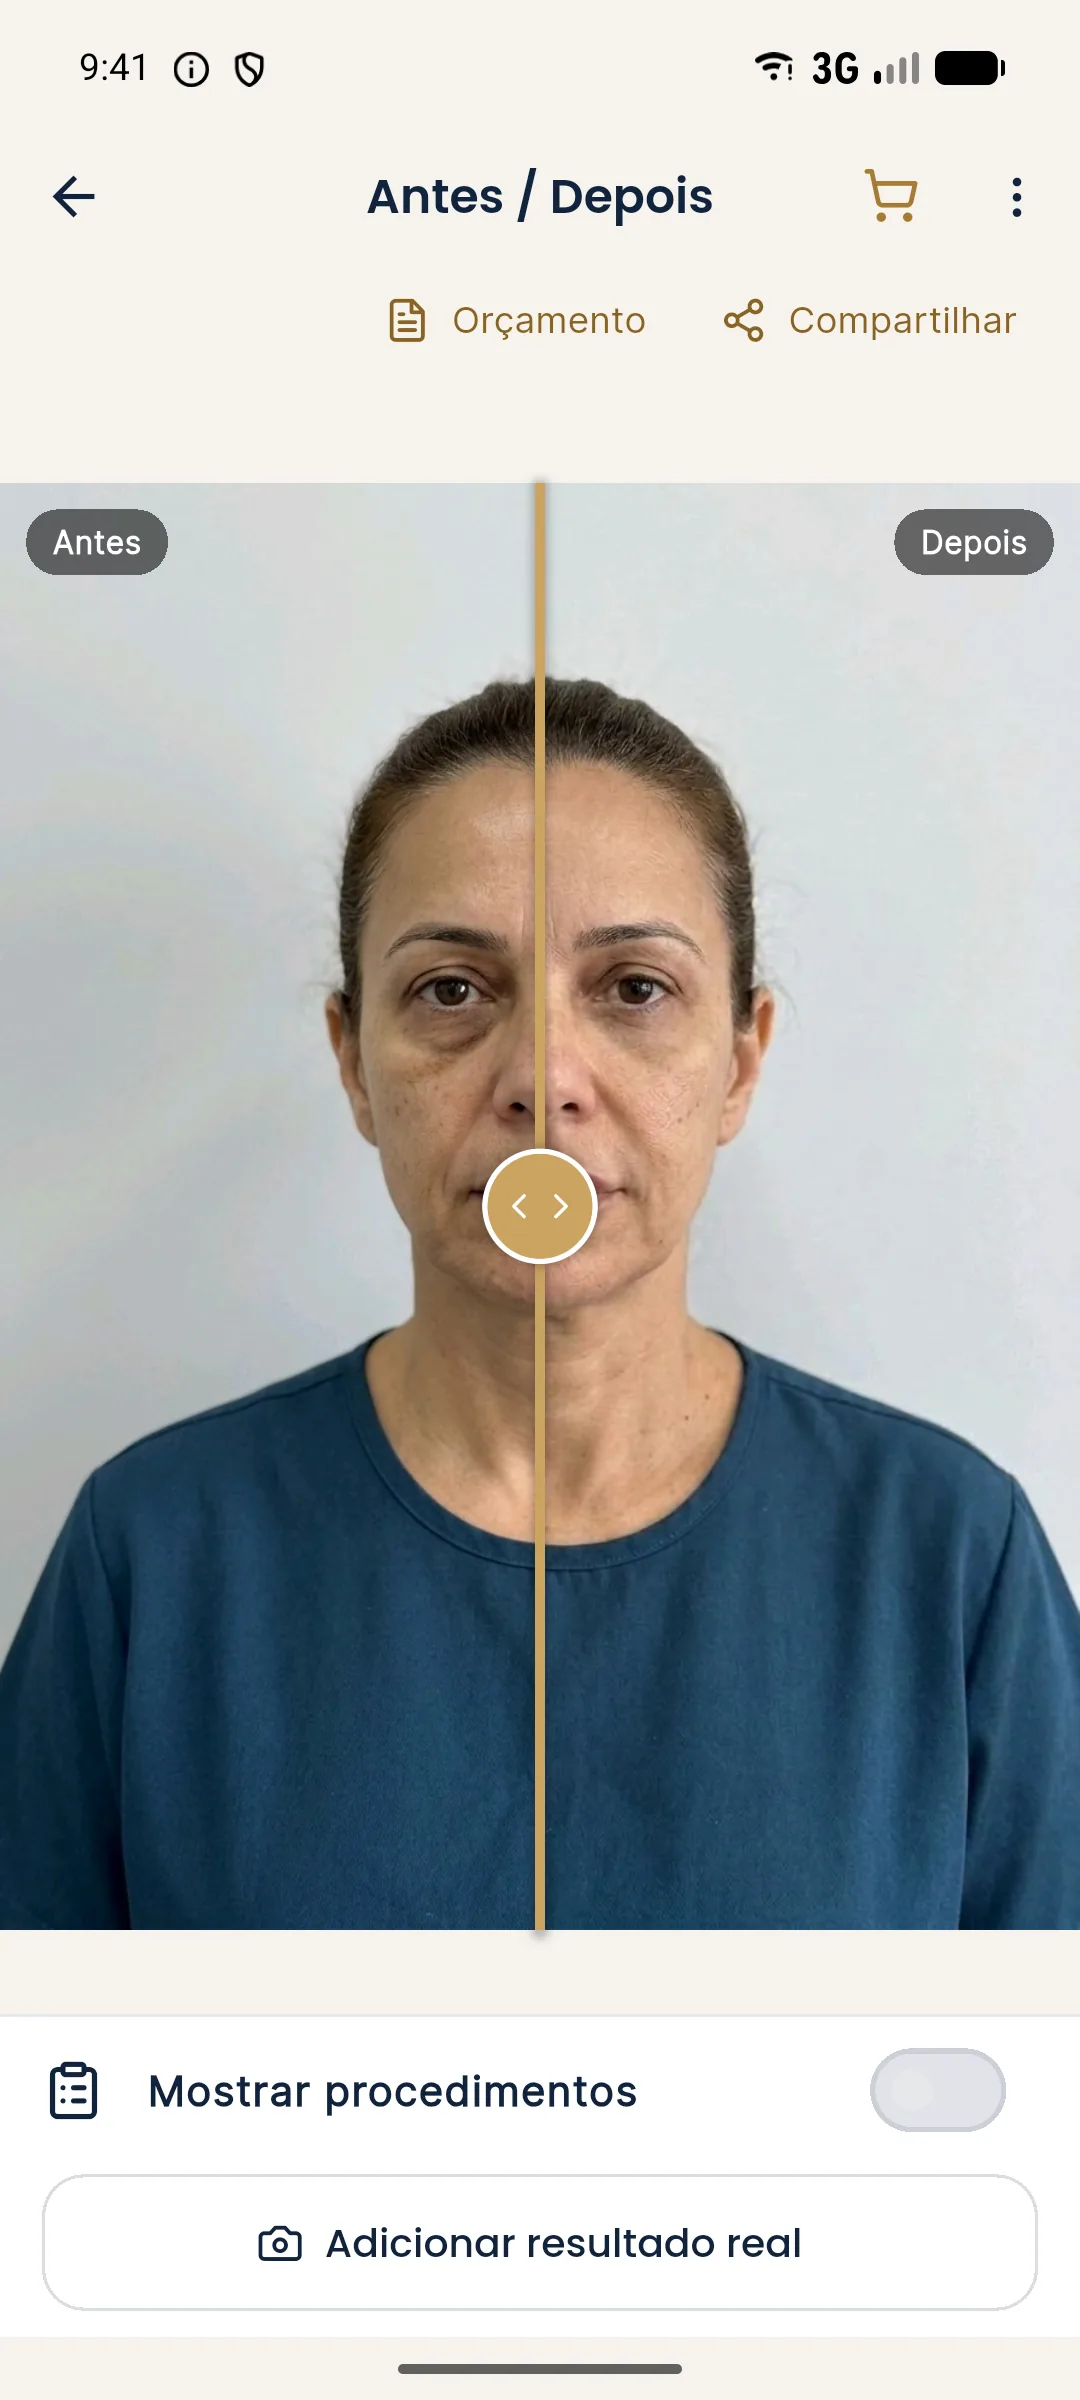
The Add actual result button appears when you open a projection from History. It does not appear right after generating the projection or on sample projections.
- Open the projection from History.
- Tap Add actual result, below Show procedures.
- The photo screen opens with the title Actual result photo and the guidance "Same position as the first photo: face forward, same distance, good lighting." Take a photo or choose one from the gallery, as with the first photo.
- Tap Next. The app shows Aligning photo...: it locates the eyes in both photos and adjusts the result photo to the size and position of the Before photo.
- Done: the message Actual result added appears and the screen starts showing the comparison with the actual result.
Which comparisons become available?
With the actual result saved, a selector on the Before / After screen offers three modes on the same slider:
| Mode | Left | Right | When to use |
|---|---|---|---|
| Projection | Before | Projection | Recall the proposed plan |
| Actual result | Before | Actual result | Show the patient's progress |
| Projection vs Actual | Projection | Actual result | Check how close the result came to the plan |
From the three-dot menu at the top of the screen, you replace the result photo or remove it.
Tips
- Repeat the standard of the first photo. Same background, same light, same distance and same camera height. Aligning by the eyes corrects position and size, but it does not correct different light or a tilted head. See standardized front-facing photo.
- Wait for the settling time you use in your practice before photographing the result. A photo with recent swelling does not represent the result.
- Standardize patient names. Search works by name; names written in different ways become cards that are hard to find.
- Use the actual result at the return visit. See ideas in return visits and retention.
- Authorization to publish is a separate matter. Having the photo in the app does not authorize posting it. See consent and LGPD for photos (LGPD is Brazil's data protection law).
Common errors and how to fix them
| Situation | What to do |
|---|---|
| I don't see Add actual result | Open the projection from History. Right after generating, and on sample projections, the button does not appear. |
| "No projections found" | Check the spelling of the name or clear the search to see all of them. |
| The aligned photo looks odd | Photograph again facing forward, at the same distance as the first photo, and use Replace result photo. |
| When sharing, the app asks for confirmation | That is expected: the comparison uses the patient's real photo and requires their authorization. |
Next step
To keep your projections up to date, understand how the balance works. See credits and top-up.
Frequently asked questions
Where are my older projections in Harmy?
In the History button on the home screen. Search for the patient by name and tap the projection to open the Before and After again.
How do I add the actual result photo in Harmy?
Open the projection from History and tap Add actual result. The app photographs the patient, aligns the photo by the eyes with the Before photo and starts showing the comparison.
What is the Projection vs Actual comparison?
It is a mode of the Before and After screen that puts the projection and the actual result photo on the same slider, so you can show the patient how close the result came to the plan.
Can I share the actual result photo from Harmy?
Yes, but the app asks you to confirm the patient's authorization first, because the comparison uses their real photo.