
Photo With a Ruler to Measure a Nodule or Lesion
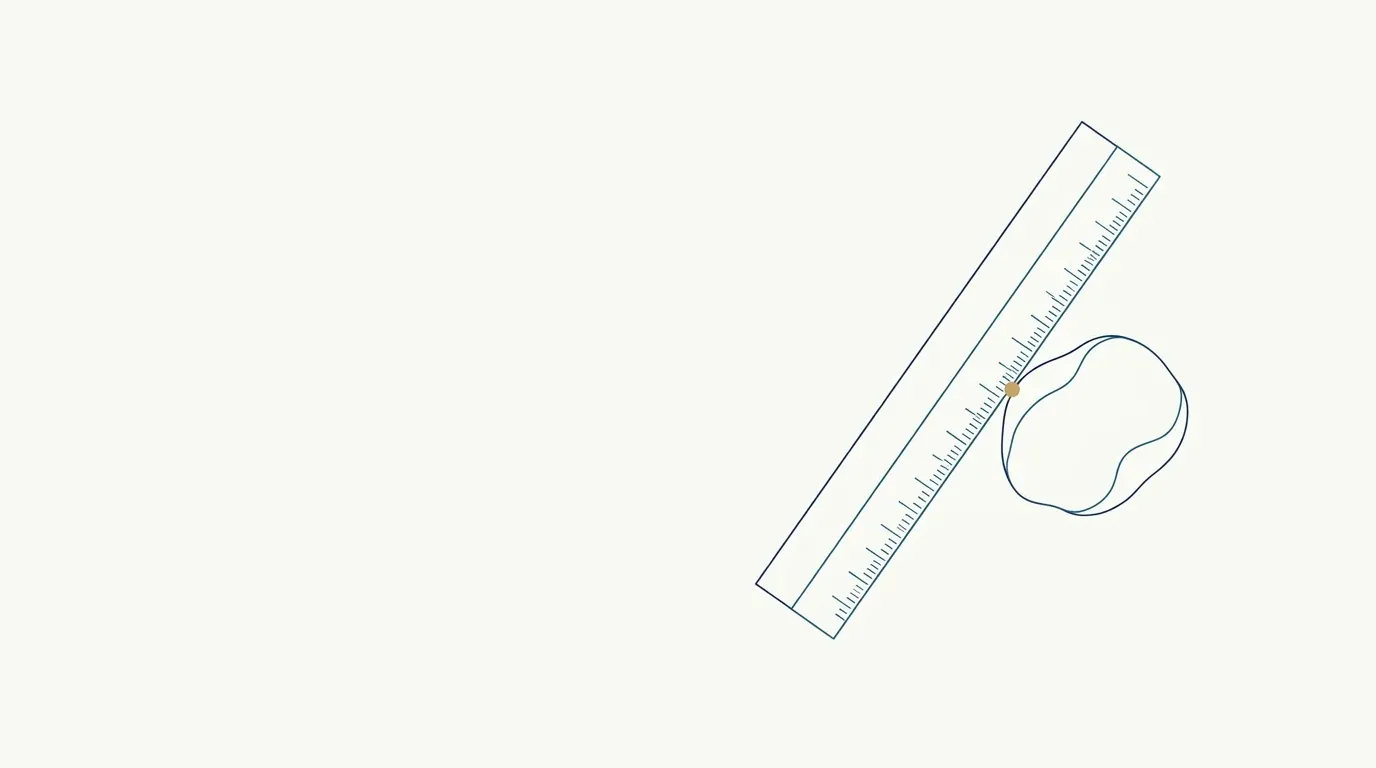
Quick facts
- Goal
- Give the photo a scale so the size and shape of a nodule or lesion can be compared between visits.
- Material
- A clean graduated ruler or paper tape, next to the lesion and in the same plane.
- Angle
- Camera perpendicular to the lesion, lens parallel to the skin, same distance every time.
- Limit
- A photo with a ruler supports follow-up but does not replace clinical examination and measurement.
A small nodule in a treated area leaves the professional with a simple and difficult question: did it grow, regress or stay the same? Memory fails, and a photo with no reference fails too. Two photos of the same nodule can look like different sizes just because the camera was at different distances. A ruler solves this by putting a known measurement inside the image.
This page explains how to photograph a lesion with a scale, at the right angle, so follow-up is reliable. The subject is documentation, not diagnosis: clinical management is the decision of the qualified professional.
Why use a ruler in the photo?
Without a scale, apparent size depends on how close the phone was. With the ruler in the same plane as the lesion, you can compare proportions between photos from different dates, even if the distance varies a little. The ruler also shows the shape and extent of an area, such as erythema, a plaque or a palpable nodule.
This is useful in situations such as:
- a nodule after a procedure, to track its evolution;
- a suspected granuloma, to document size and appearance;
- an area of swelling or hardening, when there is doubt about its extent;
- a skin lesion to be referred, to attach to the report.
For tracking a nodule over time, see also nodule photo for clinical follow-up.
Which ruler should you use and how do you position it?
Use a thin graduated ruler or tape, paper or plastic, clean. For a lesion involving open skin or discharge, prefer disposable or disinfected material according to the clinic's routine. Position it:
- Next to the lesion, without covering it, touching the skin in the same plane as the lesion.
- With legible marks, facing the camera, preferably with the zero and one or two measurements in view.
- Without strong shadow on the lesion, adjusting the light.
- Without reflection: metal rulers shine under direct light. A white paper tape is more practical.
How do you align the camera angle?
Angle is what changes proportion the most. If the camera is tilted, the nearer side looks bigger. To measure from a photo:
- Place the lens parallel to the skin of the area, forming a right angle with the lesion.
- Keep the same distance at every visit. Mark the floor or the tripod, as in tripod for clinical photos.
- Use the camera grid to check alignment.
- Avoid wide-angle lens mode, which distorts the edges. See wide-angle lens distorts the face.
What light should you use to see a nodule's relief?
A nodule is an elevation, and elevation shows up through shadow. Raking light from the side reveals relief; light from the front hides it. The ideal is to take two photos: one with frontal light for color and another with side light for relief. The method is in nodule photo for clinical follow-up and in facial shadow in clinical photos.
How many photos should you take, and how often?
A short sequence per visit is usually enough:
| Photo | Purpose |
|---|---|
| Overview of the face | Locate the lesion in its anatomical context |
| Close-up, with ruler and frontal light | Measurement and color |
| Close-up, with ruler and raking light | Relief and height |
| Close-up without ruler (optional) | Clean view of the skin |
Frequency depends on the management defined by the professional (for example, at every follow-up or at agreed intervals). Record the date and time of each photo.
What should you note along with the photo?
A photo without context loses half its value. Note in the medical record:
- date, time and who took the photo;
- exact location of the lesion (area, side);
- the clinical measurement that day, when there is one, in millimeters;
- the related procedure and its date;
- reported symptoms and management;
- light, distance and device used.
For what to record and how long to keep it, see photo retention in the medical record and medical records and documentation in HOF.
Privacy: what about the lesion photo?
A lesion photo is health data and, when it shows the face, it identifies the patient. Keep it in the medical record, with restricted access, and do not send it through personal apps. To share it with another professional, see sharing a photo with another professional and consent and LGPD in photos.
And in Harmy?
Harmy does not measure lesions or diagnose: it marks procedure areas and generates an illustrative simulation from a frontal photo. Lesion photos with a ruler belong in the clinic's medical record, not in the app's workflow. The app also does not replace in-person assessment.
Summary
Ruler in the same plane, camera perpendicular, same distance, two lights and complete notes. With this standard, the photo becomes a reliable scale for follow-up, without claiming to replace the clinical examination.
Frequently asked questions
Do I need a ruler to photograph a nodule?
It helps a lot. Without a scale, you cannot tell whether the lesion grew or the photo was simply taken closer. A graduated ruler in the same plane solves it.
What kind of ruler should I use?
A clean graduated ruler or paper tape, single-use or disinfected, that does not cast a strong shadow or reflection. Legible marks and a neutral background help.
How do I avoid distortion when measuring from a photo?
By keeping the camera perpendicular to the skin, with the lens parallel to the surface, and the ruler in the same plane as the lesion. Tilting the device changes the proportion between the ruler and the lesion.
Can I measure the lesion from the photo alone?
The photo supports follow-up, but the clinical measurement should be taken with the patient present. The image is for recording and comparison, not for diagnosis.
Harmy images are illustrative simulations generated by AI from the patient's photo to support the conversation between practitioner and patient. They are not a promise of results. Indication, technique, product and volume are solely the decision of the licensed practitioner. This content is for information only and does not replace a clinical assessment.