
Tripod for clinical photos: phone height and level
Quick facts
- Advantage
- Fixed height, distance and angle, free hands to guide the patient, and less camera shake.
- Settings
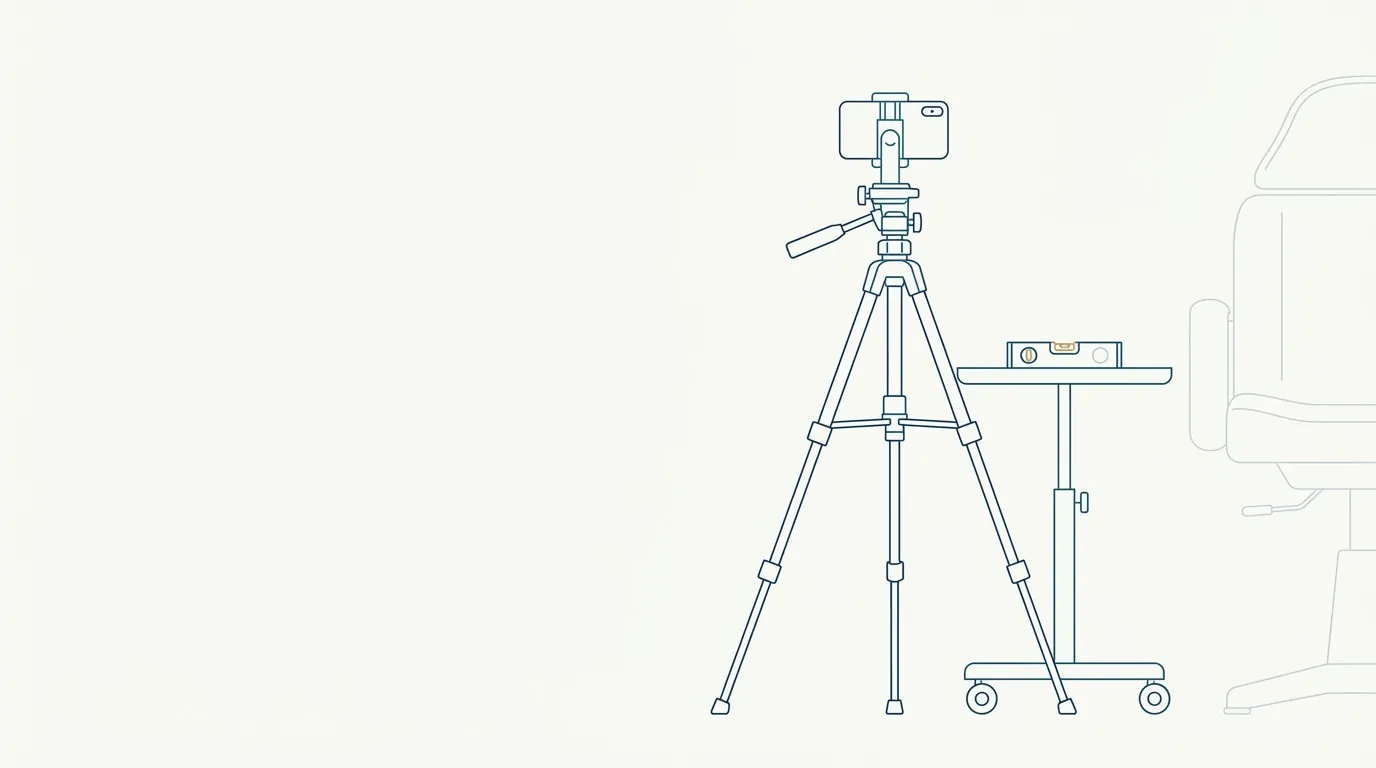
- Lens at eye level, phone upright and bubble level centered.
- Useful items
- Phone holder, adjustable column, bubble level and remote shutter or timer.
- Record
- Note the tripod's height and position on the sheet to repeat at the next visit.
In a photo taken with the phone in your hand, the person photographing is the hardest variable to control. Height changes with the day's posture, distance changes with fatigue, angle changes with haste, and the image comes out a little different every time. The tripod solves this with one move: it takes the hand out of the equation.
It is not expensive or sophisticated equipment. A simple tripod, well adjusted, is worth more than a latest-generation phone held in the air.
What advantages does a tripod bring?
The advantages are practical and add up over time.
- Fixed height: the lens sits at the patient's eye level, not at the chest height of whoever is photographing.
- Fixed distance: the mark for the tripod base on the floor repeats the framing, as in marking the position on the floor.
- Stable angle: the phone does not tilt, and the perspective of the face repeats.
- Less shake: a sharper image, especially in low light.
- Free hands: you guide the patient's posture, adjust the hair or the light without putting the device down.
- Burst photos: several shots with the same framing, to pick the best one.
For clinics where more than one person takes photos, the tripod also reduces variation between whoever shoots. The marked height applies to everyone, and the photo no longer depends on the height of whoever is holding the device.
How do you set the height and level?
Setting up takes a minute, and the order matters.
- Place the tripod on the floor mark, at the set distance from the patient.
- Seat the patient on the stool, in the standard position, with their gaze on the reference point.
- Raise the column until the lens is at eye level. If the tripod has no column, adjust the legs.
- Check the level: the phone upright, with the bubble centered, no tilt up or down.
- Check on the screen: both ears at the same height, forehead and chin visible.
- Lock the adjustments and shoot with a timer or remote control.
The reason for not tilting the device is in camera height in the patient photo: tilting fixes the framing but leaves the perspective wrong. If the patient is taller or shorter, adjust the stool or the column, never the angle.
What essentials should you buy?
You do not need much. What is worth having:
| Item | What it is for | Note |
|---|---|---|
| Tripod with adjustable column | Adjusts height without moving the legs | Prefer a stable one, with a wide base |
| Phone holder | Holds the device upright | One that fits your model and case |
| Small bubble level | Checks that it is level | May be built into the tripod |
| Remote shutter or timer | Avoids touching the device | The camera's own timer works |
| Tape marks | Repeat the height and the spot | Cheap and effective |
Avoid very light, unstable tripods, which wobble when someone walks by, and loose holders, which let the phone slip. A sturdy tabletop tripod may work in small offices, as long as the height reaches eye level.
When does the tripod not solve it?
There are scenarios where the tripod is impractical or insufficient. For home visits, very small rooms or when the patient cannot sit, the photo can be taken by hand. In those cases, the goal is to approximate conditions: same distance, height and angle, with a visual reference such as a mark on the wall.
For profile photos, the tripod may help less, because the patient's position changes relative to the camera. Here it is worth having two marks, one for each side, and a point on the wall for the gaze. The topic is covered in profile photo of the face in the clinic. For videos, a tripod is practically mandatory, as in clinical video of the patient.
Does the phone on a tripod change the patient's posture?
Yes, subtly. With the phone fixed, the patient tends to look at the lens instead of at the person. That is good for standardization, but can leave the person stiff. Chat briefly before the shot to relax the posture, without neck commands. The gaze point and natural head position are covered in looking at the horizon in clinical photos.
It is also common for the patient to look at the phone screen to see themselves. If the screen faces them, they move and adjust. Prefer the screen facing you, or use the rear camera with the screen turned toward the photographer, comparing the options in front or rear camera for clinical photos.
What changes in Harmy with the tripod?
The app lets you take the front photo with the device camera inside the flow itself, or pick a photo from the gallery. With the phone on a tripod, the input photo comes out with the right height and distance, and the projection gets closer to the patient's face. Guided capture of the actual result shows the before photo as a transparent overlay on the camera, and the tripod makes the alignment easier, because the device stays still.
The projection is an illustrative simulation, not a promise of results. See the step by step in standardized front photo and the overview of the topic in standardized clinical photography.
Summary for your routine
Fix the tripod on a mark, set the lens at eye level, level the phone upright, shoot with a timer and note the height. The tripod does not improve the patient's face, but it removes the variation of the photographer's hand, and that is what makes photos comparable.
Frequently asked questions
Do I need a tripod for clinical photos?
It is not mandatory, but it helps a lot. It keeps height, distance and angle the same, reduces shake and frees your hands to guide the patient.
How tall should the tripod be?
As tall as needed to put the lens at the patient's eye level. Since height and stool vary, mark the height you used and adjust the stool when needed.
How do I make sure the phone is level?
Use a bubble level on the tripod or the phone's own level, and check that the device is upright and parallel to the face, with no tilt up or down.
Can I use the timer instead of touching the screen?
Yes. The timer or a remote shutter avoids the shake from touching the button and gives time to adjust the patient's posture before the shot.
Harmy images are illustrative simulations generated by AI from the patient's photo to support the conversation between practitioner and patient. They are not a promise of results. Indication, technique, product and volume are solely the decision of the licensed practitioner. This content is for information only and does not replace a clinical assessment.