
Profile photo of the face: how to take it in the clinic

- Nerve
- Highlighted area
Quick facts
- View
- True profile, with the head turned 90 degrees from the camera, on both sides.
- Reference
- Frankfort plane horizontal; ear and eye visible; only one eye showing.
- Shows
- Nose, lips, chin, jaw angle, and the relationship between the facial thirds.
- Caution
- The Harmy app uses only the frontal photo; the profile is medical record documentation.
The profile photo answers questions the frontal photo cannot: does the nose project too little or too much? Does the chin keep up with the lip? Is the jaw angle well defined? How do the facial thirds relate in the lateral view? To document planning for the chin, jaw, nose, and lips, the profile is indispensable. And it is one of the easiest photos to get wrong, because half a degree of rotation or tilt changes the reading.
This page describes how to obtain the true profile, the references to check it against, and the typical errors.
What is a true profile and why does it matter?
The true profile is the 90-degree lateral view: the camera is perpendicular to the plane of the face, so that only one eye and one nostril show. Any smaller turn makes the photo an oblique, which is useful for volume (45-degree photo of the face) but not for measuring angles and projections. The concept of facial profile and the analysis landmarks (nasion, pogonion) are in the glossary: nasion and pogonion.
How to position the patient
- Seated or standing, spine upright and shoulders level. Trunk posture affects neck posture.
- Frankfort plane horizontal. The line from the outer corner of the eye to the upper edge of the tragus, parallel to the floor. See Frankfort plane in the clinical photo.
- Gaze on the horizon. The patient looks at a point ahead, at eye level, without following the camera.
- Full rotation. Turn until only one eye and one nostril show. Mark the floor to repeat it.
- Hair behind the ear, ear visible, no earrings or glasses.
- Relaxed mouth, lips just touching, teeth not clenched.
How to avoid the most common errors
| Error | Effect on the photo | Fix |
|---|---|---|
| Incomplete rotation | Part of the other eye shows, the nose looks smaller | Turn until only one eye shows |
| Raised chin | More projected chin, stretched neck | Frankfort plane horizontal |
| Lowered chin | Recessed chin, double chin | Same fix |
| Camera too high or low | Distorts the nose and chin | Lens at eye level (camera height) |
| Short distance | The nose looks larger | More distance, crop afterward (phone distance) |
| Tight mouth | Lips and chin altered | Lips just touching |
What light and background to use?
Soft, diffuse light from the front and slightly above, with no harsh shadow under the nose and chin. A plain, neutral background with no objects behind. The profile outline needs to contrast with the background: a background too close to skin color "eats" the silhouette. See background for clinical photos and lighting for clinical facial photos.
Which areas are assessed in the profile?
- Nose: projection, dorsum, and angle with the lip (nose photo for nonsurgical rhinoplasty).
- Chin: projection relative to the lip and nose (chin profile photo for planning).
- Lips: projection and relationship with the esthetic plane.
- Jaw and neck: jaw angle and transition (neck and double chin photo).
- Forehead and thirds: proportion between the thirds in the lateral view.
Profile analysis lines, such as Steiner's and Ricketts', are in Steiner's S line and Ricketts' line.
How to standardize and record?
Photograph both sides, labeled consistently, and store them with the date. Use floor marks, a reference wall, and a script of cues. Consistency is what makes the profile photo useful at the follow-up. See marking a floor position for clinical photos and standardizing photos across visits.
And in Harmy?
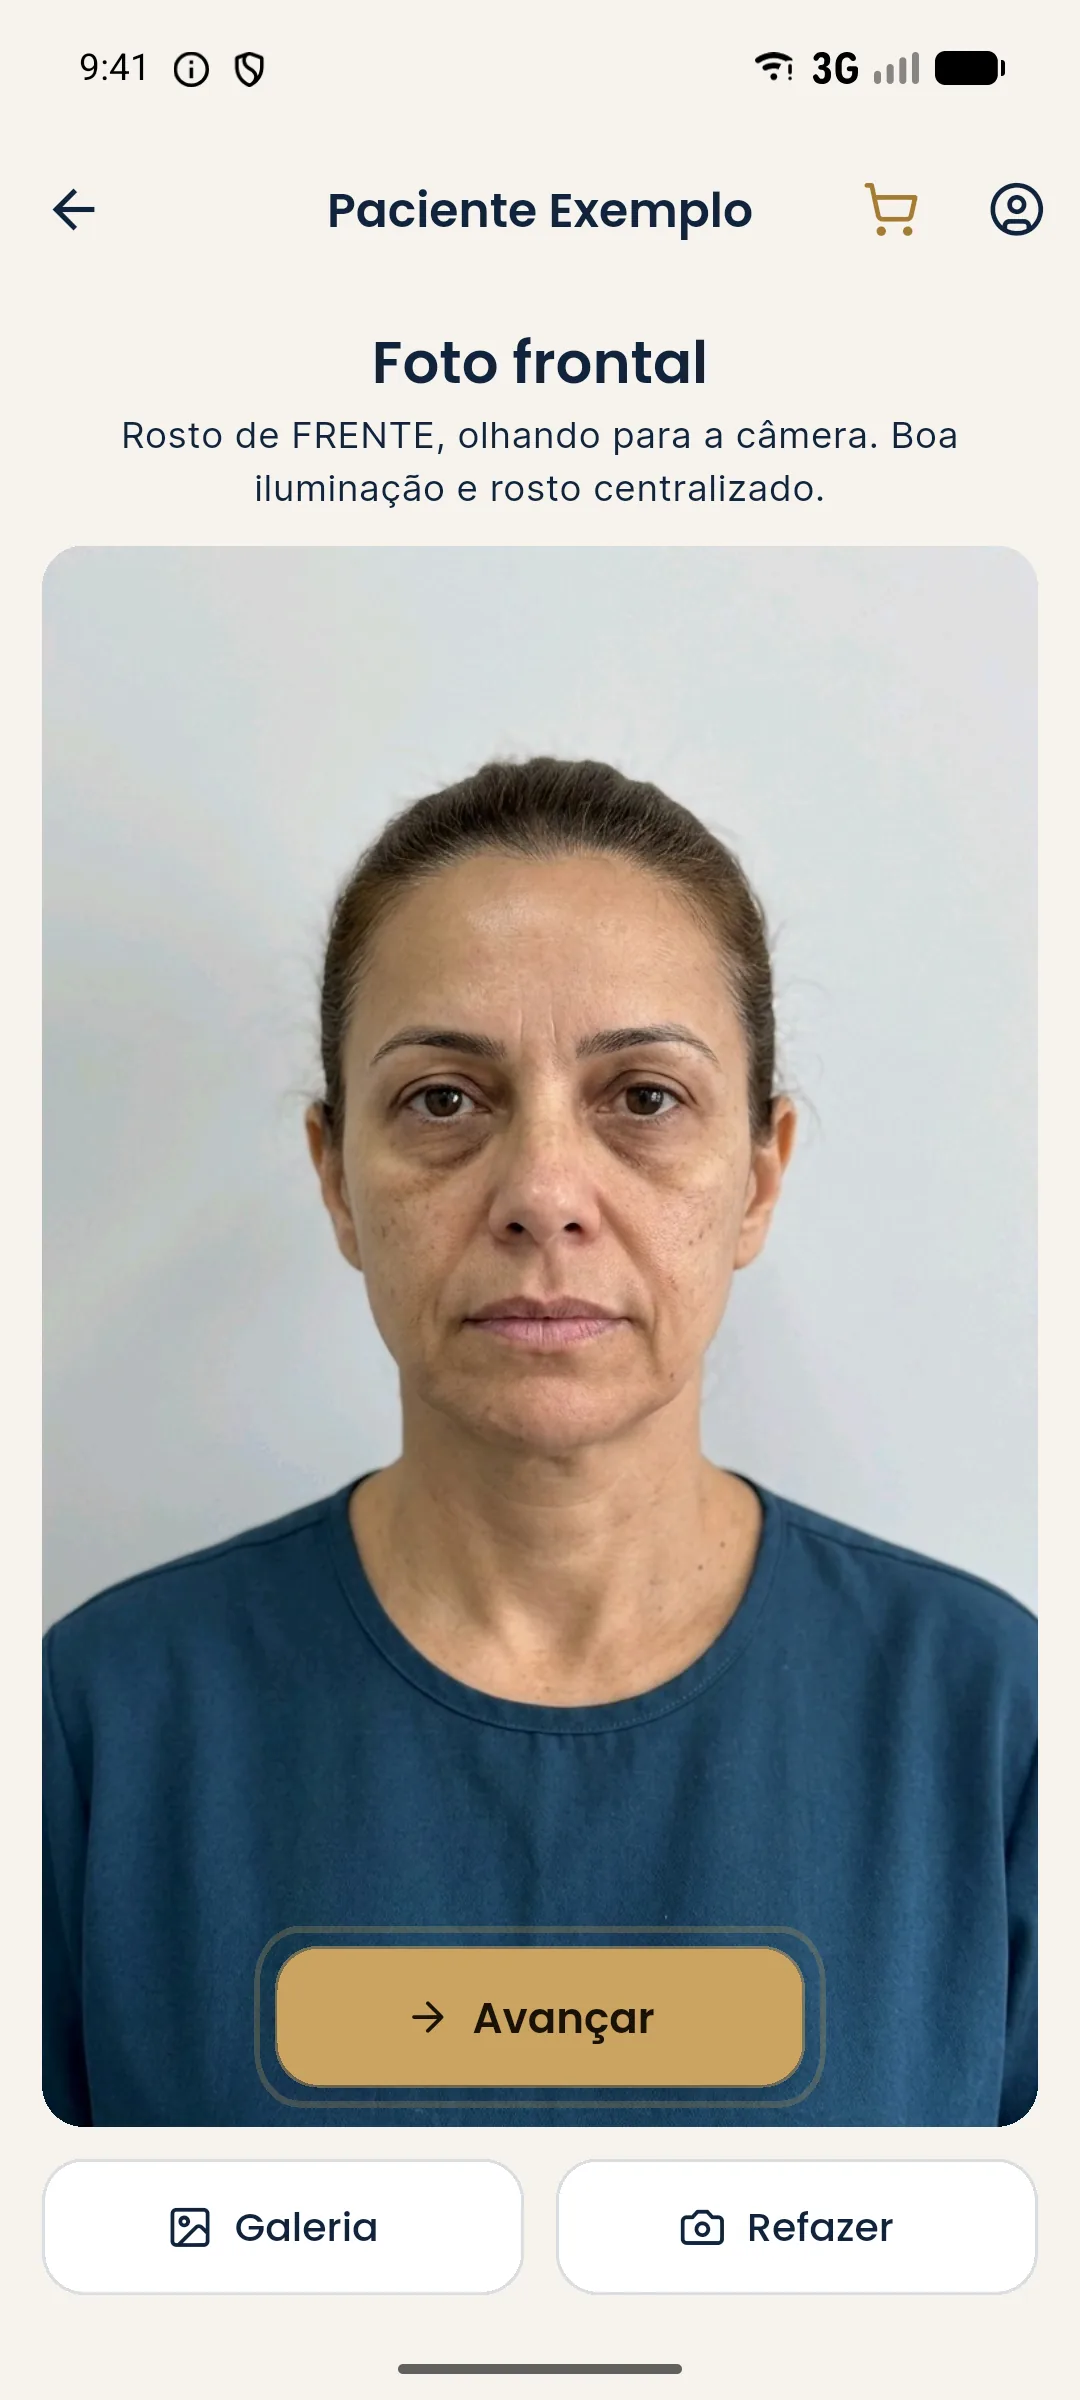
Harmy does not work with profile photos: the flow uses a single frontal photo per session, and the projection is a frontal illustrative simulation. The profile is an assessment and planning tool in the medical record, outside the app. To understand the photo the app uses, see a single frontal photo to plan in the app.
When the profile is hard to obtain
Patients with neck stiffness, neck pain, voluminous hair, or limited tolerance for the pose may struggle to hold the profile. In those cases, accept the best position possible, note the limitation, and avoid forcing the posture. Voluminous hair can be held back with a neutral clip without pulling the skin. For a patient with a beard, record its presence, since it hides the outline of the chin and jaw. The note explains future differences and protects the comparison.
Summary
90-degree rotation, horizontal Frankfort, fixed gaze, lens at eye level, and a contrasting background. With this standard, the profile photo becomes a reliable measurement, not an impression.
Frequently asked questions
What is a true profile in a clinical photo?
It is the lateral view with the head turned 90 degrees from the camera, so that only one eye and one nostril show, with the Frankfort plane horizontal. Any smaller turn is an oblique.
How do I avoid rotation errors in the profile?
Ask the patient to look at a point on the wall and use a single visible nostril and a single visible eye as a check. A floor mark and a reference wall help you repeat it.
Does a raised or lowered chin change the profile?
A lot. A raised chin increases the apparent projection of the chin and a lowered one reduces it. That is why the Frankfort plane must be horizontal in every photo.
Does Harmy assess the patient's profile?
No. The app uses only the frontal photo. The profile is a documentation and planning record outside the app.
Harmy images are illustrative simulations generated by AI from the patient's photo to support the conversation between practitioner and patient. They are not a promise of results. Indication, technique, product and volume are solely the decision of the licensed practitioner. This content is for information only and does not replace a clinical assessment.