
Chin profile photo for planning
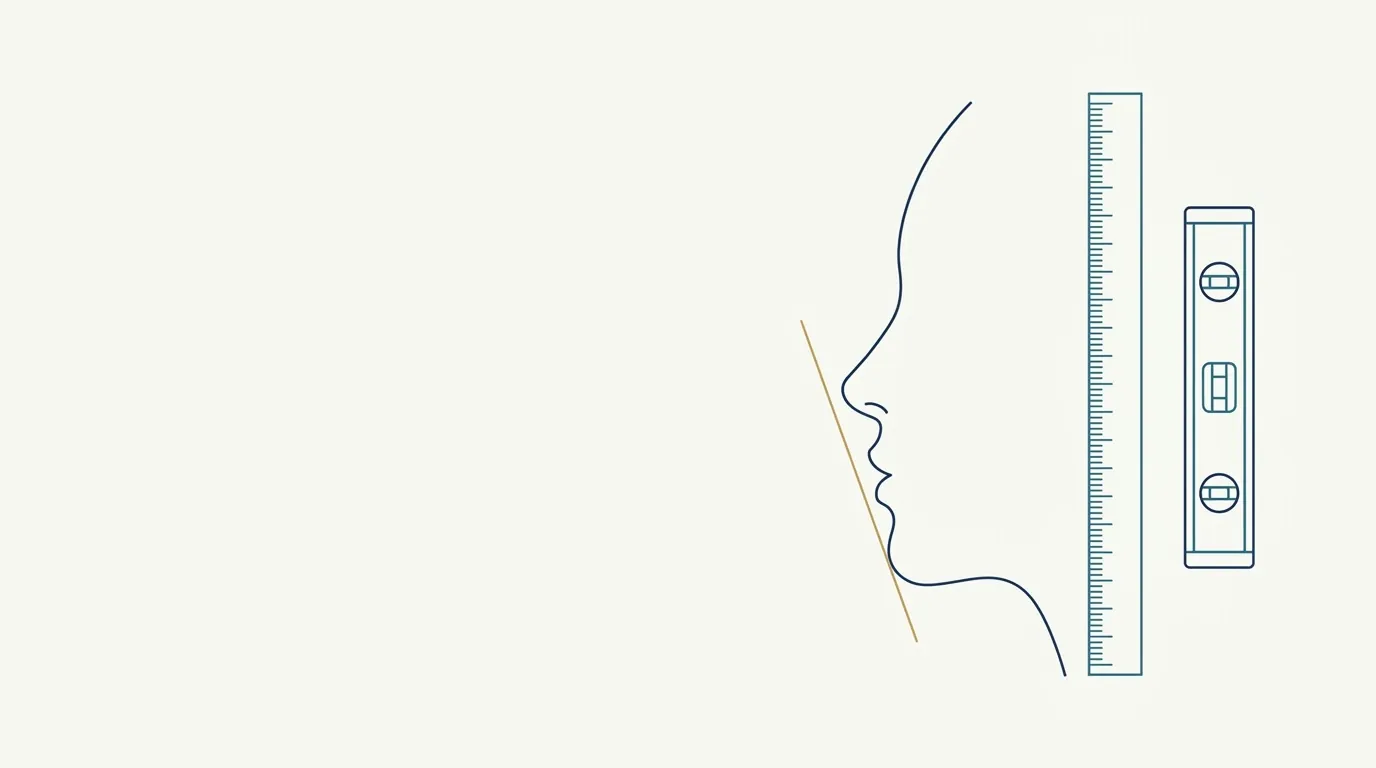
- Nerve
- Highlighted area
Quick facts
- Main view
- True profile, at 90 degrees, with the Frankfort plane horizontal, on both sides.
- Reference
- Plumb line or vertical line on the wall passing through the nasion, to read the position of the pogonion.
- Chin
- Neutral: not raised or lowered, lips at rest and teeth in habitual occlusion.
- Caution
- A raised chin simulates projection; a lowered chin simulates retrusion. It is the most common mistake.
When a patient says "my chin is small" or "my chin recedes," they are describing a position in space, and that can only be assessed in profile. The frontal photo says almost nothing about projection: a recessed chin and a well-positioned one can look the same from the front. That is why, in any chin planning, the profile is mandatory.
This page covers how to photograph that profile so it is comparable: reference line, head position, expression, and what the photographer should check before pressing the button. The clinical conversation about the retrognathic profile is on another page; here the subject is the record.
What does the profile show that the frontal does not?
The profile shows the relationship between four points: nose, lips, chin, and neckline. The position of the pogonion relative to the lower lip and nose, and the mentolabial angle, are read from the side. A frontal can show a short chin, but the profile says whether the problem is projection, height, or both. A chin that is short in height calls for a different conversation than a recessed chin.
In terminology, chin retrusion appears as retrogenia in some materials, and profile analysis uses lines such as Ricketts' and Steiner's. For photography, what matters is that the head is in the right place so that measurements, made by eye or in software, are reliable.
How to set the head position
The standard is the horizontal Frankfort plane: the line running from the lower border of the orbit to the highest point of the ear canal should be parallel to the floor. In practice, the patient looks at a point on the wall at eye level and relaxes the neck. Ask them to take two steps, come back, and stop: that short walk lets the head settle into a natural position.
What is the vertical reference line for?
A vertical line, plumb line, or tape on the wall, passing through the nasion, gives the eye a reading ruler. With it, the pogonion can be compared against the reference point from one visit to the next, without depending on software. Even without a line on the wall, you can use the phone's grid, following grid and framing guides, to at least ensure verticality.
The line is not a diagnostic instrument: it is a visual aid so that the documentation photo has the same ruler on both sides and at both visits.
What expression should the patient have?
- Lips at rest. Do not tense the lip or chin. The mentalis muscle, when contracted, creates a false projection.
- Teeth in habitual occlusion, without pushing the jaw forward. Anxious patients tend to push the chin forward.
- Gaze on the horizon (gaze on the horizon in the clinical photo).
- Relaxed neck, without platysma tension, which draws bands and alters the neckline.
If the head needs adjusting, correct it with the person standing with their back to the camera: two fingers on the chin, gently guiding the position, usually does it. Explain beforehand what you are going to do.
How to photograph the profile step by step
- Mark the position of the feet on the floor and the camera distance.
- Ask the patient to turn 90 degrees and look at a point on the wall.
- Check the Frankfort plane and the vertical reference line.
- Confirm: only one eye and one nostril visible.
- Take three photos in a row and choose the most faithful.
- Repeat on the other side.
Camera height and distance
A camera below the chin makes the chin look larger; a camera above shortens it and lengthens the nose. Keep the camera at chin height, halfway up the face, following camera height in the patient photo, and the documentation distance, without getting too close, as in phone distance in the patient photo. A chin too close to the lens looks more voluminous than it is.
How does the profile feed into volume planning?
The profile does not decide the volume on its own, but it organizes the conversation. With the photo on the screen, you and the patient see the relationship between lip and chin and discuss what is feasible. The chin page gathers the anatomy and the usual ranges, and chin filler is at the discretion of the qualified professional after assessment. The photo is for the record and for future comparison, not for promising a profile.
For the follow-up photo, follow when to take the follow-up photo and respect swelling still present: a freshly treated chin may be more voluminous than it will end up.
Which mistakes to avoid
- Accepting a profile with a raised or lowered chin.
- Photographing only one side.
- Letting the patient push the jaw forward.
- Changing the distance or camera height between visits.
- Taking the photo with a tensed chin.
- Comparing before and after profiles without the same reference line.
The chin profile is one of the photos that gains the most from a minute of preparation. Head in the right plane and a relaxed chin are worth more than any adjustment made afterward in software.
Frequently asked questions
Why is the chin profile essential in planning?
Chin projection only shows in profile. The frontal shows height and width, but does not say whether the chin sits behind, aligned with, or in front of the lip and nose.
How do I keep a raised chin from fooling the photo?
Position the head in the Frankfort plane and check against the eye-to-ear line. Ask the patient to look at a fixed point and not to push the chin up or down.
Do I need a vertical line in the photo?
It helps a lot. A vertical reference line lets you see where the pogonion sits relative to the nasion and lip, and repeat the same criterion at follow-up visits.
Does Harmy use the profile to project the chin?
No. The app projects the chin from the frontal photo, using the Chin area. The profile is medical record and planning documentation outside the app.
Harmy images are illustrative simulations generated by AI from the patient's photo to support the conversation between practitioner and patient. They are not a promise of results. Indication, technique, product and volume are solely the decision of the licensed practitioner. This content is for information only and does not replace a clinical assessment.