
Framing the Patient's Front-Facing Photo Step by Step
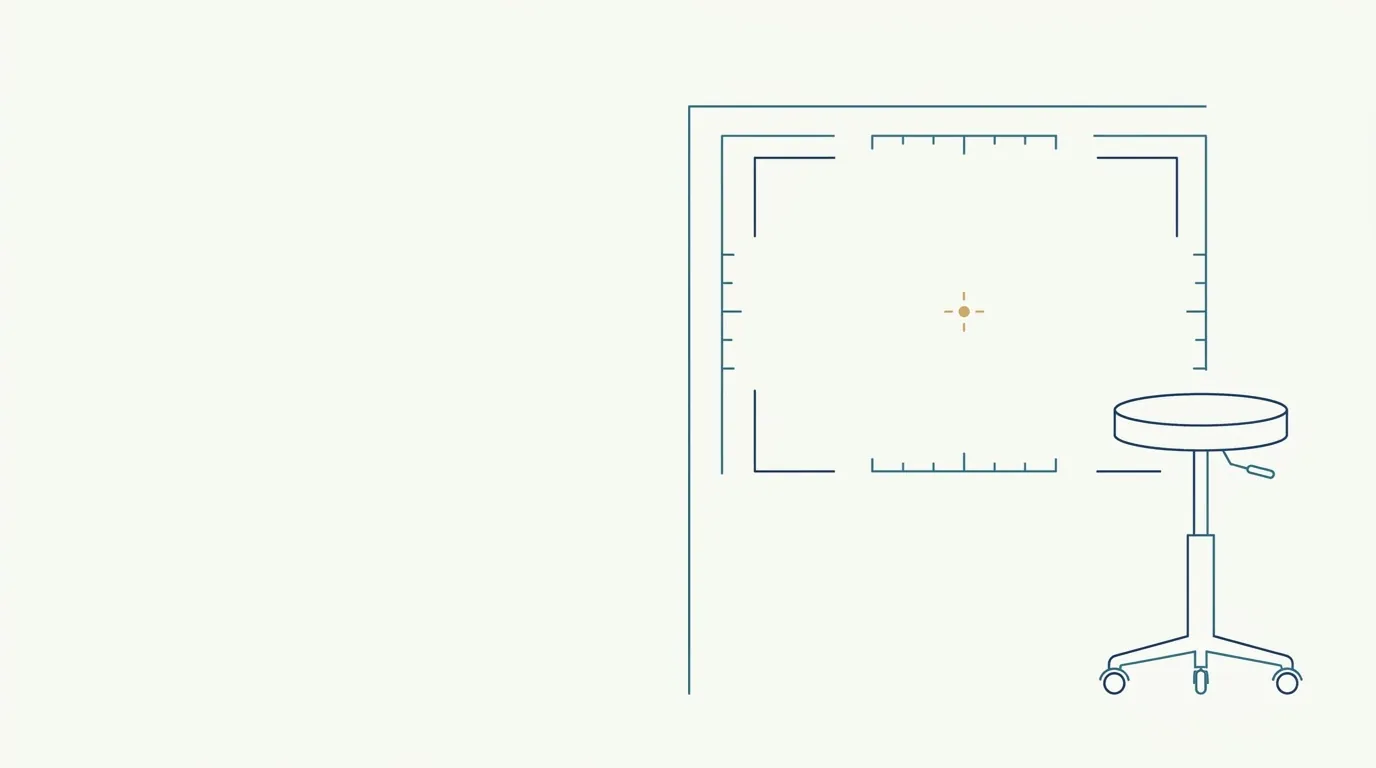
- Nerve
- Highlighted area
Quick facts
- Frame
- From the top of the head to the base of the neck, with the ears and the start of the shoulders in view.
- Centering
- Midline of the face at the center of the frame, eyes at about one third of the height.
- Leveling
- Line between the pupils horizontal and phone vertical, with no tilt.
- Consistency
- Same frame, same proportion and same space around the head at every visit.
Framing decides whether two photos of the same patient can be compared. Two photos with the same light, distance and lens still differ when the face fills half the frame height in one and three quarters in the other. Framing well is not an aesthetic matter: it is defining what goes into the image, where each part sits and how to repeat it later.
This step by step shows how to frame the front-facing photo for clinical records and for use in Harmy.
What should appear in the frame?
The front-facing record photo shows the whole face and a bit of context:
- Top of the head and hairline, with a small space above;
- Forehead, eyebrows, eyes, nose, mouth and chin;
- Ears on both sides;
- Jaw and neck, down to the base of the neck;
- Start of the shoulders, which help check whether the patient is straight.
What should not appear: objects in the background, other people, documents, screens with other patients' data.
Framing step by step
- Position the patient on the floor mark, seated on a backless stool or standing, spine upright (see marking a floor position).
- Adjust the camera height to eye level (camera height).
- Hold the phone vertically, straight, without tilting up or down.
- Turn on the camera grid (guide lines) to help with centering.
- Center the face: the nose and the space between the eyes should sit on the central vertical line.
- Level the eyes: the pupil line on one of the grid's horizontal lines, roughly at the upper third.
- Leave space above the head (a small strip) and include the neck below.
- Check the sides: both ears at the same distance from the edges.
- Click with the patient at rest, looking at the fixed point.
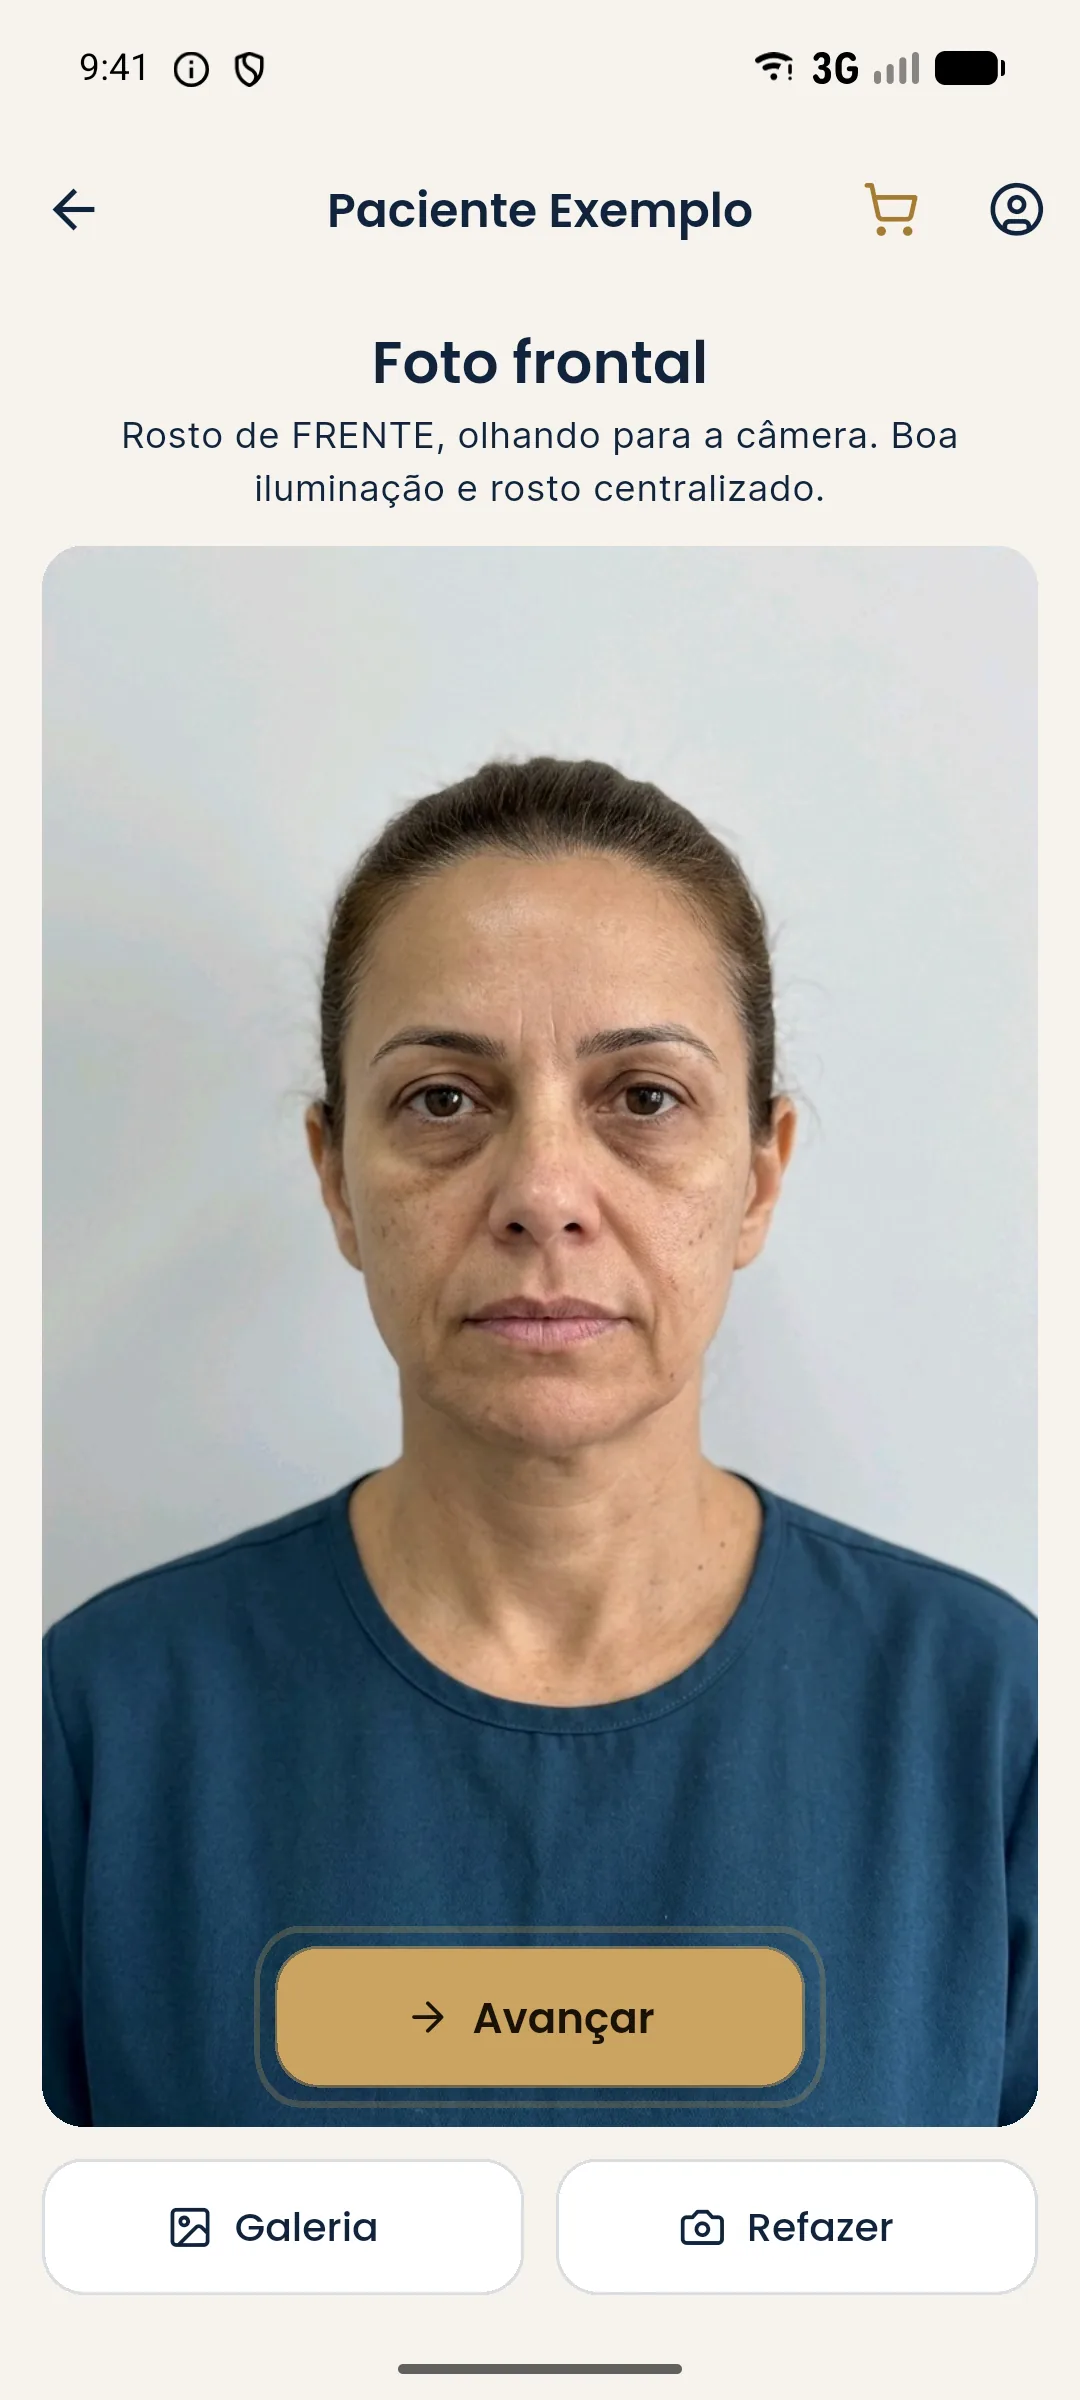
Which proportion should you use?
The frame proportion matters. The most used for portrait photos are 3:4 and 4:5 (vertical). What matters most is that it is always the same proportion across the photos to be compared. Some camera apps let you choose the proportion before the shot; pick one and lock it.
| Element | Approximate position in the frame |
|---|---|
| Pupil line | Near one third of the height, from the top |
| Midline (nose) | Horizontal center |
| Top of the head | Small space below the top edge |
| Base of the neck | Near the bottom edge |
| Shoulders | Entering from the sides, at the bottom |
These values are references for repeating, not a rigid rule. What decides is consistency between visits.
How much space should you leave around?
Too little space around makes the face look larger and makes future cropping harder. Too much space reduces the useful resolution of the face. A practical rule: the face, from the top of the head to the chin, fills something like half to two thirds of the frame height, with room for the neck. Test with your camera and lock it in.
To help with this standard, the rule of fifths divides the width of the face into five equal parts (one eye width each) and serves as a proportion reference, not a framing one. Framing, on the other hand, is measured relative to the frame.
Most common framing mistakes
- Cutting off the top of the head.
- Leaving the face off center, toward one side.
- Tilting the phone, creating perspective and a slanted eye line.
- Getting too close, cutting the neck and the jaw contour.
- Getting too far, leaving the face small.
- Changing the proportion between photos (3:4 on one, 16:9 on the other).
- Leaving objects or people in the background.
What about framing for Harmy?
Harmy detects the face in the photo on the device itself and shows labeled points on the areas: Glabella, Temple, Tear Trough, Cheekbone, Nasolabial Fold, Mouth Corner, Lips, Chin and Jawline. For detection to work well, the face should be whole, facing forward and with good margin. A cropped, very small or rotated face hinders reading of the points and produces a less faithful illustrative simulation.
How do you keep framing consistent between visits?
The most effective way is to document. Record in the clinic protocol: lens, distance, height, proportion and approximate position of the face in the frame. At the follow-up visit, use the previous photo as a guide, as a camera overlay when the app allows. See standardizing photos between visits and aligning photos by the eyes.
Summary for your routine
Frame from the top of the head to the neck, center, level the eyes, keep the phone straight, lock the proportion and always repeat it. For the full set of views and other parameters, see standardized clinical photography.
How do you train the team to frame the same way?
Print a reference photo with the ideal framing, with the grid lines drawn over it, and leave it in the photo room. Whoever shoots compares the screen with the reference before the click. Run a quick training session with colleagues, reviewing three or four photos together and pointing out the differences. Within a few sessions, framing becomes a habit, and comparison between visits stops depending on who was holding the phone.
Frequently asked questions
How do I frame the front-facing photo of the patient's face?
Show from above the top of the head to the base of the neck, with the face centered, the eyes roughly one third down from the top of the frame and the pupil line horizontal.
Can I cut off the top of the head in the photo?
Avoid it. The hairline is the reference for the upper third, and cutting off the top hinders assessment and comparison. Leave a small space above the head.
Should the photo be vertical or horizontal?
Vertical (portrait), since the face is taller than it is wide. The phone should be held straight, with no sideways tilt or tilt up or down.
Do I need a grid on the camera?
It helps a lot. The phone's grid, with vertical and horizontal lines, serves as a guide to center the face and level the eye line.
Harmy images are illustrative simulations generated by AI from the patient's photo to support the conversation between practitioner and patient. They are not a promise of results. Indication, technique, product and volume are solely the decision of the licensed practitioner. This content is for information only and does not replace a clinical assessment.