
How to standardize photos between HOF visits
Quick facts
- Goal
- Make today's photo differ from the previous one only by what changed in the patient.
- Method
- A setup sheet attached to the patient chart and checked before every photo.
- Variables
- Light, background, distance, lens height, head position, expression, makeup and device.
- Frequency
- The sheet is created at the first visit and reviewed when something changes in the room.
Comparing two photos of the same patient is, in practice, comparing two situations. If the only difference is the treatment and time, the comparison is useful. If the light changed, the camera was lower, the patient was smiling and the phone was a different one, the comparison says more about the conditions than about the result.
Standardizing means reducing those differences to the minimum possible, in a repeatable way, even when the person taking the photo changes. The most practical tool for this is a setup sheet.
What does standardizing mean in practice?
Almost all the variables that change the face in a photo can be controlled. Some depend on the environment, others on the device, others on the patient. Here is the full map.
| Group | Variable | Supporting page |
|---|---|---|
| Environment | Room light | lighting for clinical facial photos |
| Environment | Background | background for clinical photos |
| Environment | Floor position | marking floor positions |
| Device | Distance and zoom | phone distance |
| Device | Lens height | camera height |
| Device | Exposure and focus | locked exposure and focus |
| Patient | Head position | Frankfurt plane |
| Patient | Expression | neutral expression |
| Patient | Makeup | makeup in the clinical photo |
You do not have to standardize everything on day one. Start with the variables that weigh most for your type of procedure and add more over time.
What goes on the setup sheet?
The sheet is a short page, filled in at the first visit and consulted at the following ones. It says how the photo was taken, so that someone else can repeat it. A lean template:
Keep the sheet in the patient chart and create a single template for the clinic. If the sheet is digital, make it a required field in the photo record. Using the code instead of the name follows the logic of naming clinical photo files.
How do you use the sheet at photo time?
The sheet only works if it is consulted before the click. Turn it into a 30-second ritual.
- Open the patient's sheet and read distance, height and light.
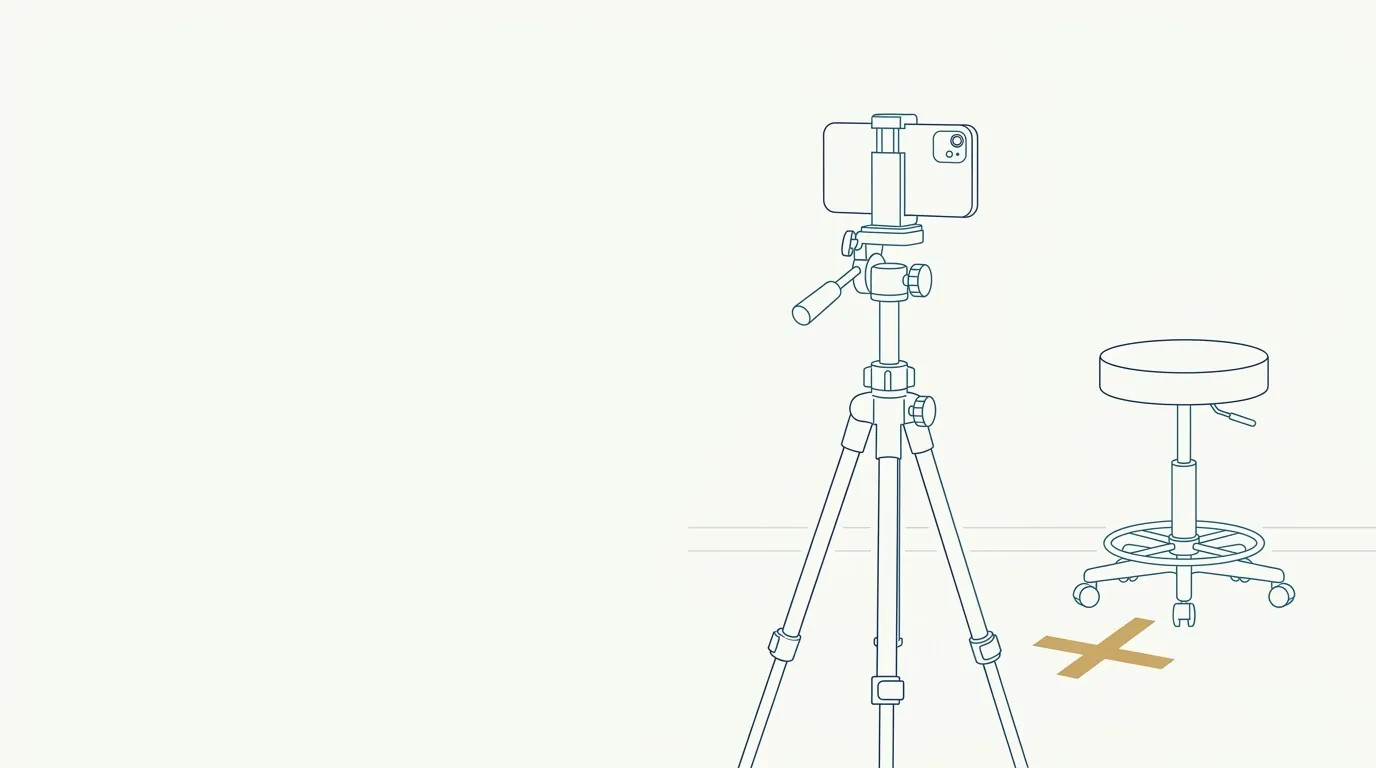
- Prepare the setting: stool, tripod, light and background as on the sheet.
- Position the patient: natural head, gaze on the point, neutral expression.
- Take two or three shots and pick the best.
- Note any deviation on the sheet, for example a change of device or different light.
- Save using the naming standard and file it.
If the patient arrives with something different, such as much shorter hair or glasses they cannot take off, the sheet helps you decide. Record the difference, do not hide it.
What if several people on the team take photos?
The more people take photos, the greater the variation. The sheet reduces the problem, but training the team together helps. A simple exercise: two people photograph the same volunteer, at different times, and compare. The difference shows where the variation lies. Repeat until the photos look alike.
It is also worth naming a person in charge of the standard, who reviews the sheet, checks the marks and updates the manual. In small clinics, that person is the professional themself; in larger ones, a designated team member. The idea is for someone to look at the whole, not just the photo of the day.
When does the standard need to change?
Changes happen: renovation, a new phone, a new bulb, a different room. When that happens, do not pretend nothing changed. Do this:
- Record the date of the change on the sheet of each active patient.
- Take a new reference photo at the first visit after the change.
- Note on the sheet that comparison with old photos should be made with caution.
- If possible, take one photo in the old setting and one in the new on that day, to measure the difference.
Standardization and comparison with the result
Standardizing is not only for the chart. It serves the before and after comparison you show the patient and, at times, the conversation about expectations. When the comparison is clean, the explanation is direct; when it is subject to variation, it turns into a defense. Eye alignment between photos, described in aligning photos by the eyes to compare, complements standardization of the setting.
For an overview, the page on standardized clinical photography gathers the general rules, and common mistakes in before and after photos lists the most frequent failures.
What does this change in Harmy?
Harmy starts from one frontal photo per session. The more standardized it is, the more the projection resembles the real patient and the better the comparison with the result. With the "Add actual result" option, the app stores the later photo aligned by the eyes and lets you compare Projection, Actual result and Projection vs Actual. The guided capture shows the before photo as a transparent overlay on the camera, which helps repeat the framing.
The setup sheet is complementary: the app handles the photo fit, and the sheet handles the setting. The projection is an illustrative simulation, not a promise of results. See the step-by-step in standardized frontal photo.
Summary for the routine
Create a short sheet, fill it in at the first photo, consult it before each new one and note any change. Train the team with a volunteer, name a person in charge and review when the setting changes. The payoff is a comparison in which what changes is the face, not the room.
Frequently asked questions
What does it mean to standardize the clinical photo?
It means controlling the variables that change how the face looks (light, distance, height, position and expression) so that photos from different dates can be compared.
What should the setup sheet include?
Device, distance, lens height, light used, background, patient position, type of photo and who took it. Any deviation from the routine goes in too.
Do I need to use the same phone at every visit?
Ideally yes. Different devices have different lenses and processing, which changes proportion, color and sharpness. If you switch, note it on the sheet.
What if the room is renovated or the lighting changes?
Redo the setup and record the change. For existing patients, take a new reference photo and note on the sheet that the setting changed.
Harmy images are illustrative simulations generated by AI from the patient's photo to support the conversation between practitioner and patient. They are not a promise of results. Indication, technique, product and volume are solely the decision of the licensed practitioner. This content is for information only and does not replace a clinical assessment.