
Aligning Photos by the Eyes to Compare Before and After
- Nerve
- Highlighted area
Quick facts
- Reference
- The two pupils (or the outer corners of the eyes) work as two fixed points for scale and rotation.
- Corrects
- Differences in face size within the frame and slight head tilt between one photo and the other.
- Does not correct
- Different lighting, a different lens, a different expression or the rotation angle of the neck.
- When to use
- When overlaying or placing side by side before and after photos of the same patient.
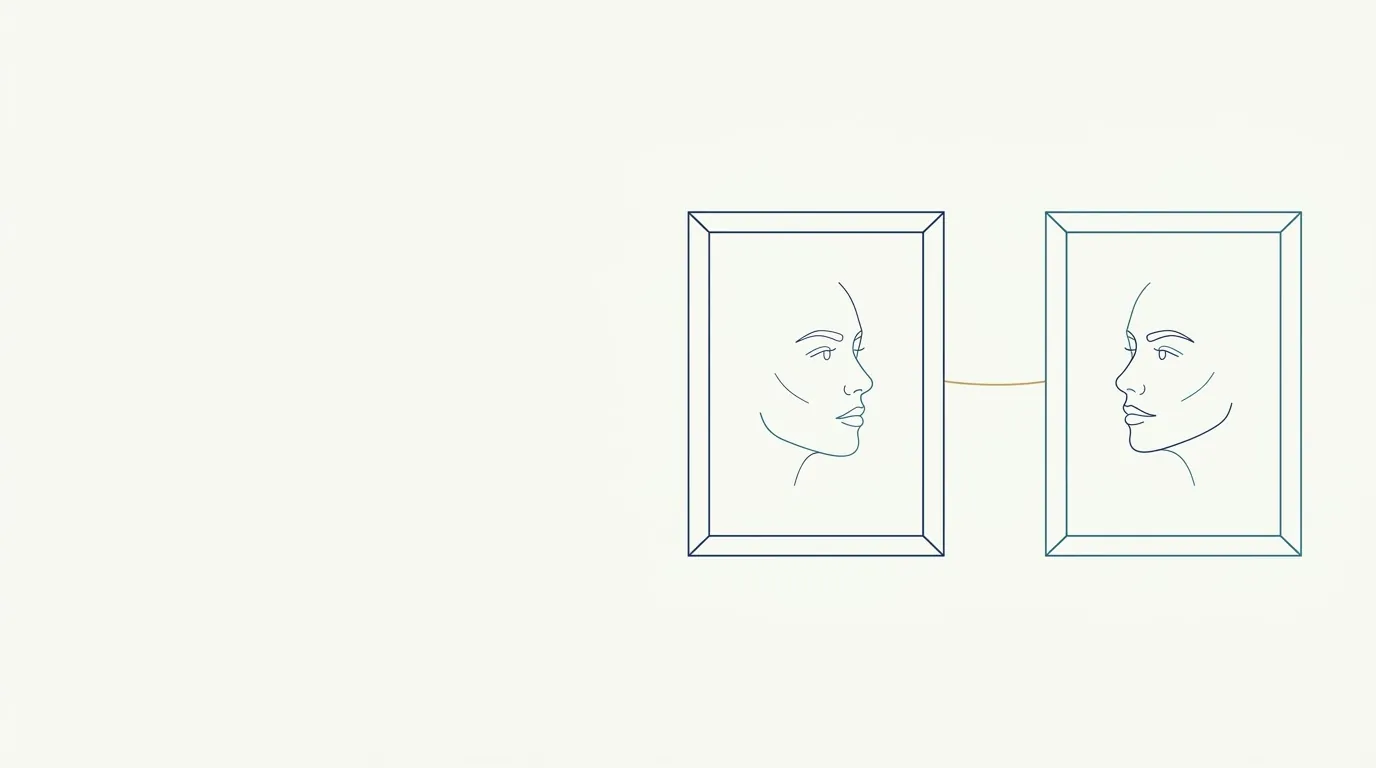
Comparing two photos of the same face seems simple until you lay one over the other. In one, the patient is a little closer to the camera. In the other, the head is tilted two or three degrees. The result is a face that "changed size" or "tilted sideways" without a needle ever touching that area. Aligning the photos by the eyes is the cheapest way to remove that noise from the comparison.
This page explains why the pupils are the best reference, how to do the alignment in any editor or on the device itself, and which errors alignment does not solve.
Why use the eyes as a reference?
A good reference point needs three qualities: it appears sharply in both photos, it does not depend on the procedure performed, and it sits far enough from its partner point to give a reliable measurement. The pupils (or, when in doubt, the outer corners of the eyes) meet all three.
The nose, lips, chin and cheekbone are exactly the areas where you usually intervene, so using any of them as an anchor makes the result "vanish" or "appear" in the alignment. The eyes do not change position with filler or toxin in the lower or middle third, which makes them the fixed point of the comparison.
With two points you control two things at once:
- Scale: the distance between the pupils must be the same size in both photos.
- Rotation: the line joining the pupils must have the same tilt in both photos.
How do I align step by step?
The process is the same in any editing program that supports layers, and also in presentation software and comparison apps.
- Open the before photo as the base layer and the after photo as the top layer.
- Reduce the opacity of the top layer to around 50% and keep both visible.
- Choose the patient's right pupil as the meeting point and move the top layer until the two pupils coincide.
- Rotate and scale the top layer until the left pupil coincides too.
- Return the opacity to 100% and toggle between the two layers to check.
- Crop both photos with the same frame, never each one differently.
Scaling in only one direction (stretching the width without the height) distorts the face and invalidates the comparison. Always keep the aspect ratio locked.
What does alignment correct and what does it not?
This is the part that misleads the most. Aligning by the eyes gives the impression that the photos are now "the same," but only two parameters were fixed.
| Problem | Does eye alignment solve it? |
|---|---|
| Face larger or smaller in the frame | Yes, through scale |
| Head slightly tilted to one side | Yes, through rotation |
| Neck rotation (face turned) | No, it changes the projection of the nose and cheekbone |
| Camera higher or lower | No, it changes the proportions of the face |
| Different distance or different lens | Partly through scale, but the perspective remains different |
| Different lighting | No, it changes shadows and folds |
| Different expression | No, it changes the contour of the cheek, eye and lip |
That is why alignment is the last step, not the first. Standardization at the moment of the shot, described in standardized clinical photography and in standardizing photos between visits, does most of the work. Alignment fixes the rest.
What if the patient has asymmetry in the eyes?
Patients with facial asymmetry often have one pupil slightly higher than the other. That is not a problem as long as it is the same in both photos. The alignment uses the two points as they are: the line between them may be slightly tilted in the before photo, and it should have the same slight tilt in the after photo.
If you "straighten" that line while aligning, you are correcting the asymmetry that exists and making the after look better than it really turned out. The rule is to copy the tilt of the before photo, not to impose an ideal horizontal.
Can you align without an editor?
Yes, with a simple resource: during the follow-up photo, show the patient the before image as a transparency over the camera and place the pupils over the pupils of the earlier photo. Clinical camera apps and some regular cameras have this "ghost" or overlay feature.
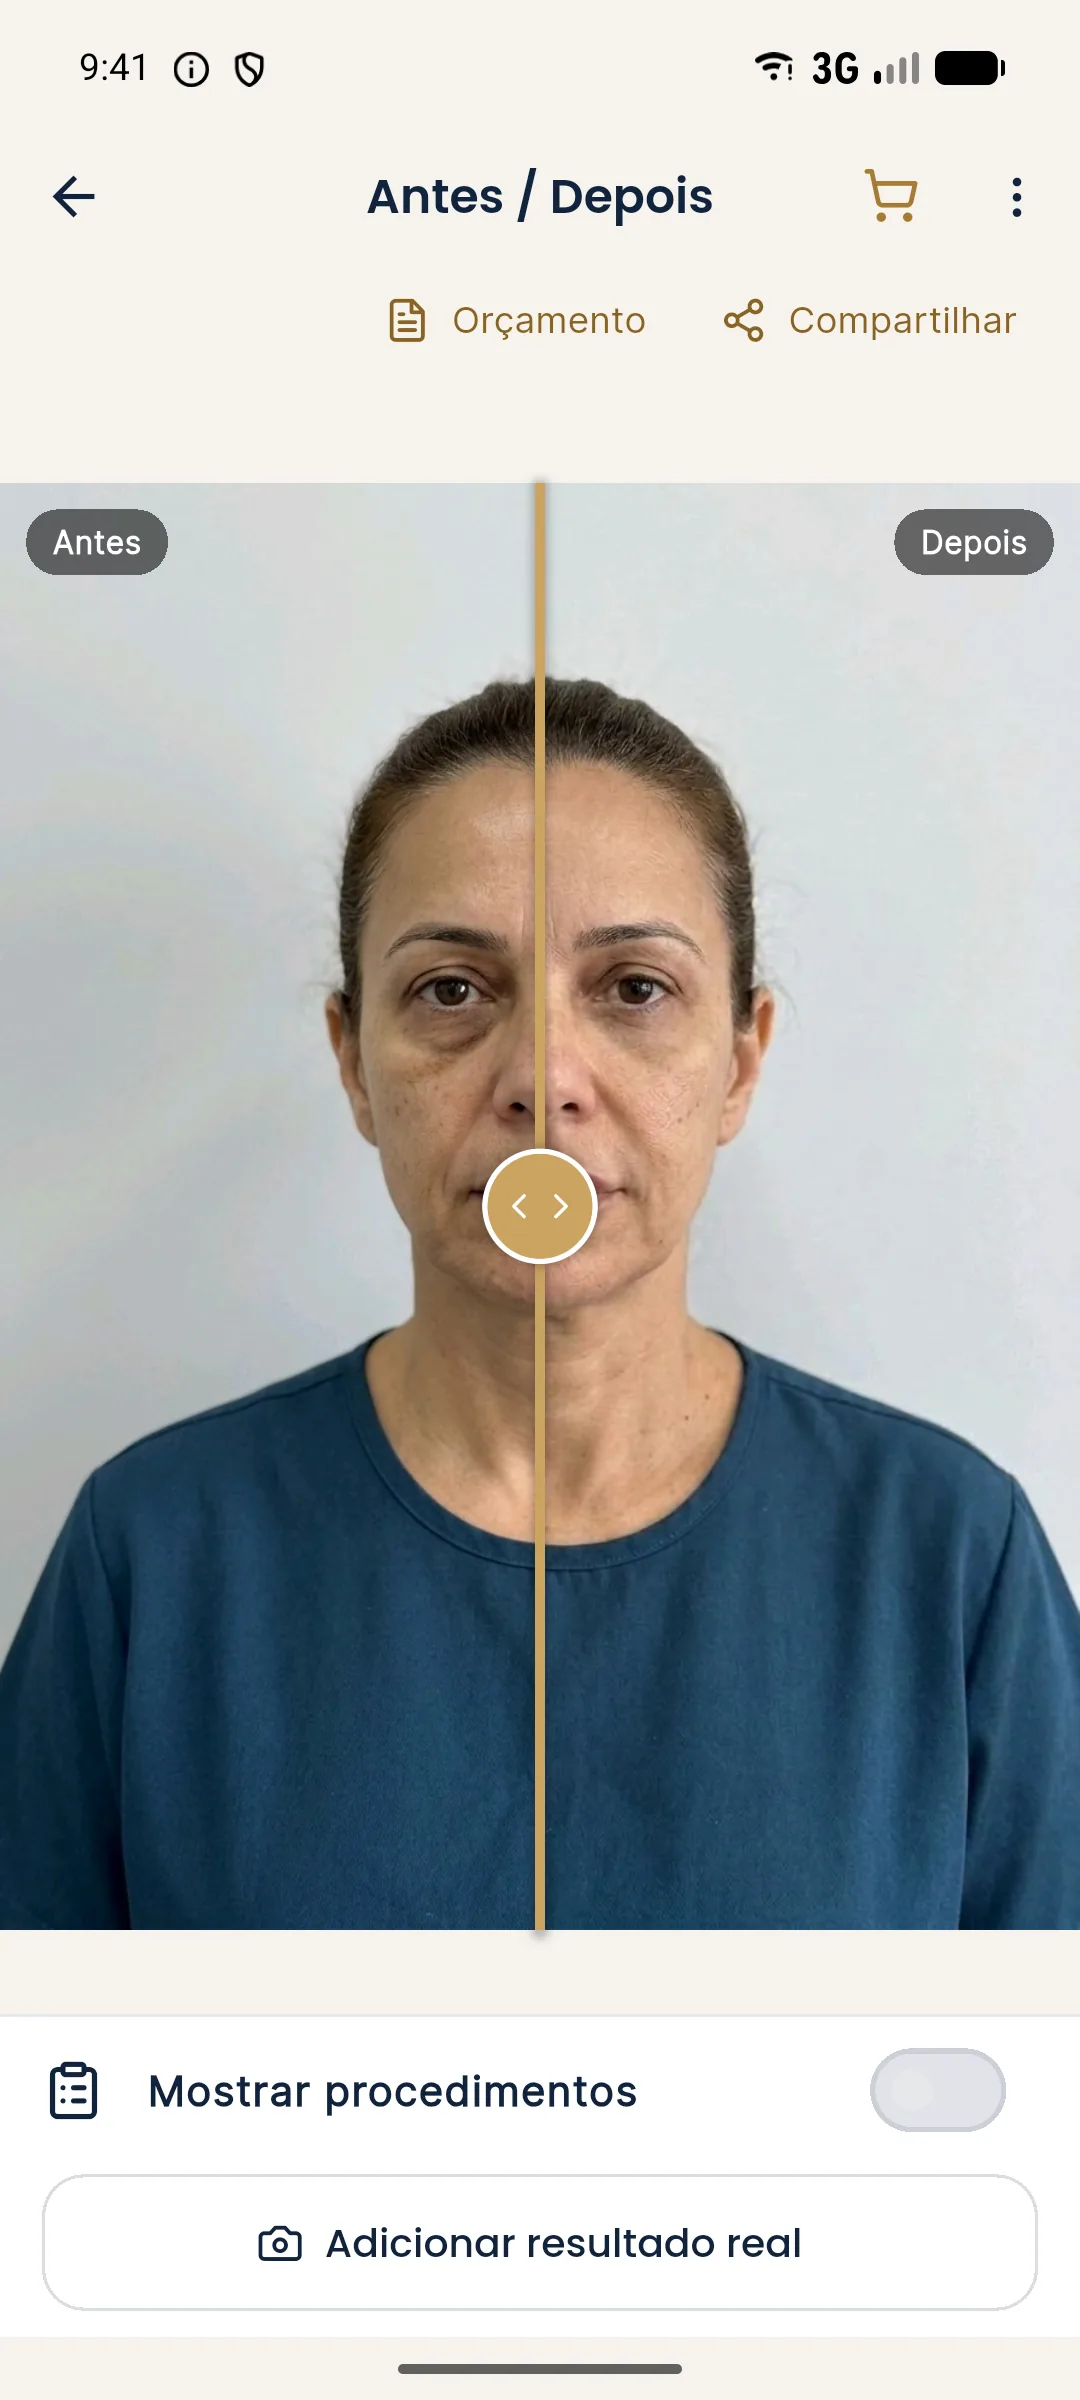
Even with the guide, lighting, distance and expression remain the responsibility of the person taking the photo. The app helps with framing; it does not replace the protocol.
How do I use the aligned comparison during the visit?
After aligning, choose the right format: side by side or slider. The slider in particular depends on very good alignment, because any shift shows up as a "jump" in the face when the line passes. Poor alignment stands out more in a slider than side by side.
When showing it to the patient, make clear that the comparison is a clinical record and not a promise of results. If the after photo was taken with swelling still present, say so before they ask.
What should I record so the alignment is repeatable?
Note in the patient record, together with the photo:
- distance and lens used for the shot;
- camera height and patient position;
- whether alignment was done and with which reference (pupils or outer corners);
- whether there was cropping and with which frame.
This lets you repeat the procedure six months from now without relying on memory. For file organization, see naming clinical photo files.
Which mistakes should I avoid?
- Aligning by the nose or chin when those areas were treated.
- Stretching the image in only one direction to "make it fit."
- "Straightening" the eye line of a patient with asymmetry.
- Cropping each photo with a different frame.
- Fixing the alignment and forgetting that the lens or the light changed.
Aligning by the eyes is a short step that prevents a good share of the comparisons that mislead both the patient and the professional. Always do it, but remember that it gets the position of the photos right, not their truth.
Frequently asked questions
How do I align two face photos to compare them?
Choose the two pupils as your reference, adjust the scale until the distance between them is the same in both images, and rotate until the line joining them has the same tilt. Then check that the rest of the framing matches.
Why use the eyes and not the nose or mouth as a reference?
The eyes are sharp points, they appear in both photos and they do not change position with filler or toxin. The nose, mouth and chin may be exactly the areas that were treated.
Does aligning by the eyes replace photo standardization?
No. It fixes scale and rotation, but it does not fix different lighting, lens, distance or expression. The better the source photo, the more honest the comparison.
Does Harmy align the before and after photos?
When you add the actual result to the history, the app saves the photo aligned by the eyes with the before photo and lets you compare Projection, Actual result and Projection vs Actual.
Harmy images are illustrative simulations generated by AI from the patient's photo to support the conversation between practitioner and patient. They are not a promise of results. Indication, technique, product and volume are solely the decision of the licensed practitioner. This content is for information only and does not replace a clinical assessment.