
Gaze at the horizon in the clinical photo
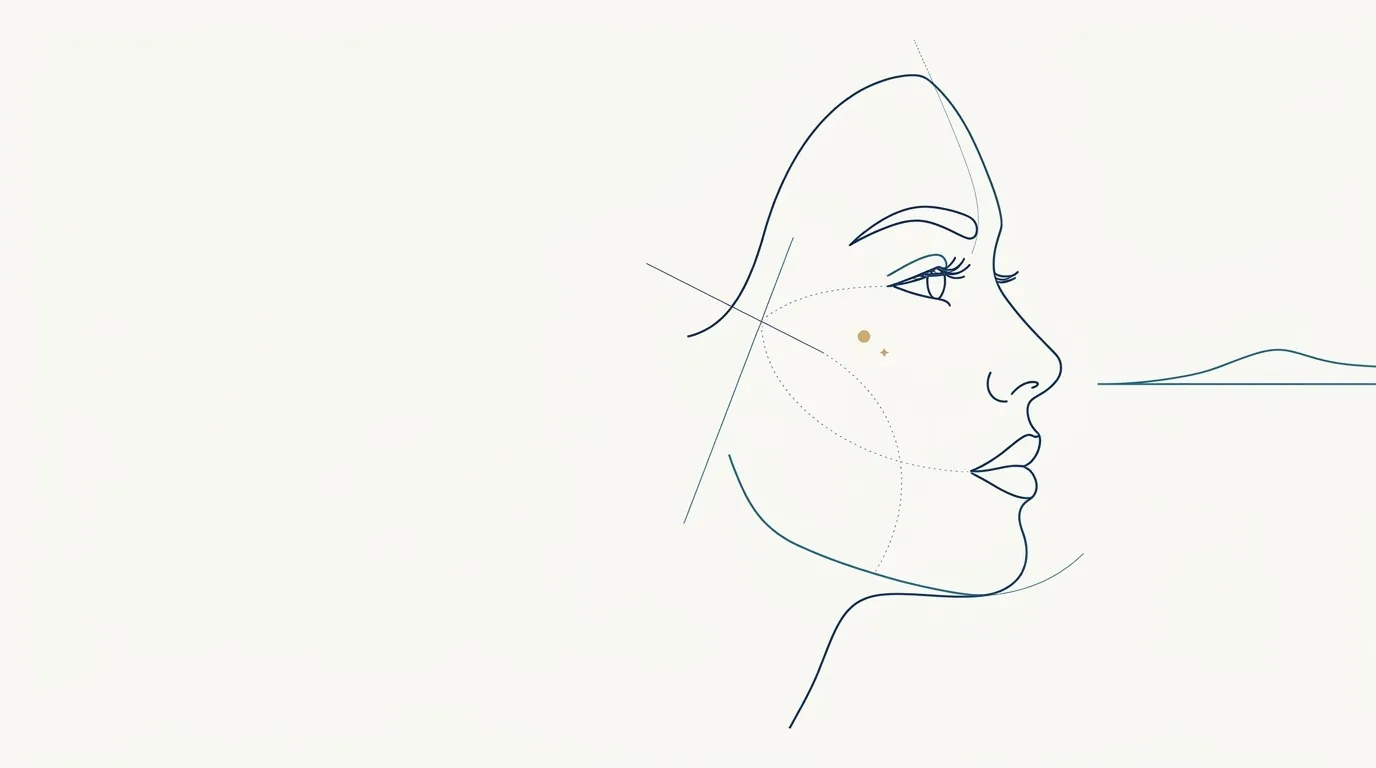
- Nerve
- Highlighted area
Quick facts
- Rule
- Look at a fixed point on the horizon, at eye level, with the head in a natural position.
- Natural position
- The head position the patient uses when looking into the distance, with no cue to raise or lower the chin.
- Common mistake
- A raised or tucked chin that changes the contour, the neck and the shadows.
- Tool
- A dot on the wall, in front of the patient, at eye level.
Among the cares of clinical photography, gaze direction is what gets lost most easily in a hurry. The patient sits down, the professional readies the phone, someone says "look at me", and the gaze goes to the lens, to the photographer's finger or to the screen. Each of these choices slightly changes the position of the head and chin, and the effect shows up in the contour, the under-eye area and the neck.
The solution is simple: a fixed point in front of the patient, at eye level, and a short instruction.
Why does the gaze change more than it seems?
The gaze guides the head. When the patient looks at something higher, the chin rises; when they look at something lower, the chin drops. Even when they swear they are still, eye movement shifts the head by small degrees that the camera records.
That shift alters three readings that matter for planning:
- Submental contour: with the chin raised, the area under the chin stretches and looks smoother; with the chin tucked, folds appear along with a double-chin look.
- Periorbital region: looking up exposes the sclera below the iris and changes the look of the lower eyelid and the under-eye area.
- Shadows: the change in angle changes where the light falls and where shadows form.
What is the natural head position?
The facial analysis literature speaks of natural head position: the posture a person spontaneously takes when looking at the horizon. It is the reference for reading proportions and profile because it does not depend on an outside command.
In clinic practice, you get this position by asking the patient to look at a distant point at eye level and to relax the shoulders. Avoid asking "raise your chin" or "lower it a little": the instruction produces an artificial posture. When you need an anatomical reference, the Frankfurt plane in the clinical photo is the supporting line, and natural position is the starting point.
How do you set up the reference point?
The point needs to be in front of the patient, not to the side or above, and at the same height as the eyes. The distance should be enough for the patient to relax their focus: a wall a few meters away works well. If the room is small, a point on the opposite wall still helps.
| Choice | Advantage | Caution |
|---|---|---|
| Dot on the wall ahead | Natural position, no tension | Fix the height relative to the stool |
| Looking at the lens | Eye contact in the record | Adjust the lens height to the eyes |
| Looking at the mirror ahead | Quick orientation | Reflections and light may interfere |
| Looking at the professional | Natural conversation | The head moves and variation increases |
For serial photography the rule is the same: choose one criterion and repeat it. If the first photo had the gaze on the lens, the following ones do too.
What do you do with a patient who moves?
Some patients get nervous, look at the photographer, at the phone or to the sides, and the head follows. Others "pose" out of habit, with a preferred angle. In both cases, the way out is a short conversation and retaking the photo.
Explain the reason in one sentence and ask for two or three shots, so you can pick the best. Avoid correcting with your hand on the patient's chin without warning, because touch causes tension and the final position comes out different. If you need to touch, ask permission and explain.
And looking at the lens?
Some clinics prefer the gaze on the lens, for reasons of connection with the patient or for the sharing image. It works, as long as the lens height is at the eye line; otherwise the patient looks up or down. If the phone is on a tripod, the lens is fixed and the patient aligns to it. Details in camera height in the patient photo and in tripod for clinical photos.
The fixed horizon point has the advantage of not depending on the device, which helps when photos are taken on different days by different people. For standardized documentation, the criterion should be written in the clinic's manual, following the outline in standardizing photos between visits.
Gaze, neck and jawline
For anyone planning chin and jawline, the gaze is critical. The line from the angle of the jaw to the chin changes with chin position, and a photo with a raised chin hides the double chin and shortens the reading of the contour. The same applies to the profile photo, covered in profile photo of the face at the clinic. Also see tense neck in the contour photo, which deals with the effect of platysma tension.
And in Harmy?
Harmy detects the face on the device and shows labeled points over the frontal photo. The projection respects the expression and lighting of the photo: if the patient had a raised chin, the after shows a raised chin. Gaze and posture enter the simulation as they are. That is why the source photo should follow the same standard as the chart. The projection is an illustrative simulation, at the discretion of the qualified professional, and not a promise of results.
The app step-by-step is in standardized frontal photo, and the overview in standardized clinical photography.
Summary for the routine
Choose a fixed point on the horizon at eye level, ask for the natural position and avoid chin commands. Repeat the same instruction at every visit and record any deviation. With the gaze under control, the contour, the neck and the periorbital region stop varying without you noticing.
Frequently asked questions
Where should the patient look in a frontal clinical photo?
At a fixed point ahead, at eye level, or straight at the lens if that is the clinic's standard. What matters is repeating the same criterion in every session.
What is natural head position?
It is the position a person takes when looking into the distance, without thinking about posture. It tends to bring the Frankfurt plane close to horizontal and varies from person to person.
Does looking up or down change the photo?
Yes. Looking up exposes the sclera below the iris and changes the upper eyelid and the under-eye area; looking down covers part of the iris and flattens the reading of the gaze.
Can I ask the patient to look at the lens?
You can, as long as it is the standard for every photo. Many practices prefer the horizon point to avoid angle variation when the patient shifts focus.
Harmy images are illustrative simulations generated by AI from the patient's photo to support the conversation between practitioner and patient. They are not a promise of results. Indication, technique, product and volume are solely the decision of the licensed practitioner. This content is for information only and does not replace a clinical assessment.