
45-degree face photo: how to standardize the angle
Quick facts
- View
- Oblique, with the head turned about 45 degrees, on both sides.
- Shows
- Cheekbone projection, jawline, temple, folds and transition of planes.
- Reference
- Tip of the nose aligned with the edge of the opposite cheek, Frankfort horizontal.
- Caution
- The Harmy app uses only the frontal photo; the oblique is chart documentation.
The frontal photo is good for symmetry and proportion, but poor for volume. A cheekbone with little projection, a soft jawline or a hollowed temple can look reasonable from the front and become obvious from the side. The oblique view, at around 45 degrees, fills that gap. For documenting planning and follow-up, it is one of the most useful poses, and one of the hardest to repeat.
This page explains what the 45-degree view shows, how to position the patient and how to keep the standard between visits.
What does the 45-degree view show?
When the face turns, planes that sit sideways from the front take shape:
- Cheekbone: the projection of the apple of the cheek and the transition to the cheek. See midface photo to assess volume.
- Jawline: the line of the jaw and the definition of the angle. See photo of the masseter and jawline.
- Temple: the hollow and the transition to the forehead, as in temple photo for documentation.
- Folds and cheek: the depth of the nasolabial fold and the position of fat.
- Nose and chin: the projection of the nose and chin relative to the lip.
This complements the frontal view, which gives symmetry and proportion by thirds. A complete assessment uses both.
How do you position the patient at 45 degrees?
The most common mistake is varying the angle between visits, which changes how volume looks. A few simple references:
- Frankfort plane horizontal. Chin at its natural height, neither raised nor lowered. See Frankfort plane in the clinical photo.
- Rotation to the reference. Turn the face until the tip of the nose lines up with the edge of the opposite cheek. It is a practical rule, not an exact measurement.
- Gaze on the horizon. The patient keeps their gaze on the dot on the wall, not on the camera. See gaze on the horizon.
- Shoulders following. Ask them to turn the chair or the torso rather than twisting only the neck, which tenses the platysma.
- Hair moved away. The ear and the temple must be visible.
How do you standardize between visits?
Standardization is what makes the oblique comparable. Fix:
| Item | How to fix it |
|---|---|
| Angle | Floor marks and the nose and cheek reference |
| Distance | Mark for the feet of the patient and the photographer |
| Height | Lens at the patient's eye level (camera height) |
| Light | Same position of the source relative to the patient |
| Background | Plain and neutral, fixed |
See the full set in marking the floor position for the clinical photo and standardizing photos between visits.
Which light should you use for the oblique?
Soft, diffuse light, from the front and slightly above. For the oblique, very lateral light creates a strong shadow on the far side and exaggerates the contour; strong frontal light erases the relief. The most important thing is to keep the same source position at every visit, on both sides. See light for the facial clinical photo.
Is the photographed side the patient's side?
Always label: "right oblique" is the one that shows the patient's right side in front. Choose a convention and keep it. Ambiguous labels cause errors, especially when the image is mirrored by the camera app. See the rule for names in naming clinical photo files.
And in Harmy?
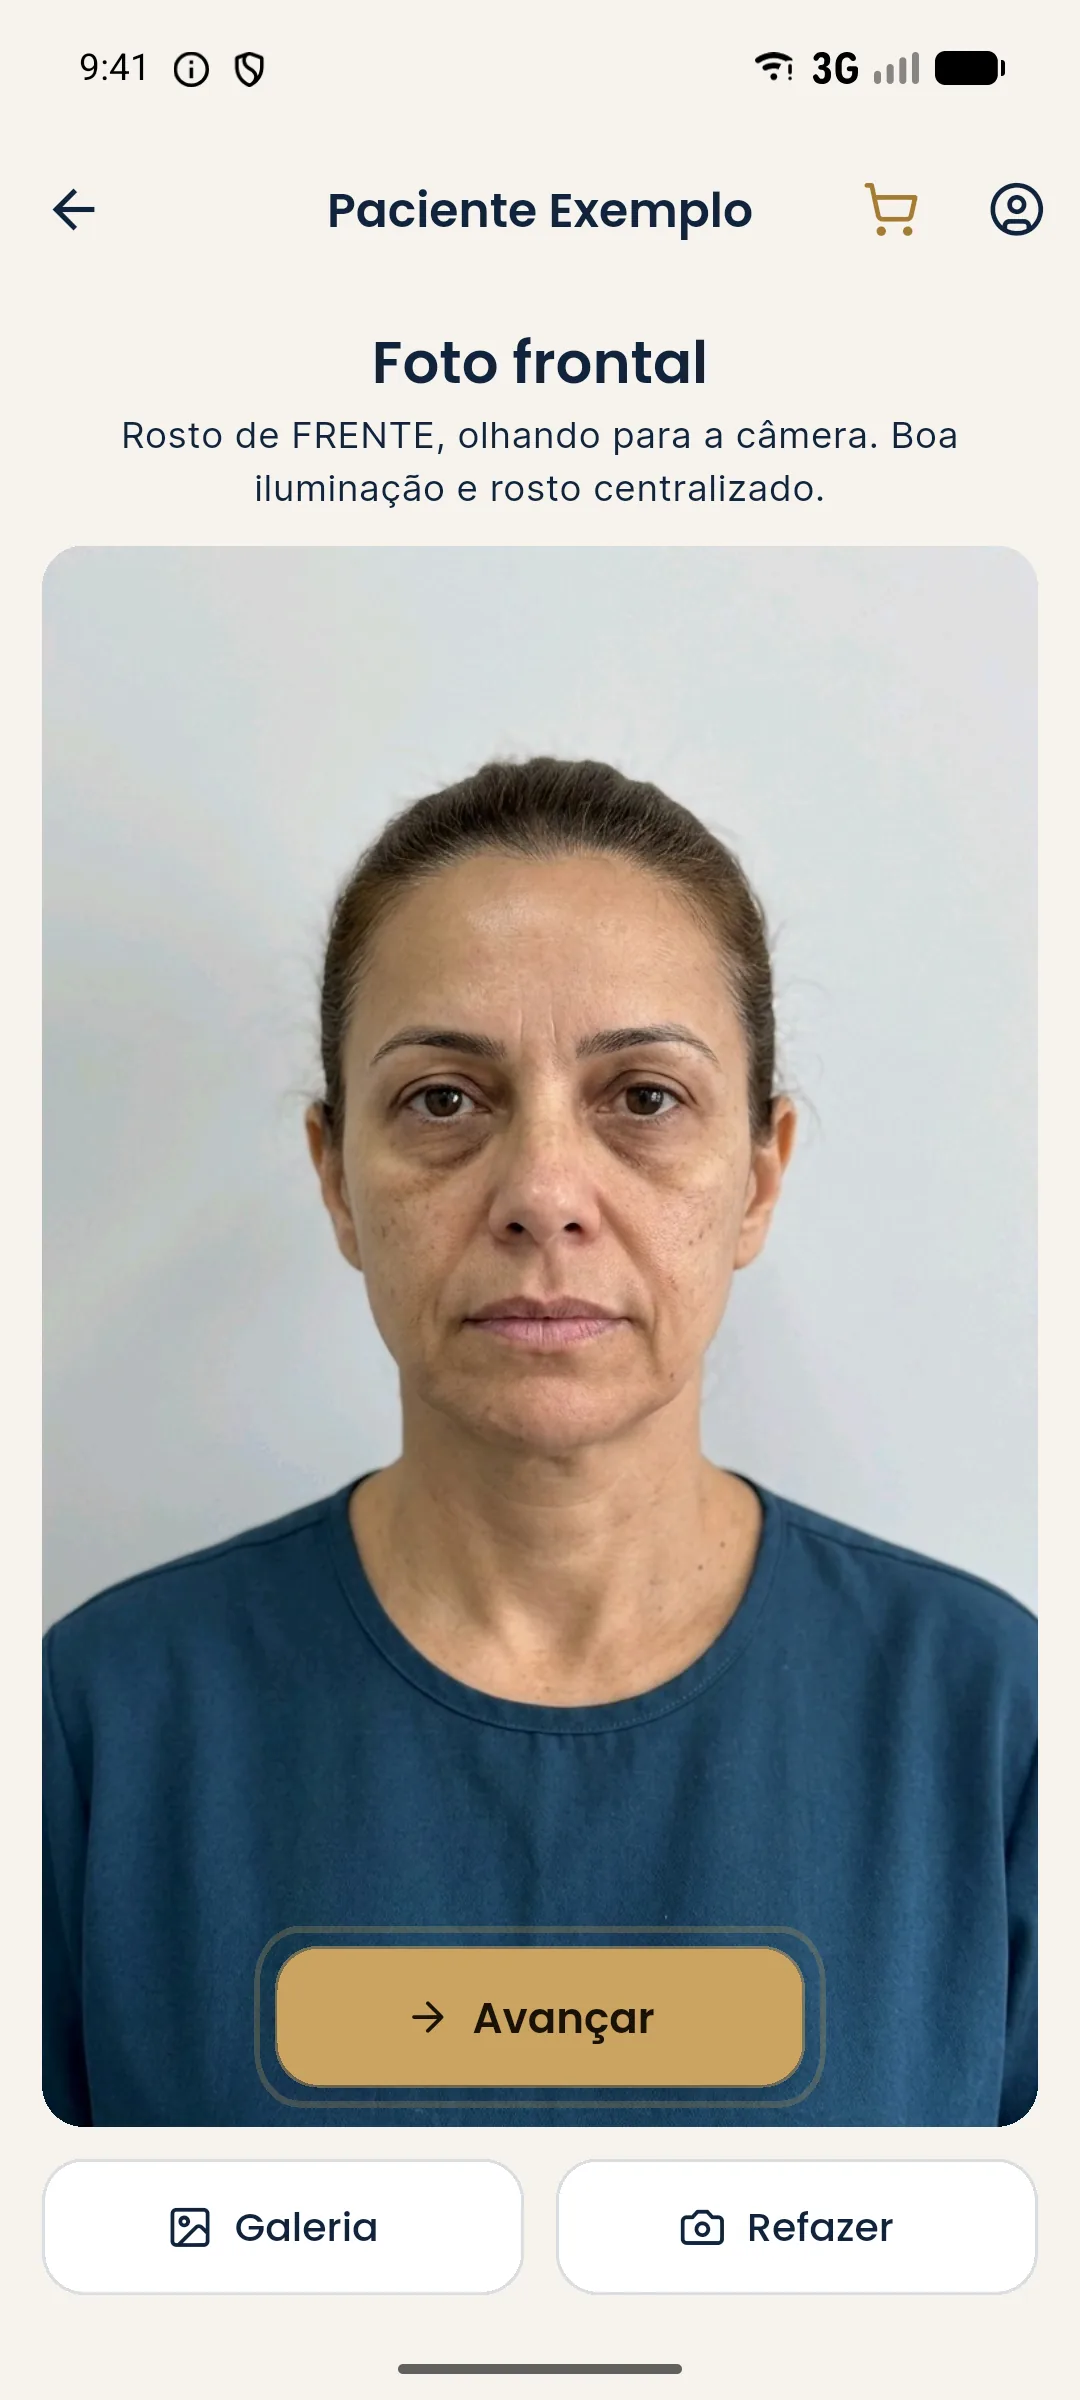
Harmy uses a single frontal photo per session: there is no oblique or profile photo in the app flow. The illustrative simulation therefore shows the area in a frontal view. The 45-degree oblique is a documentation supplement in the clinic's chart, useful for assessing volume and contour outside the app. For the starting photo of the projection, see single frontal photo for planning in the app.
Typical mistakes in the oblique
The most frequent is turning only the eyes or only the neck, leaving the body facing forward. The second is letting the patient follow the camera with their gaze, which changes the head position between photos. The third is photographing one side with the patient closer to the camera than the other, creating a size difference. To avoid this, use a swivel chair with marks, a fixed gaze point on each side and the same lens distance on both sides. Check the two photos side by side before releasing the patient.
Summary
Mark the angle, fix distance, height and light, photograph both sides and label them with the same convention. The 45-degree oblique shows what the frontal view hides, as long as it is repeated with discipline.
Frequently asked questions
What is the 45-degree face photo?
It is the oblique view, with the head turned about 45 degrees relative to the camera. It shows the projection and contour of the cheekbone, jaw and temples, which the frontal view flattens.
How do you know the patient is at 45 degrees?
A practical reference is to line up the tip of the nose with the edge of the opposite cheek, with the gaze on the horizon. Floor marks and a dot on the wall help repeat the position.
Do I need to photograph both sides?
Yes. Asymmetry is common, and one side does not represent the other. Photograph and label both obliques, right and left.
Does Harmy use a 45-degree photo?
No. The app uses only one frontal photo per session. The oblique view stays as a documentation record in the clinic's chart.
Harmy images are illustrative simulations generated by AI from the patient's photo to support the conversation between practitioner and patient. They are not a promise of results. Indication, technique, product and volume are solely the decision of the licensed practitioner. This content is for information only and does not replace a clinical assessment.