
Temple photo for documentation: angle and light
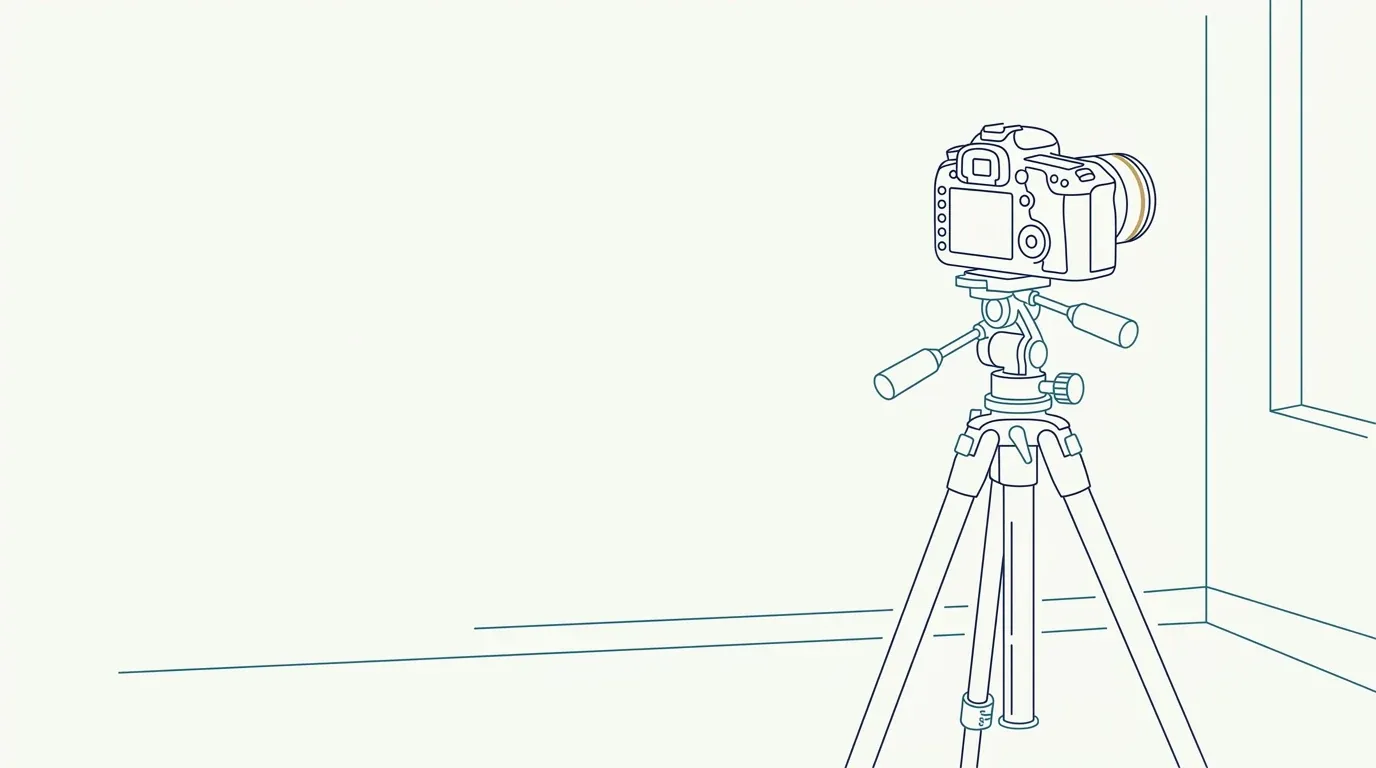
- Nerve
- Highlighted area
Quick facts
- Views
- Frontal at rest, oblique at about 45 degrees and, if useful, profile, on both sides.
- Light
- Soft, slightly overhead and lateral, to reveal the hollow without exaggerating.
- Hair
- Moved away from the temples and ears, with a neutral clip.
- Caution
- Area with relevant vessels and nerves: record precisely and without rushing.
The temple is an area of relief: a shallow hollow between the forehead, the zygomatic arch and the hairline. In a frontal photo it appears as a soft transition of light and shadow. In an oblique view it takes shape. That is why anyone who documents the temples with a single frontal photo loses the information that matters most. The area is also anatomically sensitive, which reinforces the need for a careful record.
This page describes the standard for angle, light and hair to document the temporal hollow. It is about recording, not injection technique.
Why do the temples need more than one view?
The temporal fossa contains the temporalis muscle and the temporal fat pad, and volume loss there creates the look of a hollowed temple, which changes the outline of the forehead and the shape of the upper third. That volume is read in the transition from forehead to zygoma. The frontal view shows width and symmetry; the oblique shows depth.
The area is described in temples and the indication in temple filler. Here, the focus is photography.
Which views should you take?
| View | How to position | What it reveals |
|---|---|---|
| Frontal at rest | Face forward, gaze on the horizon | Symmetry and width of the upper third |
| Right oblique | Face turned about 45 degrees | Hollow on the patient's left side in the image |
| Left oblique | Face turned about 45 degrees to the other side | Hollow on the opposite side |
| Profile (optional) | 90 degrees | Relationship between forehead, temple and zygomatic arch |
The oblique view must be standardized: see 45-degree photo of the face and profile photo of the face in the clinic. Always photograph both sides, because temporal asymmetry is common.
Which light should you use?
The hollow is relief, and relief calls for controlled shadow. The best choice is soft light that is slightly overhead and a little lateral, which outlines the hollow without exaggerating it. Very high light creates a deep shadow under the brow; frontal light and flash flatten the area. Keep the same light from one visit to the next. More in light for the facial clinical photo and shadow on the face in the clinical photo.
Hair, accessories and skin
Hair covers exactly the area to be documented. Tie it back or move it away with a neutral clip, without tensing the skin or changing the position of the brow. The ear should be visible, and earrings and glasses should be removed, as in tied-back hair in the clinical photo and earrings, glasses and accessories. If the patient has baldness or a receded hair transplant, note it in the chart.
What to record besides the image?
The temporal area has important vascular and nerve structures, such as the superficial temporal artery, and possible complications require careful follow-up. At follow-up, the photo serves to document the contour, but it is the clinical examination that assesses safety. In case of severe pain, color change, pallor or visual changes after a procedure, the response is immediate care, and the photographic record comes afterward. See photo of ischemia signs for the chart.
Note in the chart: date and time, views taken, light and distance, the patient's concern, hairstyle and accessories removed.
How do you compare before and after?
The comparison is only valid with the same view, the same light and the same hairstyle. If the follow-up photo came out with different hair or another light, the conclusion is compromised. To align photos that came out slightly different, the method is in aligning photos by the eyes to compare, and the list of typical mistakes is in common mistakes in the before and after photo.
And in Harmy?
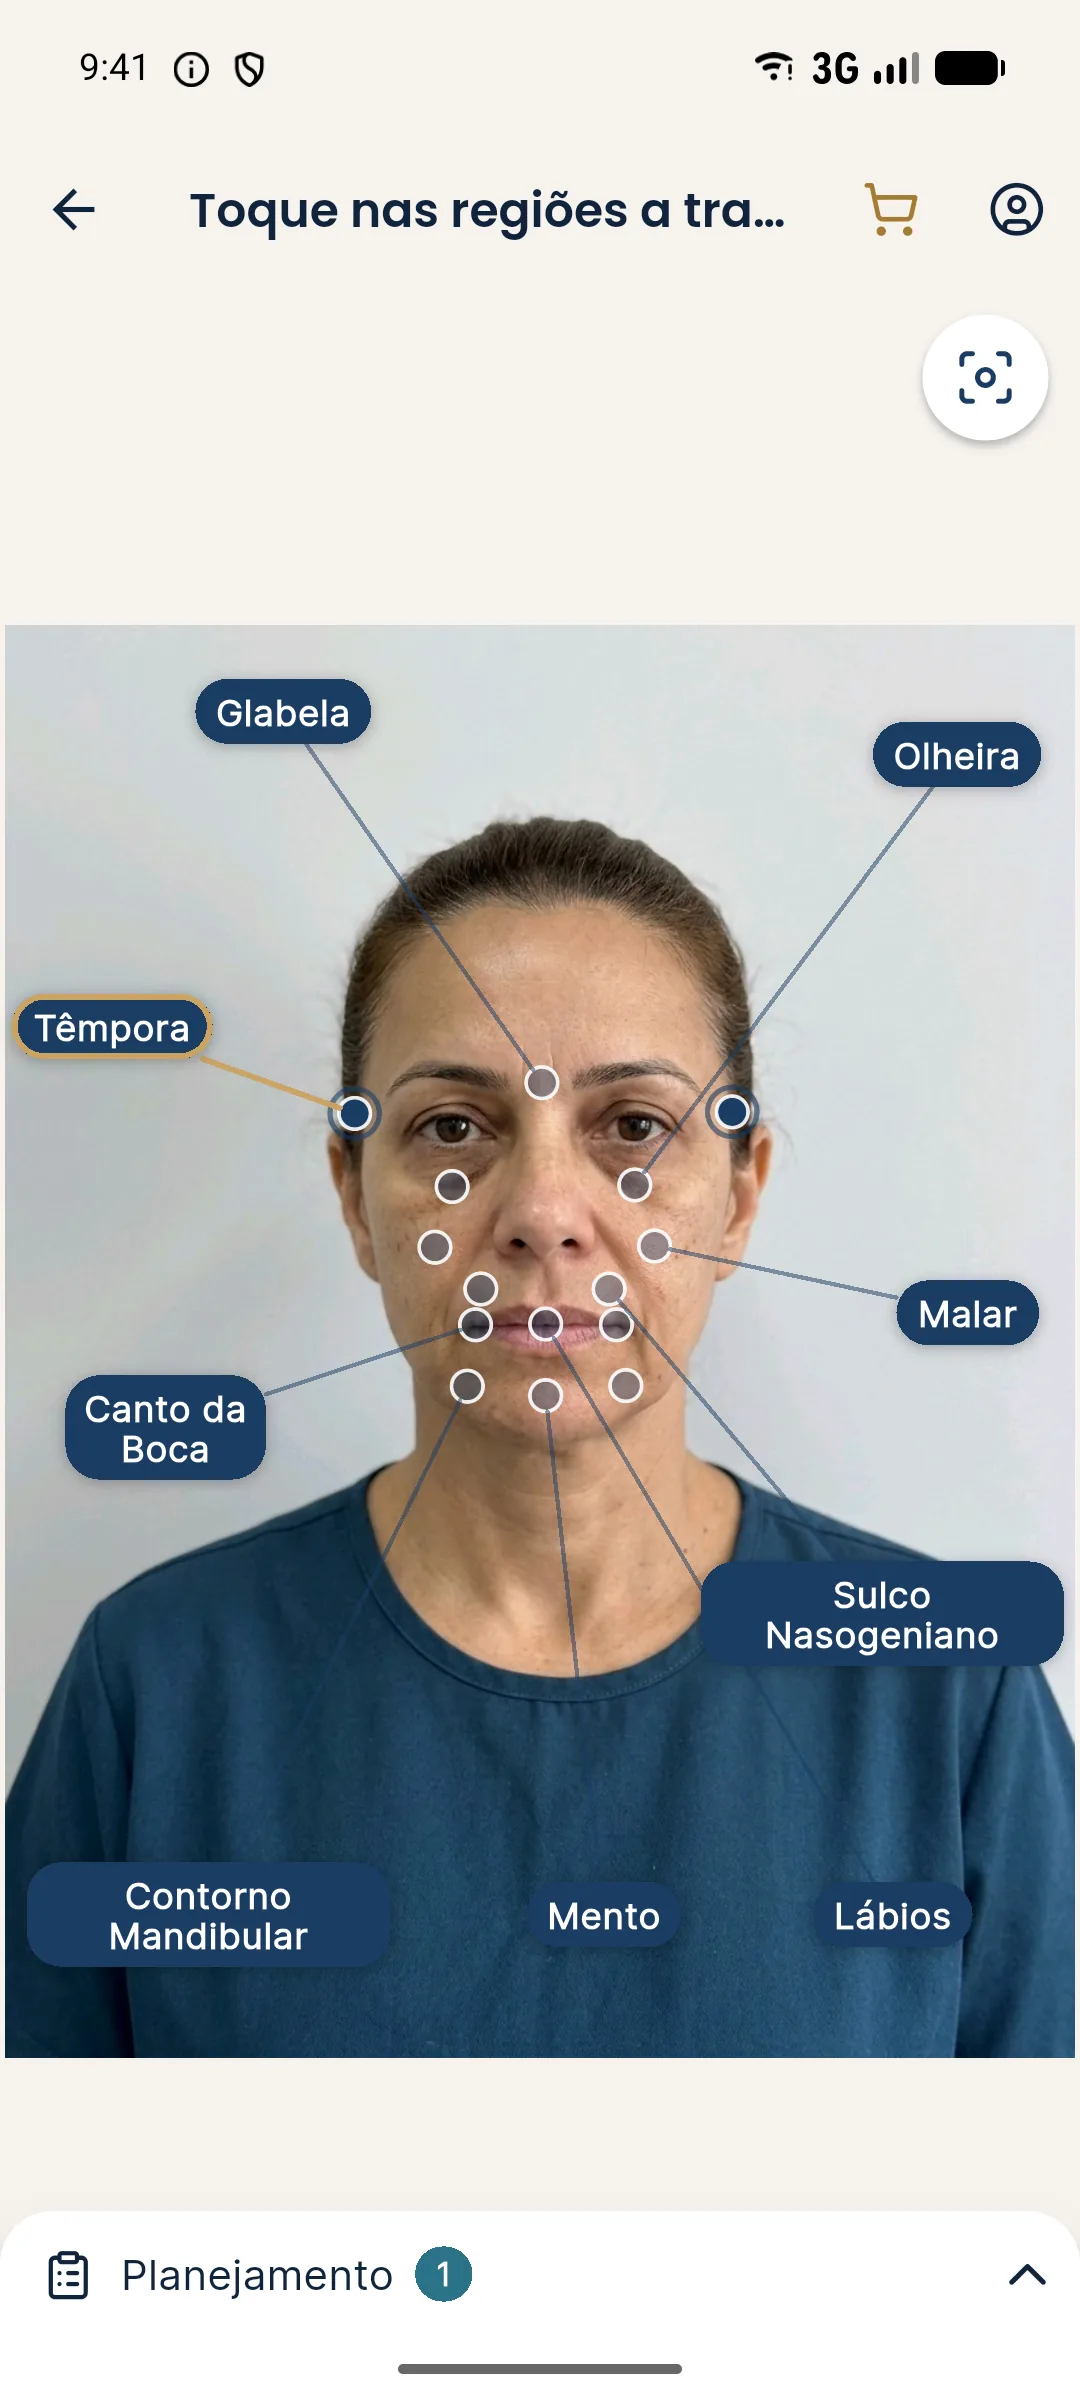
The app has the Temple point and generates an illustrative simulation from the frontal photo, with ml per area. Because the projection uses only the frontal photo, the depth of the hollow is not assessed in it: the oblique view is chart documentation, outside the app. The After keeps the light of the original photo.
What to record about the concern
Ask the patient what they notice: a sunken temple, a tired-looking face, glasses that do not sit well, or a difference between the sides. Note the concern in their own words and link each concern to the view that documents it best. A concern about asymmetry calls for the frontal and both obliques; a concern about volume loss calls for the oblique with overhead light. This link between concern and pose makes the record objective and makes comparison at follow-up easier, without relying on memory.
Summary
Frontal and oblique on both sides, soft light that is slightly overhead and lateral, hair moved away and a fixed protocol. The temporal hollow only shows when angle and light make the relief visible.
Frequently asked questions
How do you photograph the temples for documentation?
With a frontal view and obliques on both sides, soft light that is slightly overhead and lateral, hair moved away and the same distance at every visit. The oblique shows the hollow that the frontal view hides.
Why is the frontal view not enough for the temples?
Because the temporal hollow is read in depth. From the front it shows up as a transition of color and shadow, while in the oblique the relief becomes visible.
Does hair get in the way of the temple photo?
Yes, because it covers the area and the border with the forehead. Tie back or move the hair away neutrally, without pulling the skin, and keep the same hairstyle across visits.
Does Harmy simulate the temples?
Yes, the app has the Temple point and generates an illustrative simulation from the frontal photo. The oblique documentation photo is a separate record.
Harmy images are illustrative simulations generated by AI from the patient's photo to support the conversation between practitioner and patient. They are not a promise of results. Indication, technique, product and volume are solely the decision of the licensed practitioner. This content is for information only and does not replace a clinical assessment.