
After photo looks worse than the before: what happened
Quick facts
- Common causes
- Different light, angle or distance, expression, swelling, tiredness, makeup and camera.
- First step
- Compare the conditions of the two photos before concluding anything.
- Action
- Retake the follow-up photo under the baseline conditions when in doubt.
- With the patient
- Explain without defending or minimizing: show the differences in conditions.
The scene is familiar: the patient comes back for follow-up, the professional thinks the result looks good, takes the photo, and when placing it next to the first one, the after image looks worse. The skin is darker, the face looks more tired, the fold more marked. Before concluding that something went wrong, remember that two photos can only be compared when they were taken under the same conditions. Almost always, the cause is in the method.
This page lists the most common causes, the investigation checklist and how to handle the conversation with the patient.
What are the most common causes?
| Cause | How it alters the photo |
|---|---|
| Different light | Stronger shadow, shine or a different skin tone |
| Angle or lens height | A higher camera flattens, a lower one deepens |
| Distance | Perspective changes the proportions of the nose, chin and cheekbone |
| Expression | A smile, tension or a frown change folds and lips |
| Tiredness and sleep | Dark circles, pallor and eyelid swelling |
| Residual swelling | Greater volume and blurred contour (swelling) |
| Makeup or tan | Skin tone and texture |
| Camera or filters | Different smoothing, HDR and white balance |
| Hair and accessories | Different shadow and contour |
Each item can, on its own, make a photo look better or worse. Together, they create comparisons that do not match what actually changed in the face. The list of method failures is in common mistakes in the before and after photo.
How do you investigate before concluding?
Use a short checklist of questions, preferably with the two photos side by side and enlarged:
- Is the light the same? Look at the direction of the shadow on the neck and under the nose, and the shine on the forehead.
- Is the head in the same position? Check the line between the pupils and the Frankfort plane (tilted face and symmetry).
- Are the distance and height the same? The size of the face in the frame and the perspective of the nose show this.
- Is the expression the same? Mouth, eyebrows and gaze.
- Did the skin tone change because of the equipment? Look at the color of the background and clothing (different skin tone).
- Are there factors from that day? Tiredness, crying, makeup, swelling still present.
What if swelling is still present?
An early follow-up can show residual swelling that masks the result. The follow-up photo should be taken within the period set by the professional, when the swelling has already gone down. If a photo has to be taken before that, label it as progress, not as the result. See when to take the follow-up photo and result photo with swelling still present.
How do you talk to the patient?
The patient usually sees the after without a filter and compares it with the memory of the before. If the follow-up photo came out worse because of method, explain calmly, showing the objective differences. If there is doubt about the result, offer to retake the photo under the baseline conditions, on another date or the same day, after repositioning. Avoid minimizing the patient's perception and avoid defending the treatment by reflex.
Can I edit the after photo?
Not to improve it. Correcting brightness, color or the shape of the face so that the after looks better turns the record into misleading material and can create an ethical and legal problem. Uniform adjustments, such as rotating the file to level the pupils and applying the same color correction to both photos, are accepted as standardization. The boundary is in to edit or not to edit the clinical photo and in correcting brightness and contrast.
How do you prevent it from happening again?
- Keep a written protocol for light, distance, height and poses.
- Take the follow-up photo always before talking about the result, so the patient is less emotional.
- Review the photos on the spot, comparing with the previous one.
- Note any difference in context in the chart.
- Explain to the patient, from the start, how and why the photos will always be taken the same way.
- Use standardizing photos between visits as a checklist.
What does the patient see that the professional does not?
The professional looks at the treated area; the patient looks at the whole face. Their attention may go to tiredness, color or asymmetry that has nothing to do with the procedure. Showing the area and the context, with a well-made photo, helps redirect the conversation. For using the image in the conversation, see showing the projection to the patient with the right photo.
And in Harmy?
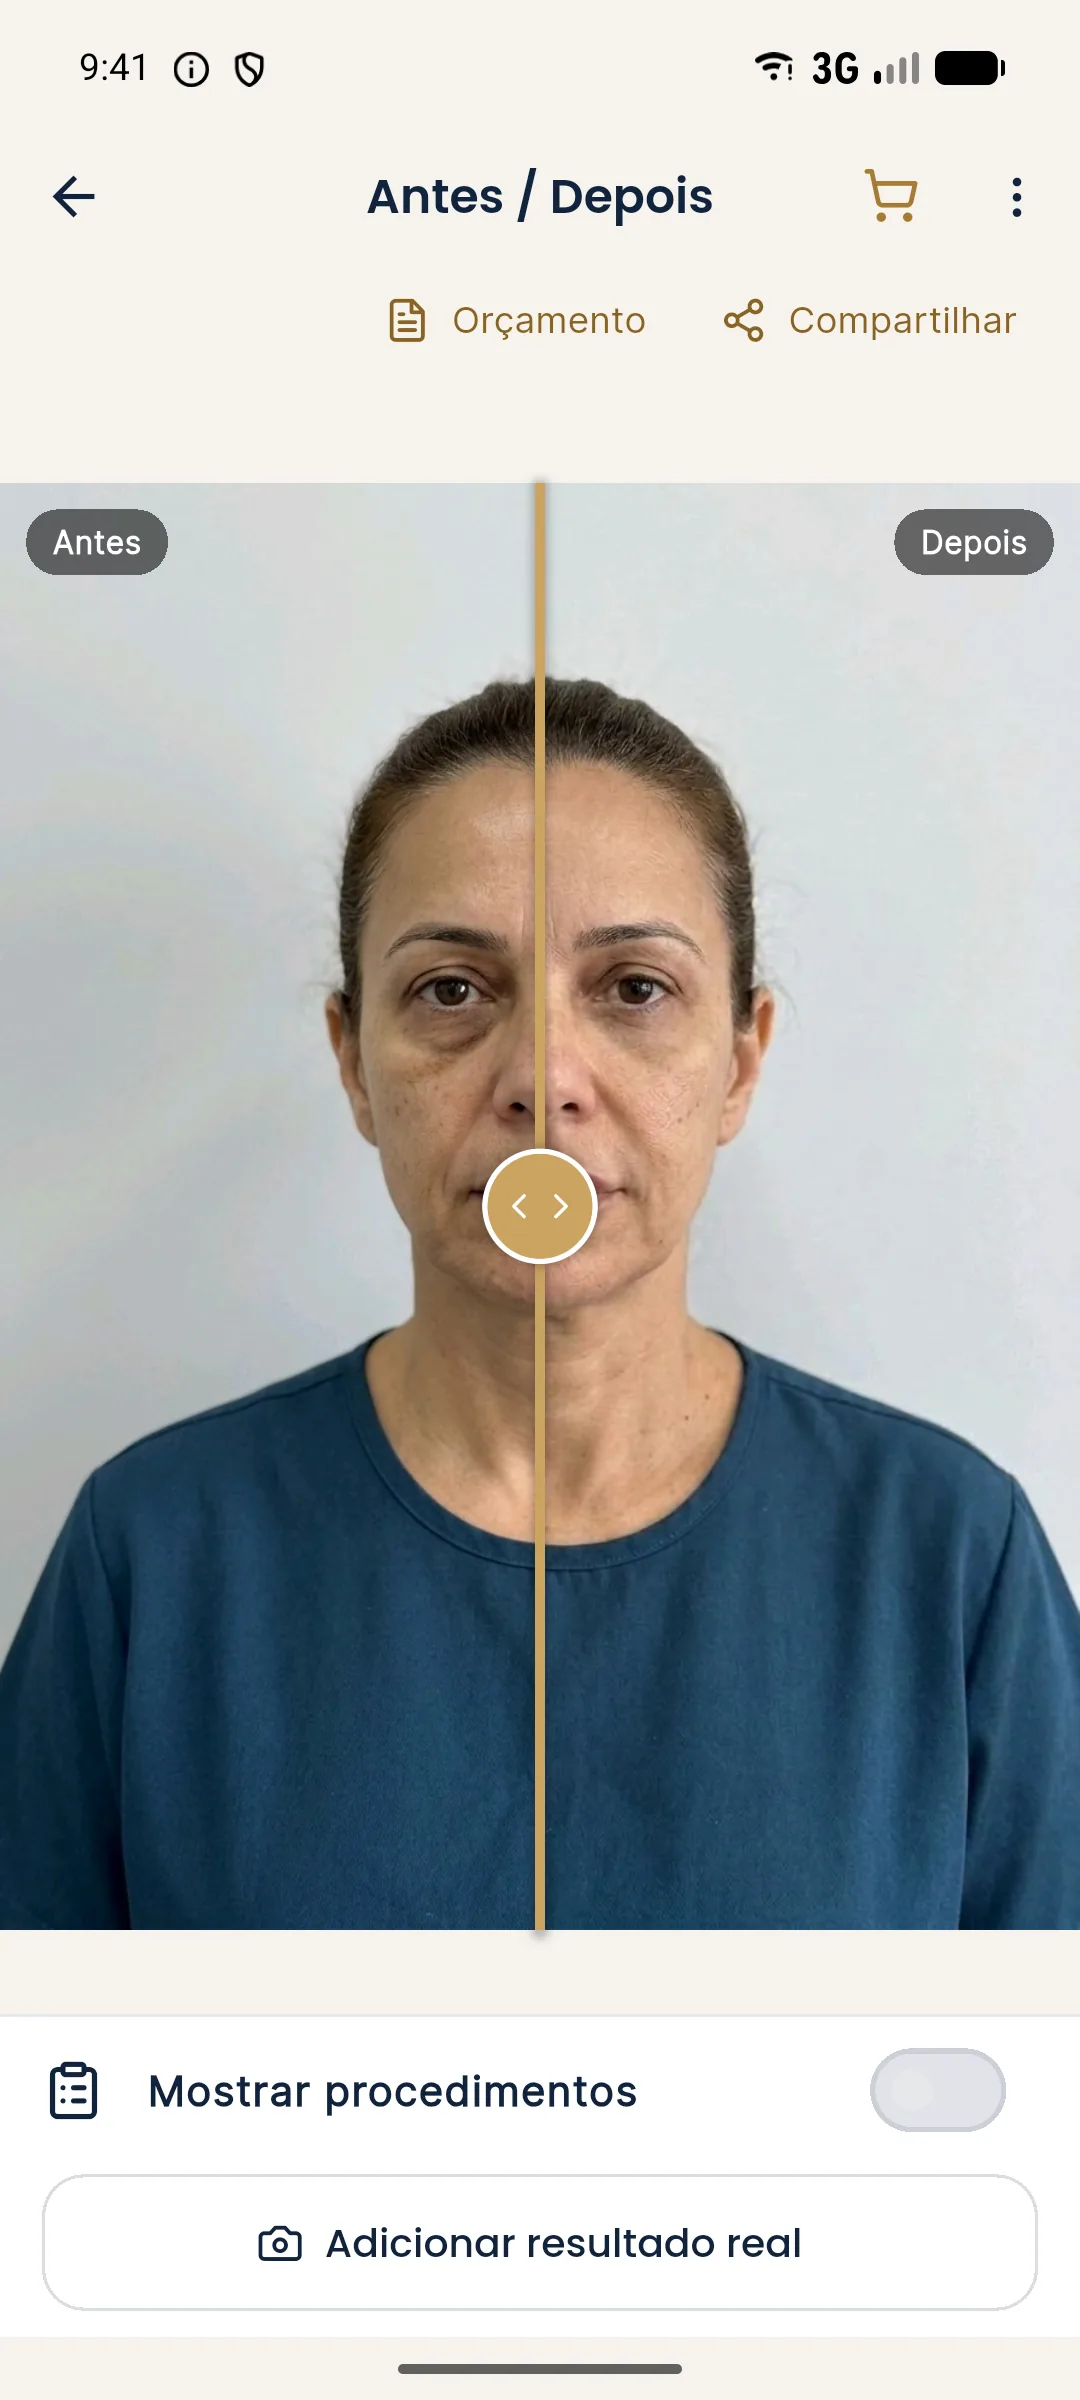
Harmy helps avoid the two-sided problem: the illustrative simulation uses the same original photo and changes only the marked areas, without changing light, expression or background, which makes the comparison honest in the slider. For the actual result, the app saves the post-procedure photo aligned by the eyes and compares Projection, Actual result and Projection vs Actual.
Summary
If the after photo looks worse, investigate light, angle, distance, expression and context before concluding. Retake under the baseline conditions, do not edit to improve, and talk to the patient with objective data.
Frequently asked questions
Why did the after photo come out worse than the before?
Most of the time because of differences in light, angle, distance, expression or tiredness. Residual swelling and a change of camera also count. Compare the conditions before attributing the difference to the treatment.
How do I show this to the patient without sounding like an excuse?
By showing the two photos side by side and pointing out the objective differences in conditions, such as light and head position. Then retake the follow-up photo under the baseline conditions.
Can I edit the after photo to make it look better?
No. Editing to improve the after invalidates the record and can be misleading. Fix the method of the next photo, not the image.
Does this mean the treatment did not work?
Not necessarily. Only clinical assessment, together with comparable photos, allows a conclusion. The worse photo may reflect different conditions rather than a worse result.
Harmy images are illustrative simulations generated by AI from the patient's photo to support the conversation between practitioner and patient. They are not a promise of results. Indication, technique, product and volume are solely the decision of the licensed practitioner. This content is for information only and does not replace a clinical assessment.