
Before and After in Harmy: Present and Share the Projection

The Before / After screen is where the projection becomes a conversation. Here you show the patient what the plan proposes, explain it area by area and, if appropriate, send them the image to take home. This tutorial covers the slider, the Show procedures button and sharing with your clinic's branding.
What is the Before / After screen for?
The Before is the frontal photo you took. The After is the projection generated by the AI, aligned exactly over the Before. Because the AI changes only the marked areas, in proportion to the volume entered, the difference is usually subtle. That is intentional: it is an honest illustrative simulation that helps the patient understand the plan without creating unrealistic expectations.
Step by step
- When generation finishes, the Before / After screen opens on its own. The photo appears with the Before label on the left, After on the right and a gold line with a handle in the middle.
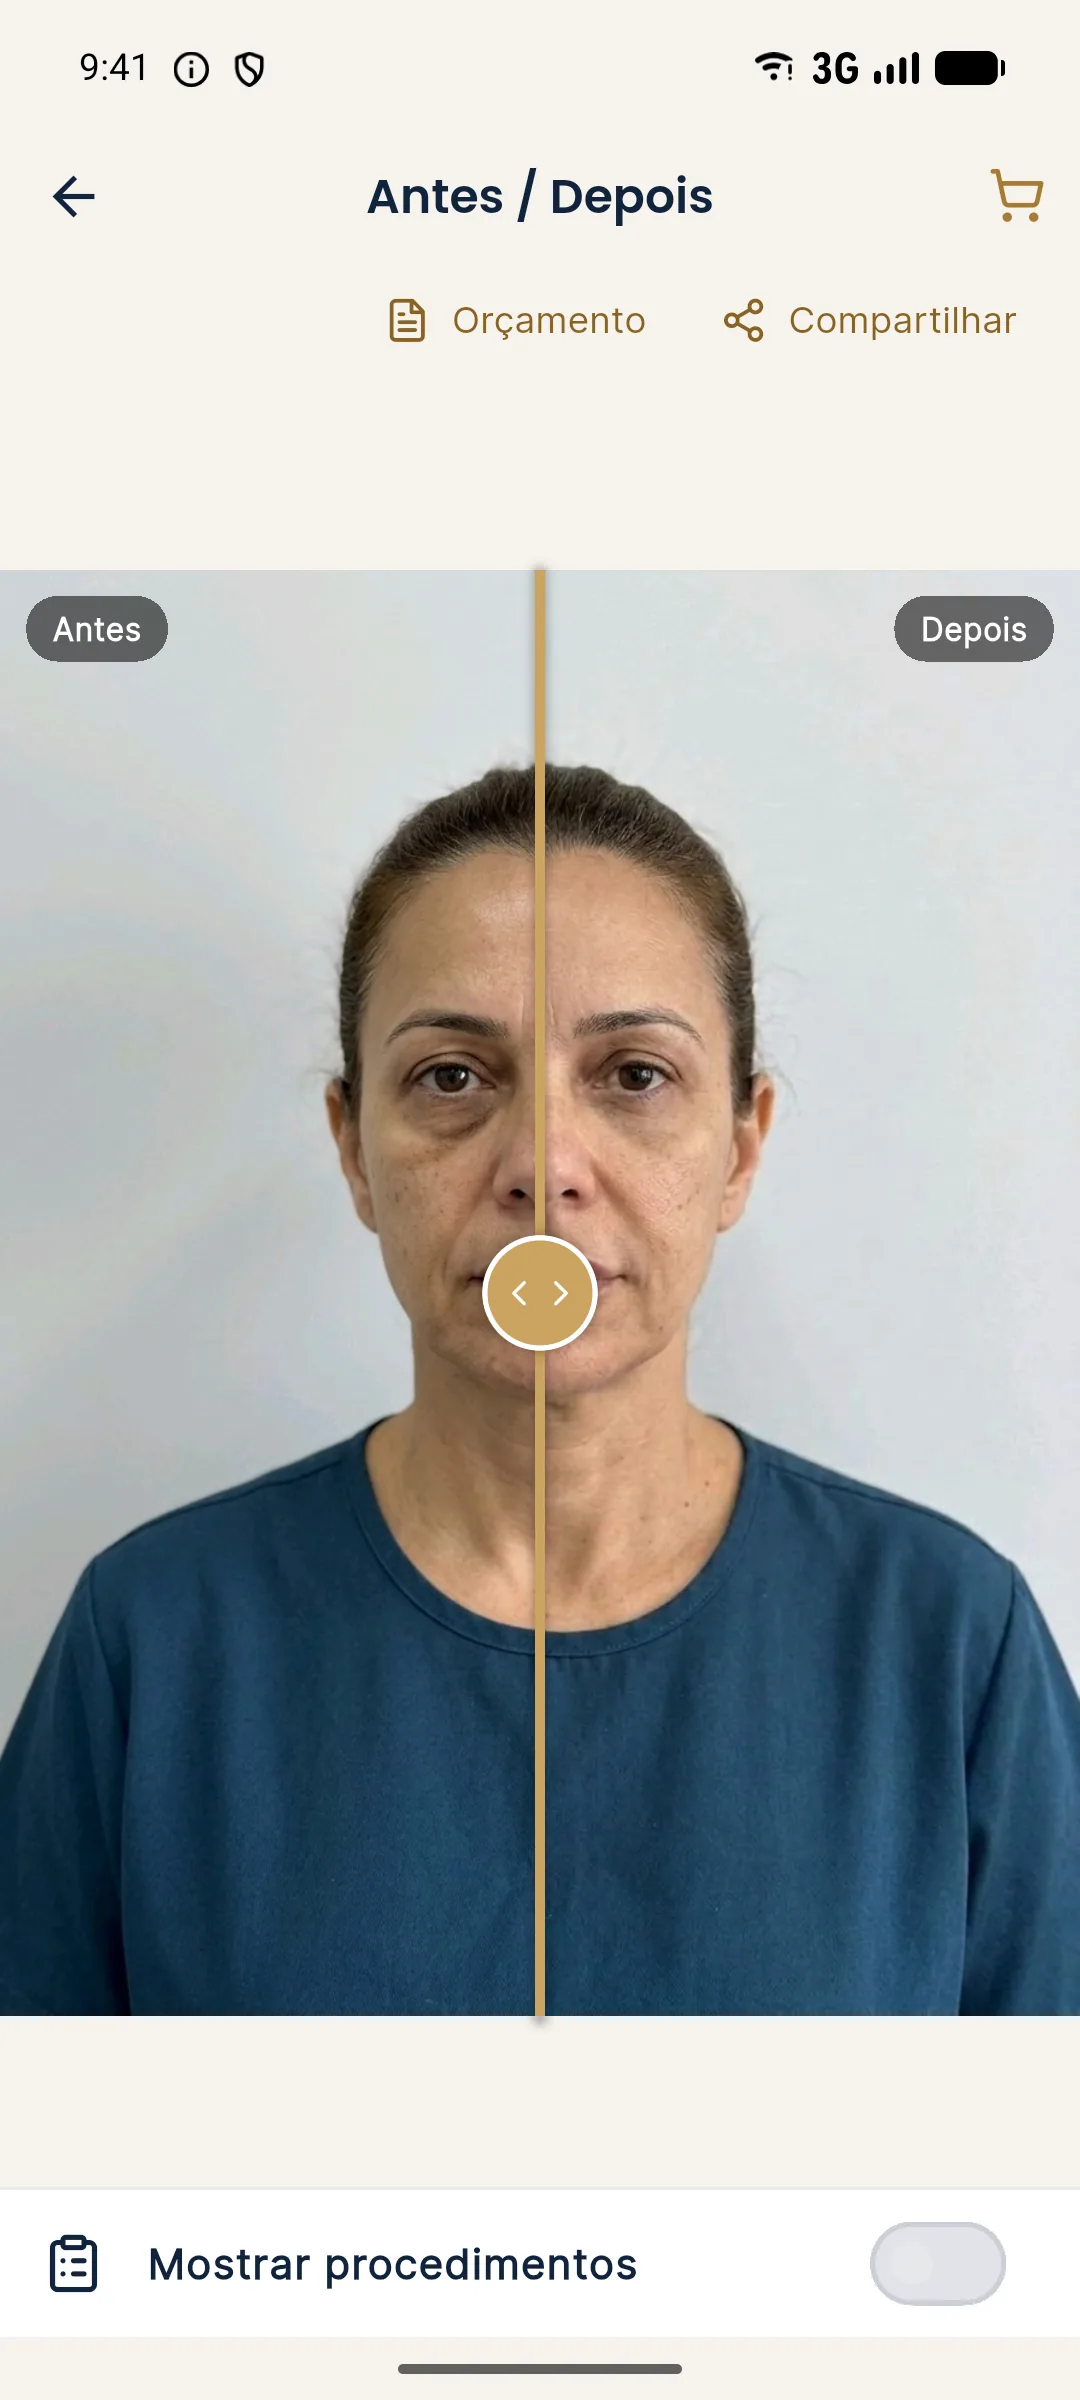
- Drag the gold line left or right. Everything to the left of the line is the Before; to the right, the After. Moving the line slowly over the treated area is the clearest way to show the change.
- To see details, use two fingers to zoom and move the image.
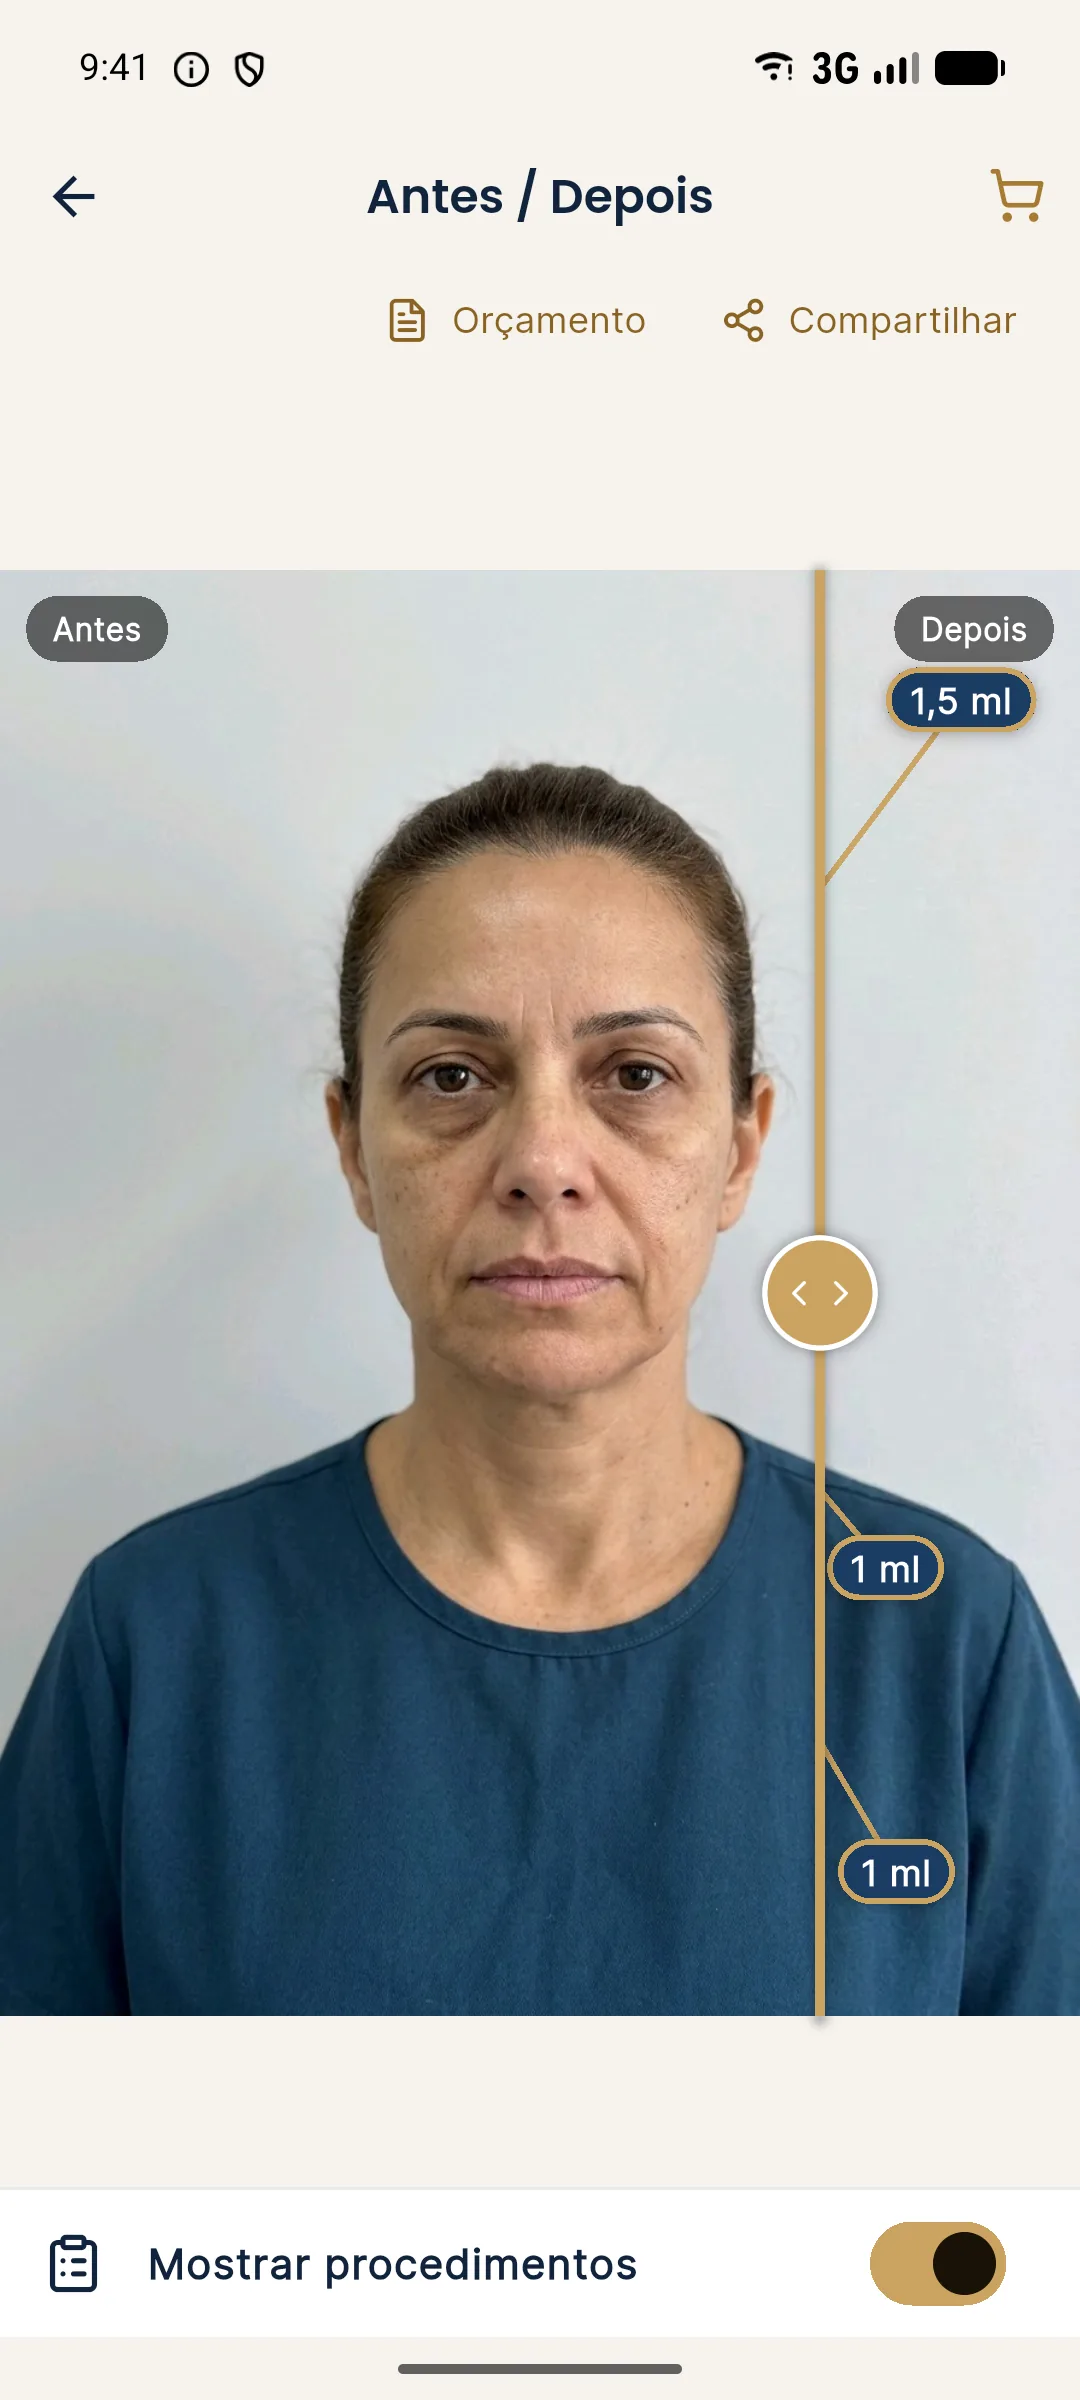
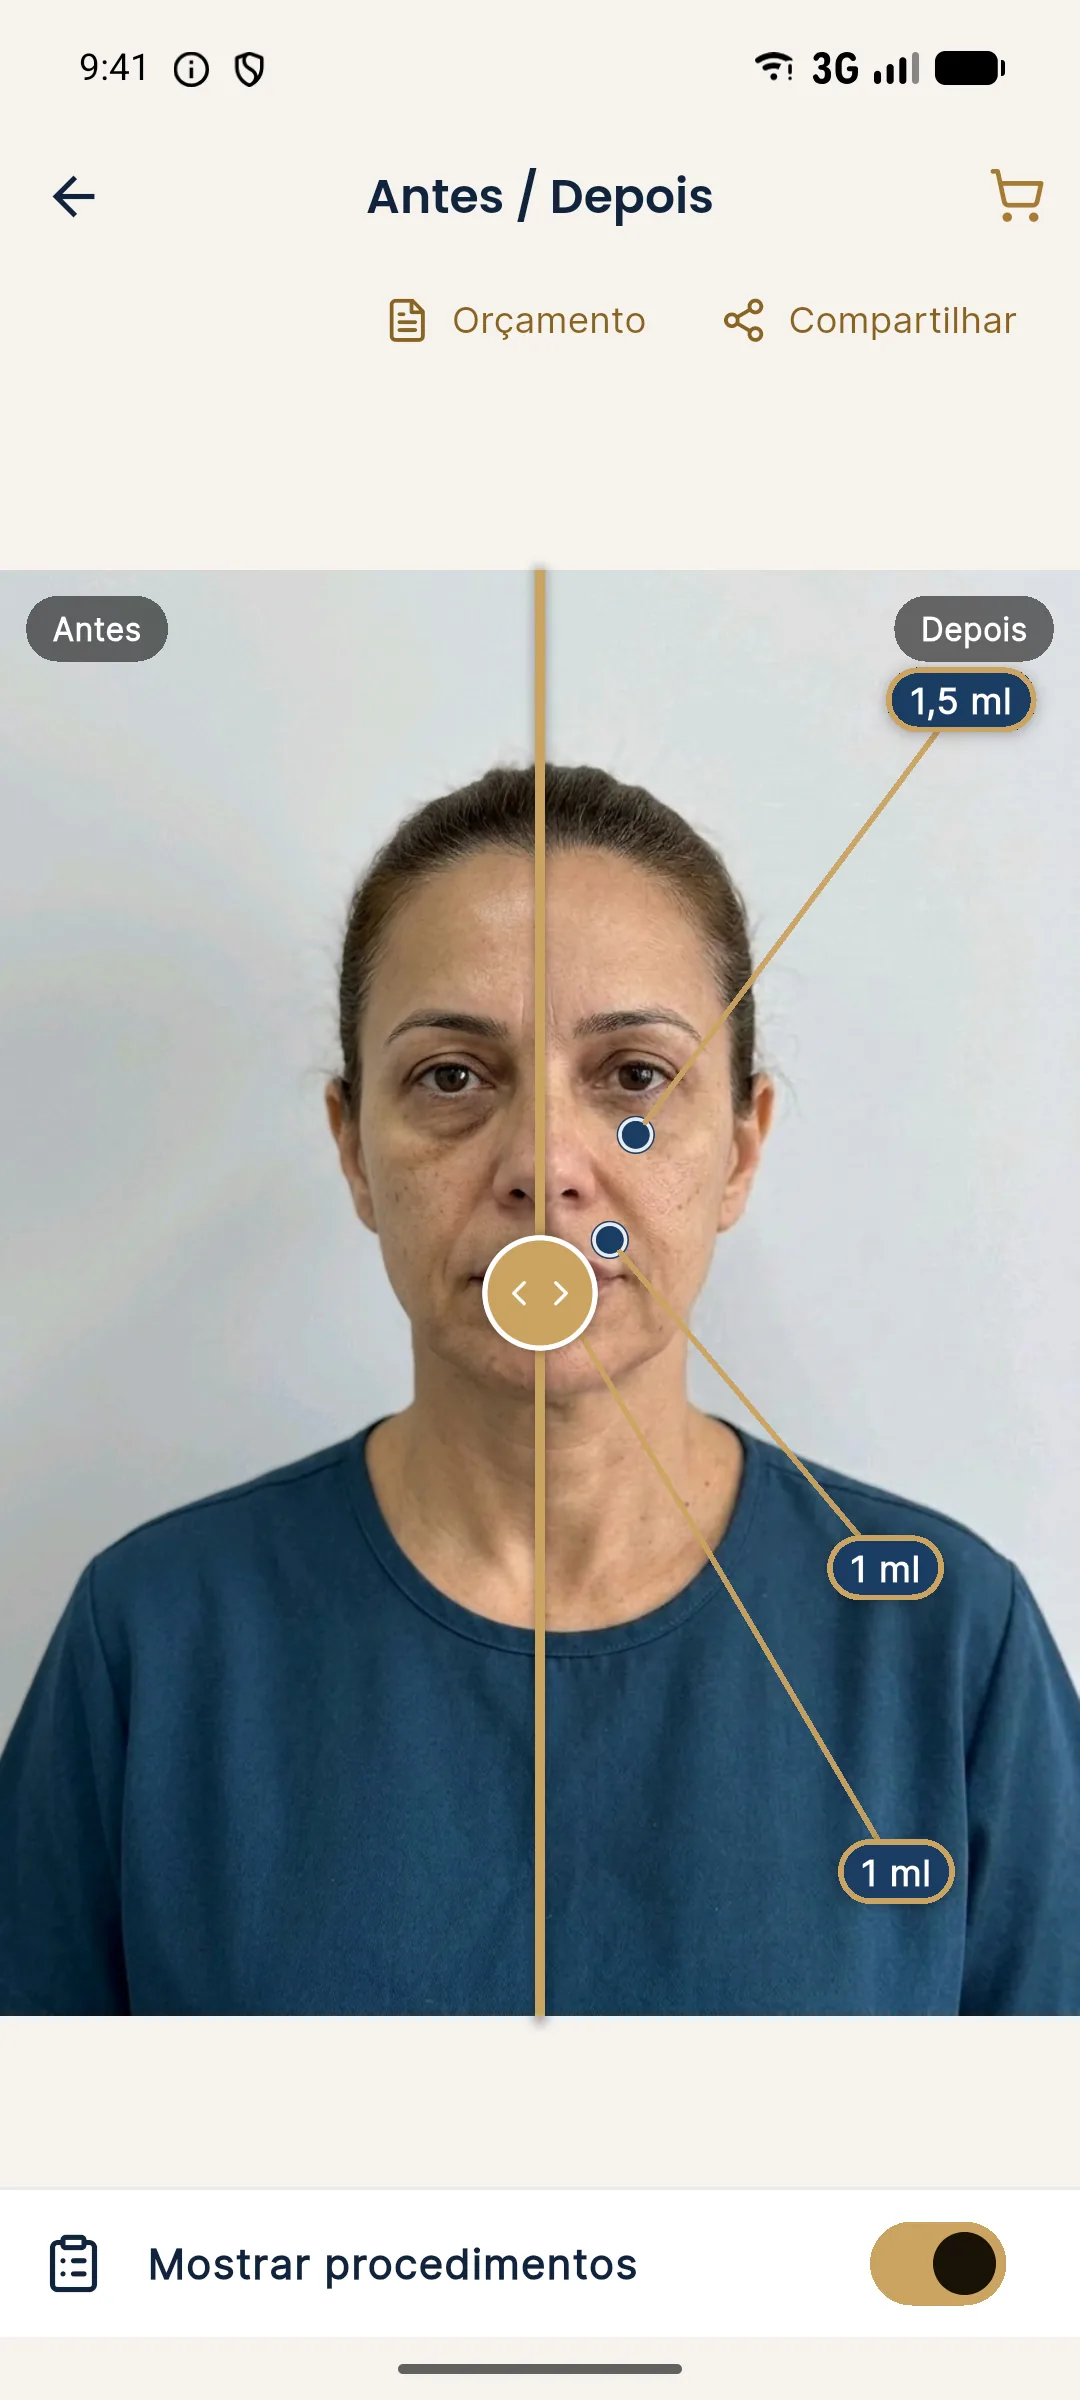
- Turn on Show procedures, at the bottom. The app marks the treated areas over the After, each with its volume in ml. On this screen the labels show only the volume; the name of the area appears on the marking screen.
- Tap Share to generate the image and choose the destination app (WhatsApp, email or another one installed on the phone).
- Tap Quote to build the PDF with prices. See quote in PDF.
What does the shared image look like?
The shared image shows the Before and After side by side, with the BEFORE and AFTER labels, the clinic header, the notice "Illustrative simulation. Not a promise of results." and a discreet "made with Harmy" seal. For the header to carry your branding, fill in Account › My clinic: clinic or professional name, contact (WhatsApp or Instagram) and logo. The screen itself shows a preview of the layout.
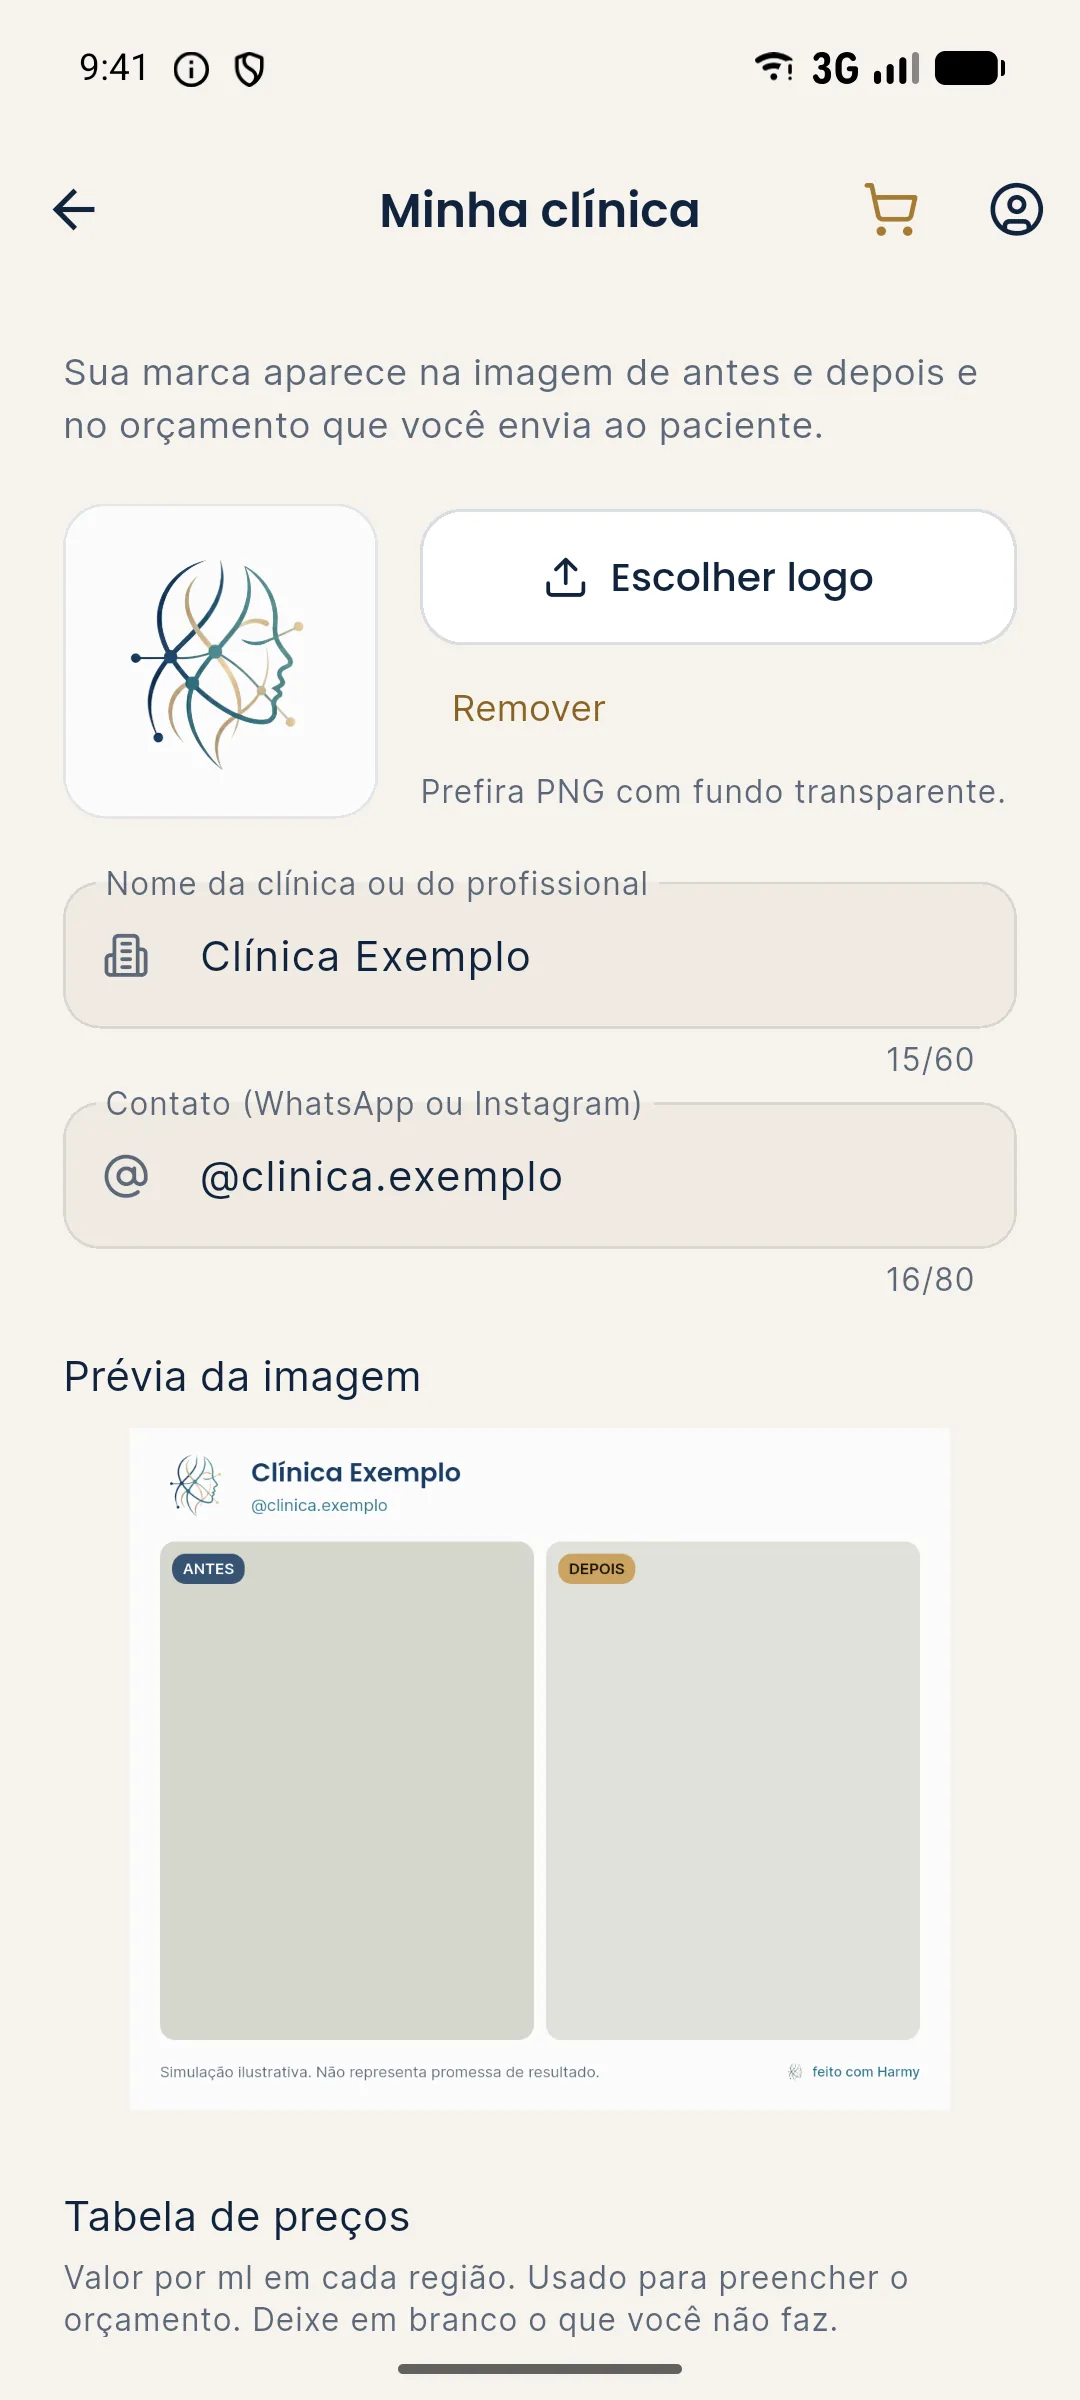
If the clinic isn't set up yet, when you share, the app suggests Add your brand to this image, with a shortcut to Set up. For the logo, prefer a PNG with a transparent background. The app opens a square crop screen before saving.
Tips for presenting to the patient
- Start with the Before. Leave the line all the way to the right, show the original photo and only then drag. The comparison is clearer that way.
- Talk about one area at a time, with Show procedures turned on, and tie each volume to what appears in the image.
- Say out loud that it is a simulation. The notice is on the shared image, but reinforcing it in conversation avoids misunderstandings.
- Use the projection as support, not as a promise. For conversation scripts, see presenting before and after in the consultation.
- Be careful on social media. Posting the projection as if it were a result is inappropriate. See what you can advertise under CFO and CONAR rules (in Brazil, the dental council and the advertising self-regulation body).
Common errors and how to fix them
| Situation | What to do |
|---|---|
| The line doesn't follow your finger | Drag from the gold handle, with one finger only. Two fingers zoom. |
| "The image could not be displayed" | Open the projection again from History. If it persists, generate the projection again. |
| "Could not find the areas in this photo" when turning on Show procedures | The app recalculates the areas on the Before photo and couldn't; the slider keeps working normally. |
| The image came out without my branding | Fill in Account › My clinic and share again. |
| When sharing with the actual result, the app asks for confirmation | This is expected: the comparison uses the patient's real photo, and you confirm that you have their authorization. |
Next step
With the patient interested, turn the plan into numbers. Continue to how to generate the quote in PDF.
Frequently asked questions
How do I compare before and after in Harmy?
On the Before / After screen, drag the gold line from side to side. The original photo is on the left and the projection is on the right. With two fingers you can zoom and move the image.
What does the Show procedures button do?
It shows, over the After side, the treated areas and the volume in ml for each one, so you can walk the patient through the plan.
Does the image shared from Harmy carry my clinic's branding?
Yes, if you fill in My clinic. The image comes out with the clinic's name, contact and logo in the header, plus the illustrative simulation notice.
Can I post the Harmy projection as a result?
No. The projection is an illustrative simulation, not the result of a procedure. Follow the rules of your professional council on publishing images in Brazil.