
New projection in Harmy: from patient name to Before / After
The new projection is Harmy's main flow: you start from a frontal photo of the patient, mark the areas you plan to treat, set the volume for each and get an "after" image to discuss with the patient. This tutorial shows the whole path, with an overview of each screen. The details on photo, marking and Before / After are in their own tutorials, linked throughout the text.
What is the new projection for?
The projection is an illustrative simulation generated by AI from the patient's photo. It helps the patient visualize the plan you proposed, with changes limited to the marked areas and proportional to the volume entered. It is not a promise of results: indication, technique, product and volume remain your decision, after assessment.
Step by step
- On the home screen, tap New projection. On first use, the app shows short tips at each step. You can go through them or check Don't show again.
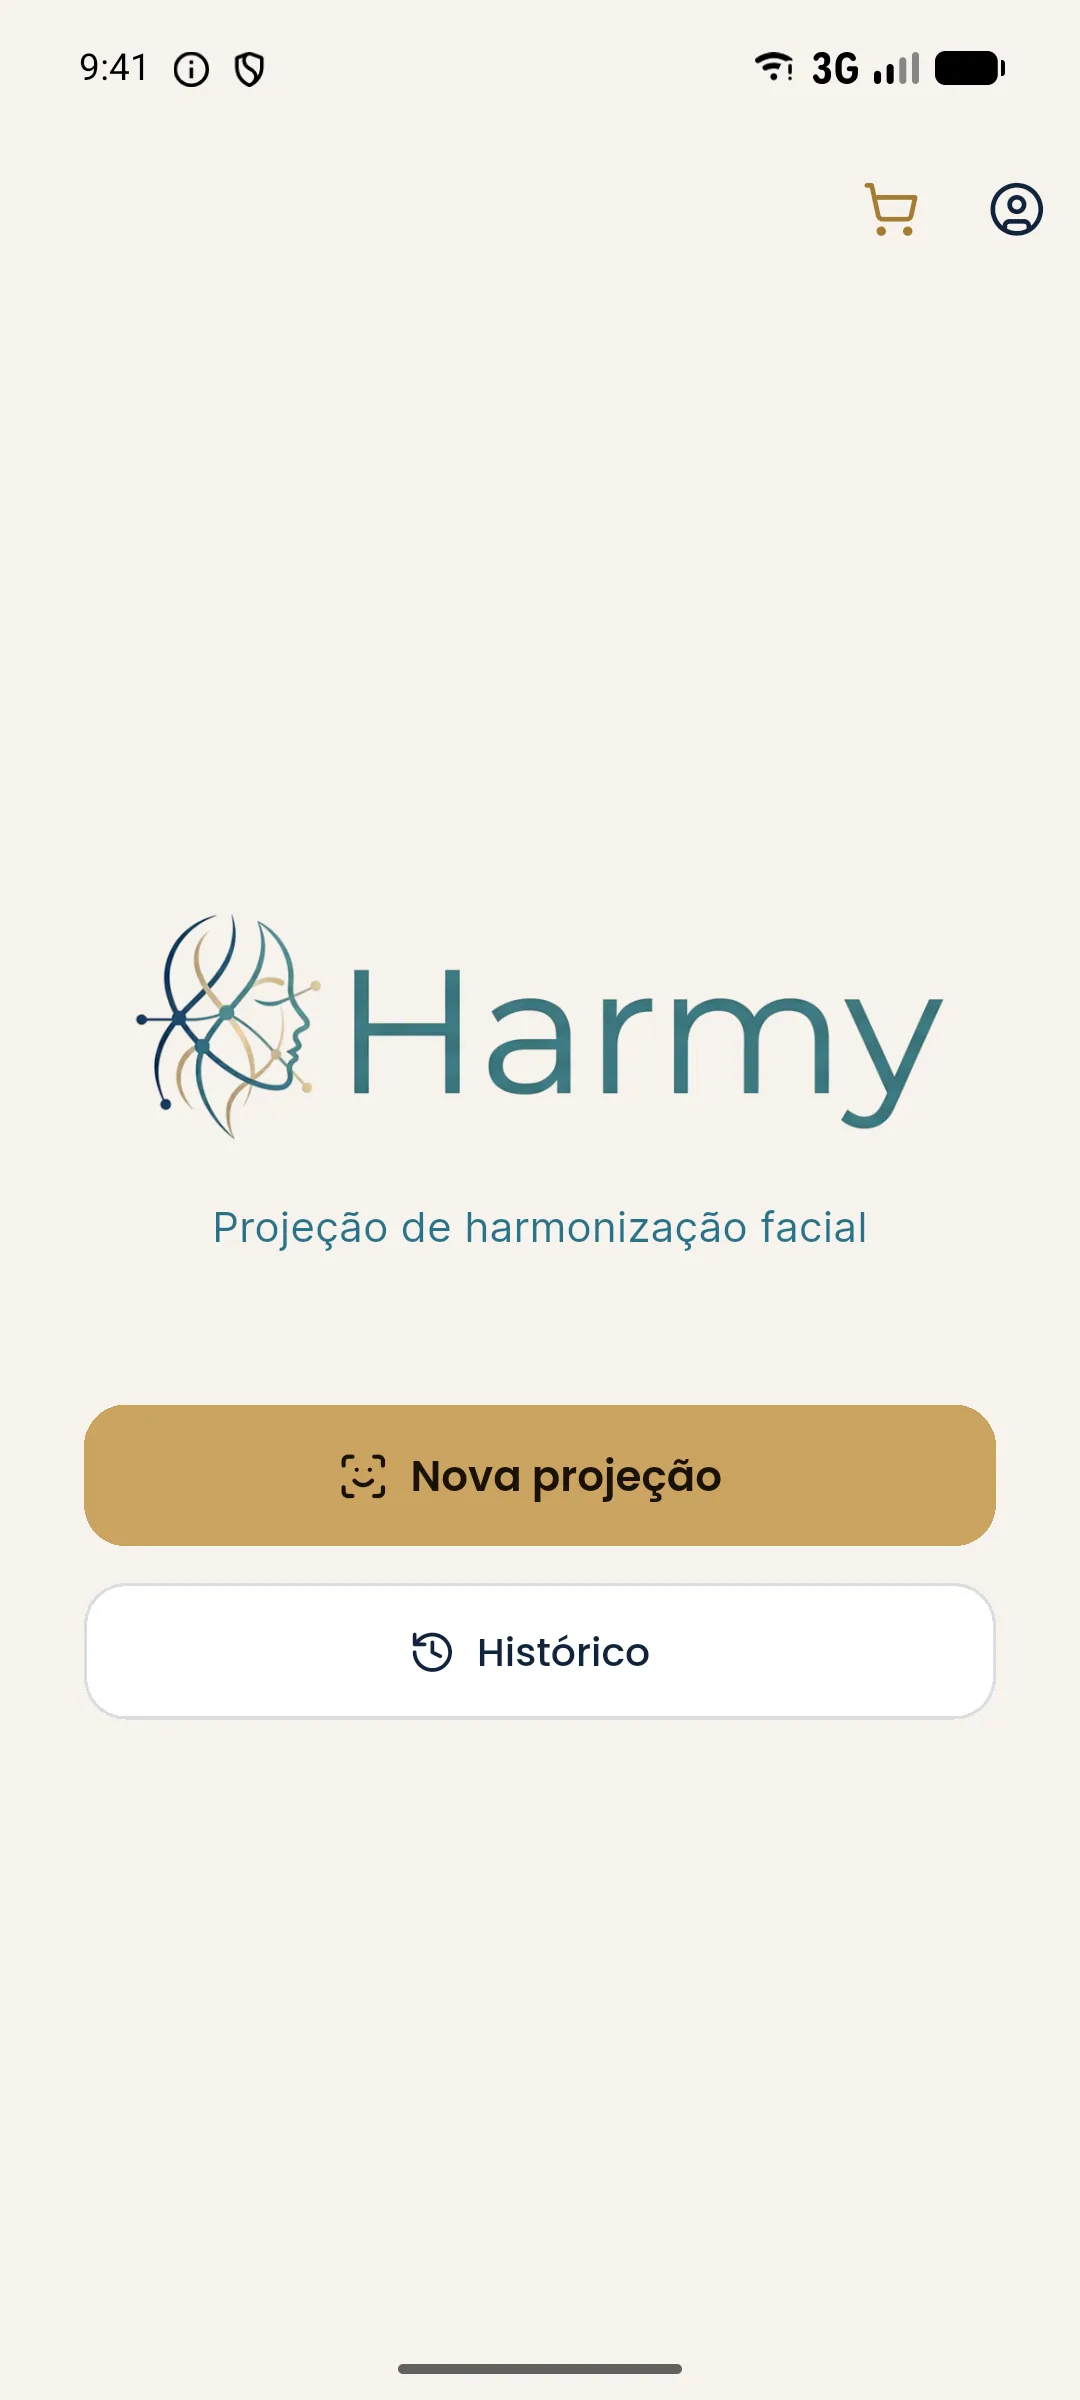
- On the New patient screen, type the patient's name in the Patient name field. The name organizes the projection history and appears on the quote. Tap Continue to photo.
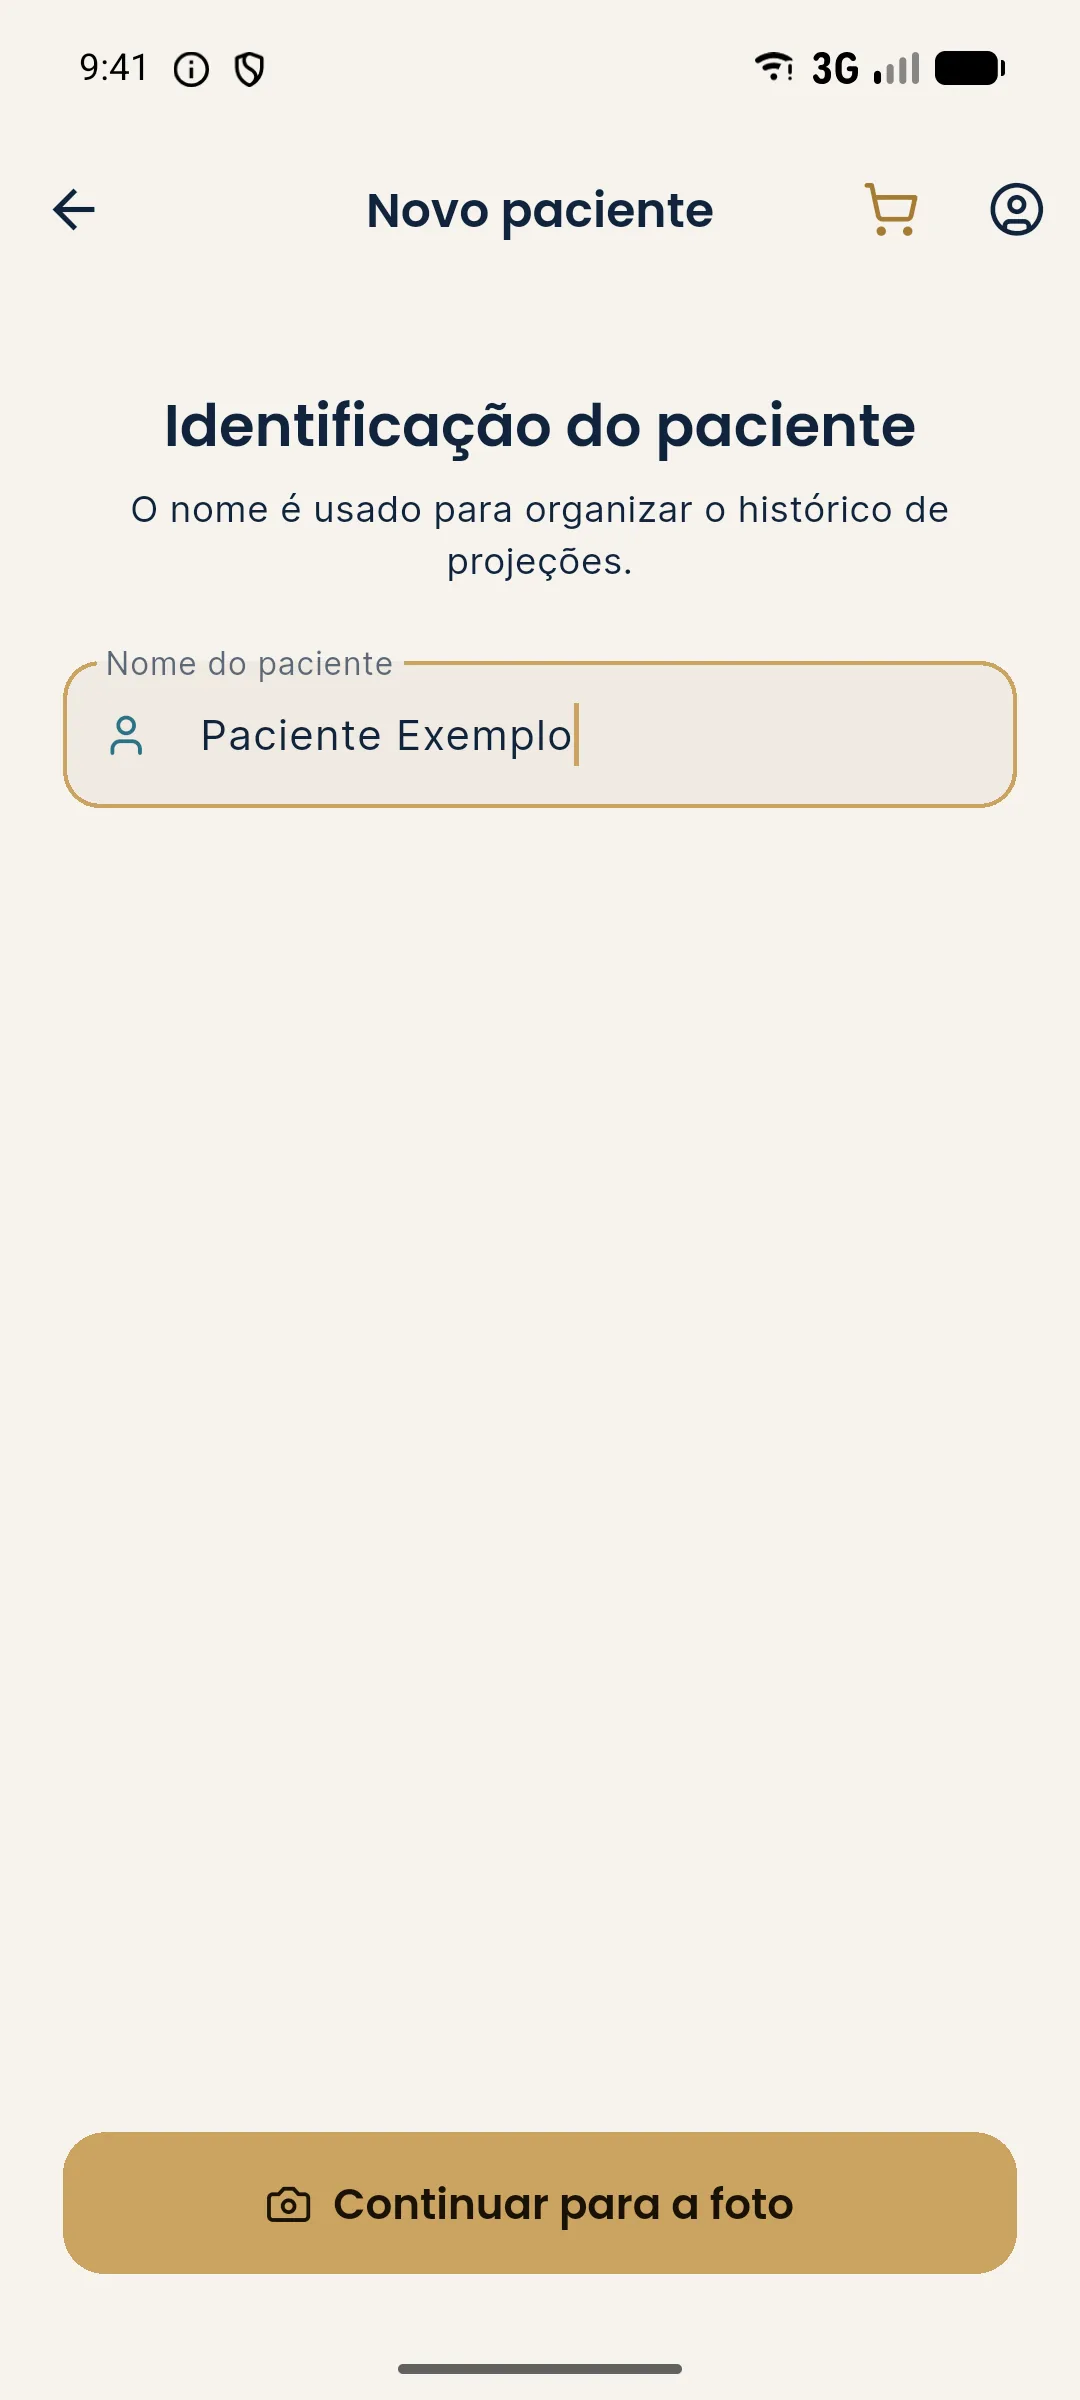
- Take the frontal photo with the camera or tap Gallery to choose an existing image. The app checks the photo before moving on: there must be a single face, facing forward and with adequate lighting. If everything is fine, tap Next over the photo. See how to take a good photo in standardized frontal photo.
- On the marking screen, the app detects the face on the device itself and shows points linked to labels with the name of each area. Tap the points or labels of the areas to treat. Each chosen area enters the Plan panel at the bottom.
- Open the Plan and adjust the volume of each area with the − and + buttons. The step is 0.5 ml, from 0.5 to 5 ml. The detail of this step is in marking areas and volumes.
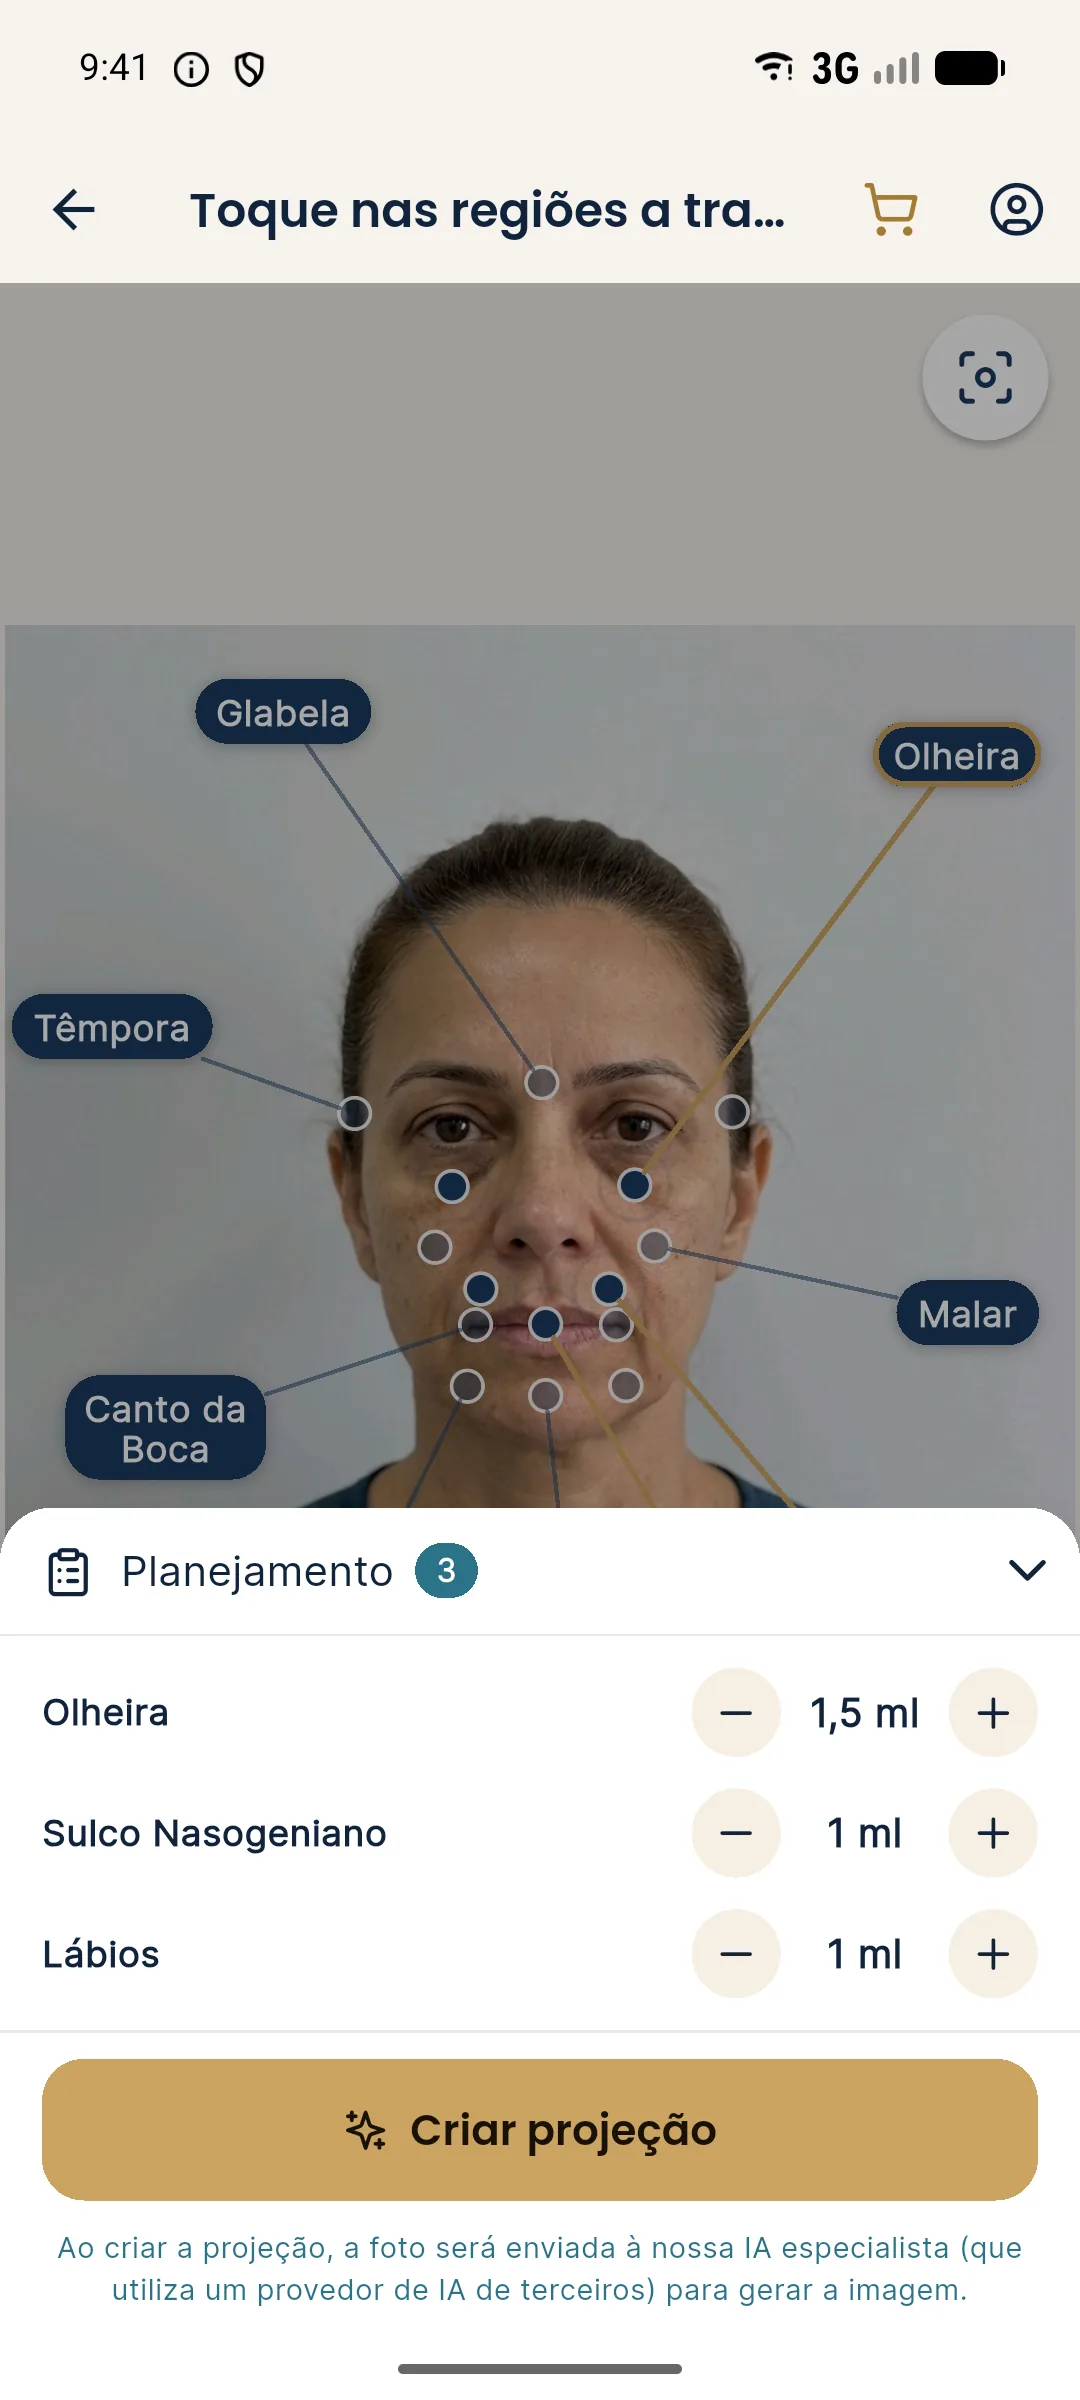
- Tap Create projection. The first time, the app asks for your consent to send the photo to a third-party AI, which generates the image. The notice stays visible below the button on later uses.
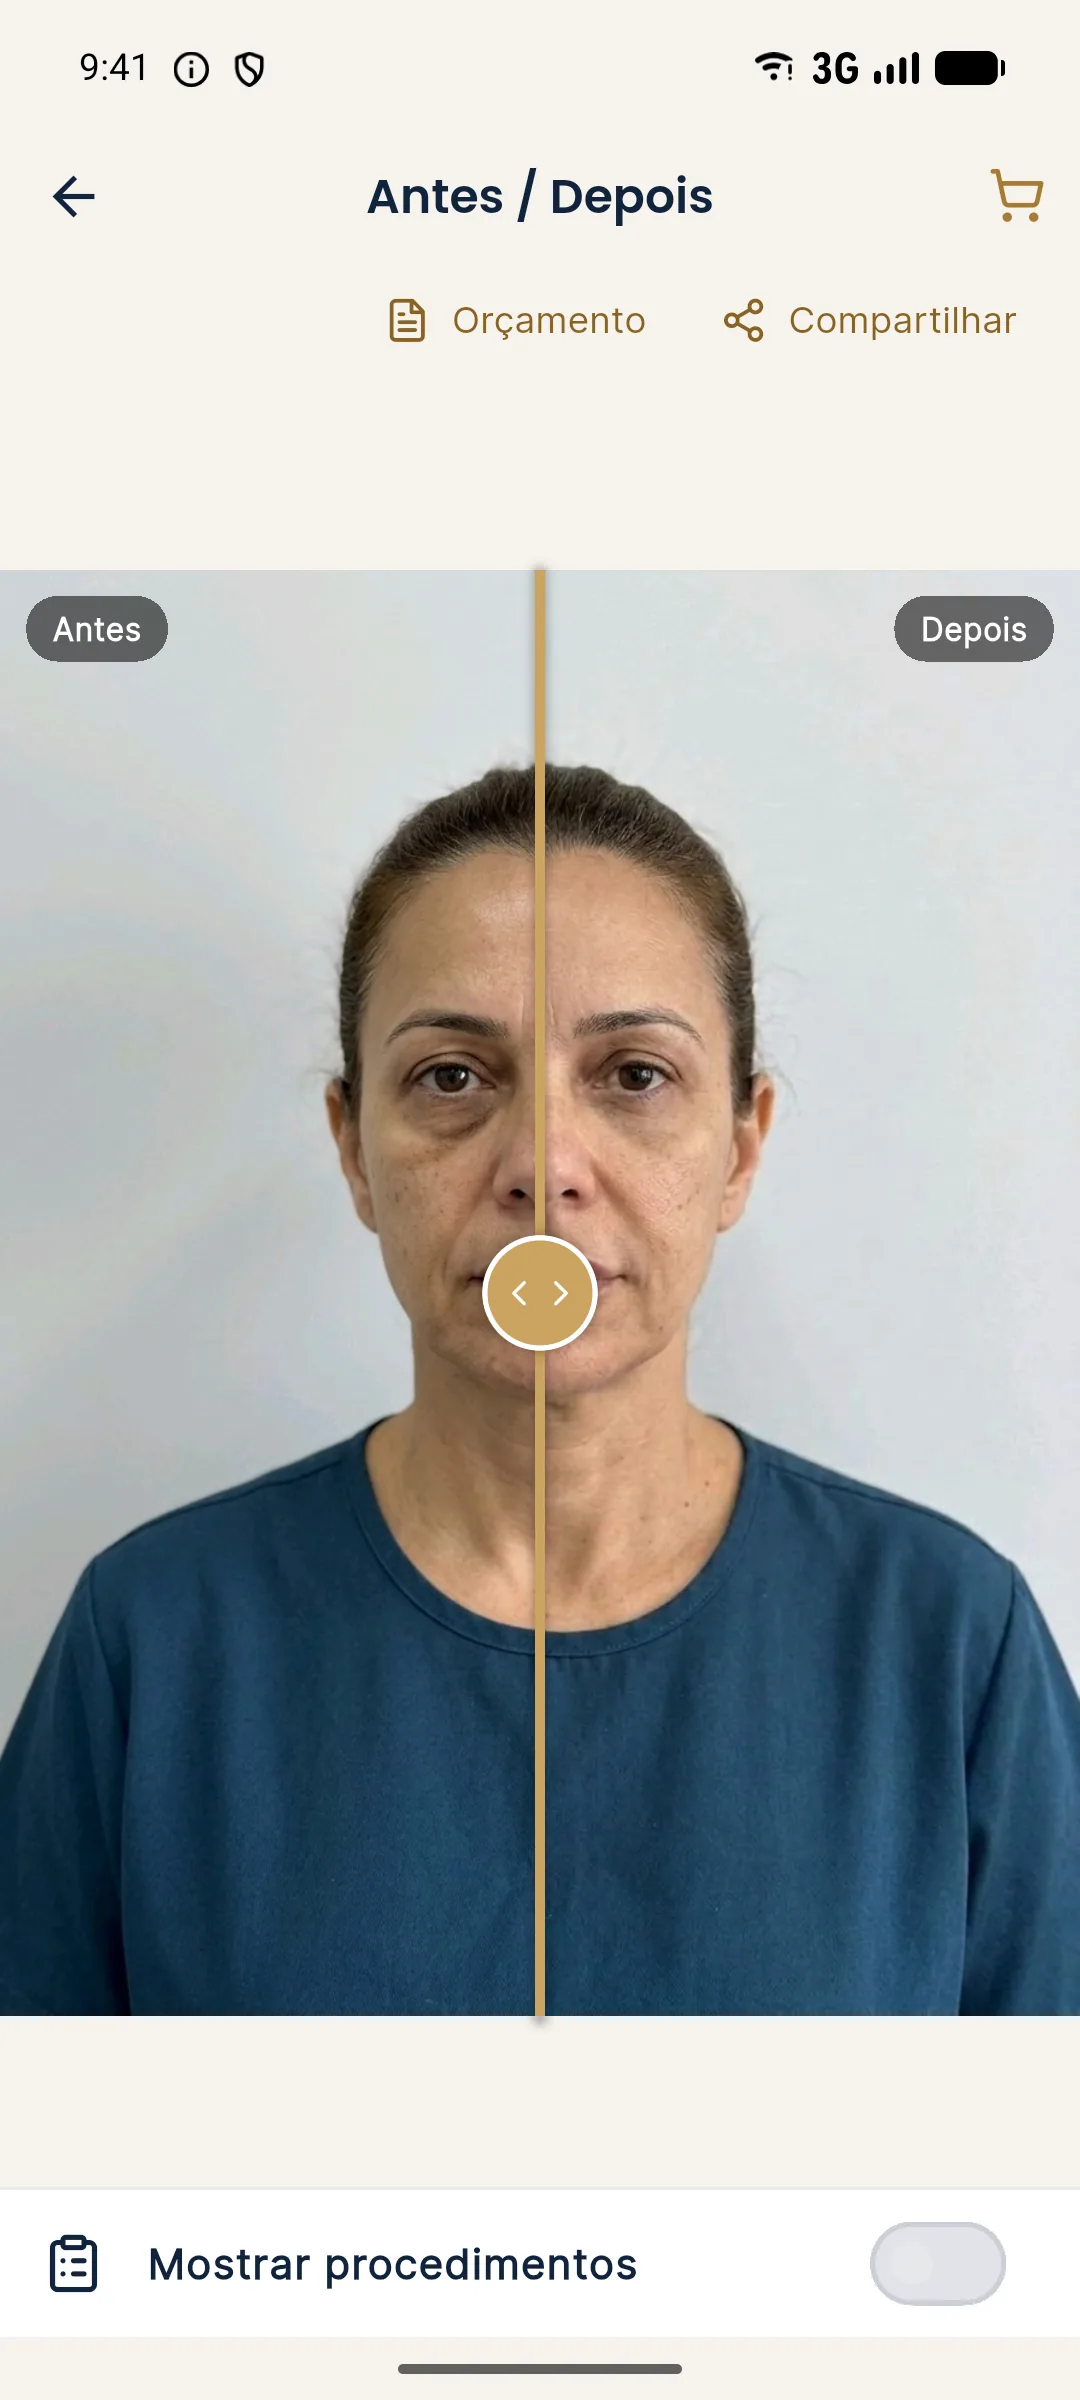
- When it finishes, the Before / After screen opens, with the slider. Drag the gold line to compare. From here you can share the image and build the quote.
What happens to the credit?
Each projection uses R$ 3.99 of the balance. If generation fails, the credit returns to the wallet. If the balance is not enough, the app warns you and offers Buy credits. The plan you were building stays saved as a draft: after the top-up, the app returns to the marking screen and you just tap Create projection. More details in credits and top-up.
Tips
- Test before your first patient. While the account has no projections, the New patient screen shows No patient right now? with the Try with a fictional patient option. The photo comes ready, with Tear Trough and Lips marked, and the session stays in the history with the Example badge. It uses credit like any projection.
- Use the full name or a fixed identifier. History search is by name, so standardizing makes it easier to find the patient later.
- Mark only what you will propose. The projection changes only the marked areas. Marking extra areas makes the image less faithful to the plan.
- If you need to leave midway, the app saves the draft with photo, areas and volumes. The home screen offers to resume it.
Common mistakes and how to fix them
| Message or situation | Likely cause | What to do |
|---|---|---|
| "Let's improve the photo" | Face turned sideways, more than one face, or a photo that is dark, too bright or unevenly lit | Follow the message's guidance and tap Retake |
| "Could not detect the face" | Small, cropped or poorly lit face | Retake the photo facing forward, well lit |
| "Not enough credits" | Balance below R$ 3.99 | Tap Buy credits and return to Create projection |
| "The projection came back empty" | Generation failure | Tap Create projection again |
| Camera permission denied | The phone blocked the camera for the app | Enable it in Settings or use the Gallery |
Next step
The quality of the projection depends a lot on the photo. Before seeing your first patient, read how to take the standardized frontal photo.
Frequently asked questions
How long does it take to create a projection in Harmy?
The flow has four short steps: name, photo, marking and generation. With the photo ready, most of the time goes into choosing the areas and volumes.
How many photos does Harmy use per projection?
One frontal photo per projection, taken on the spot with the camera or chosen from the phone gallery.
Can I try Harmy without a real patient?
Yes. While the account has no projections yet, the New patient screen shows the Try with a fictional patient option, with a fictional person and areas already marked.
How much does each projection cost in Harmy?
Each projection costs R$ 3.99, with no monthly fee. A new account gets 1 welcome projection.