
How to use the Before / After slider in Harmy

The Before / After slider is the screen shown most often in Harmy, and it is worth knowing all of its features. Besides dragging the line, there are zoom, the procedures layer, presentation mode and the magnifier. Each one has a use in the consultation.
How do I drag and zoom?
On the result screen, the image appears split by a gold line. Drag the line left and right to reveal more of the Before or the After. Use two fingers to zoom and look at a detail calmly.
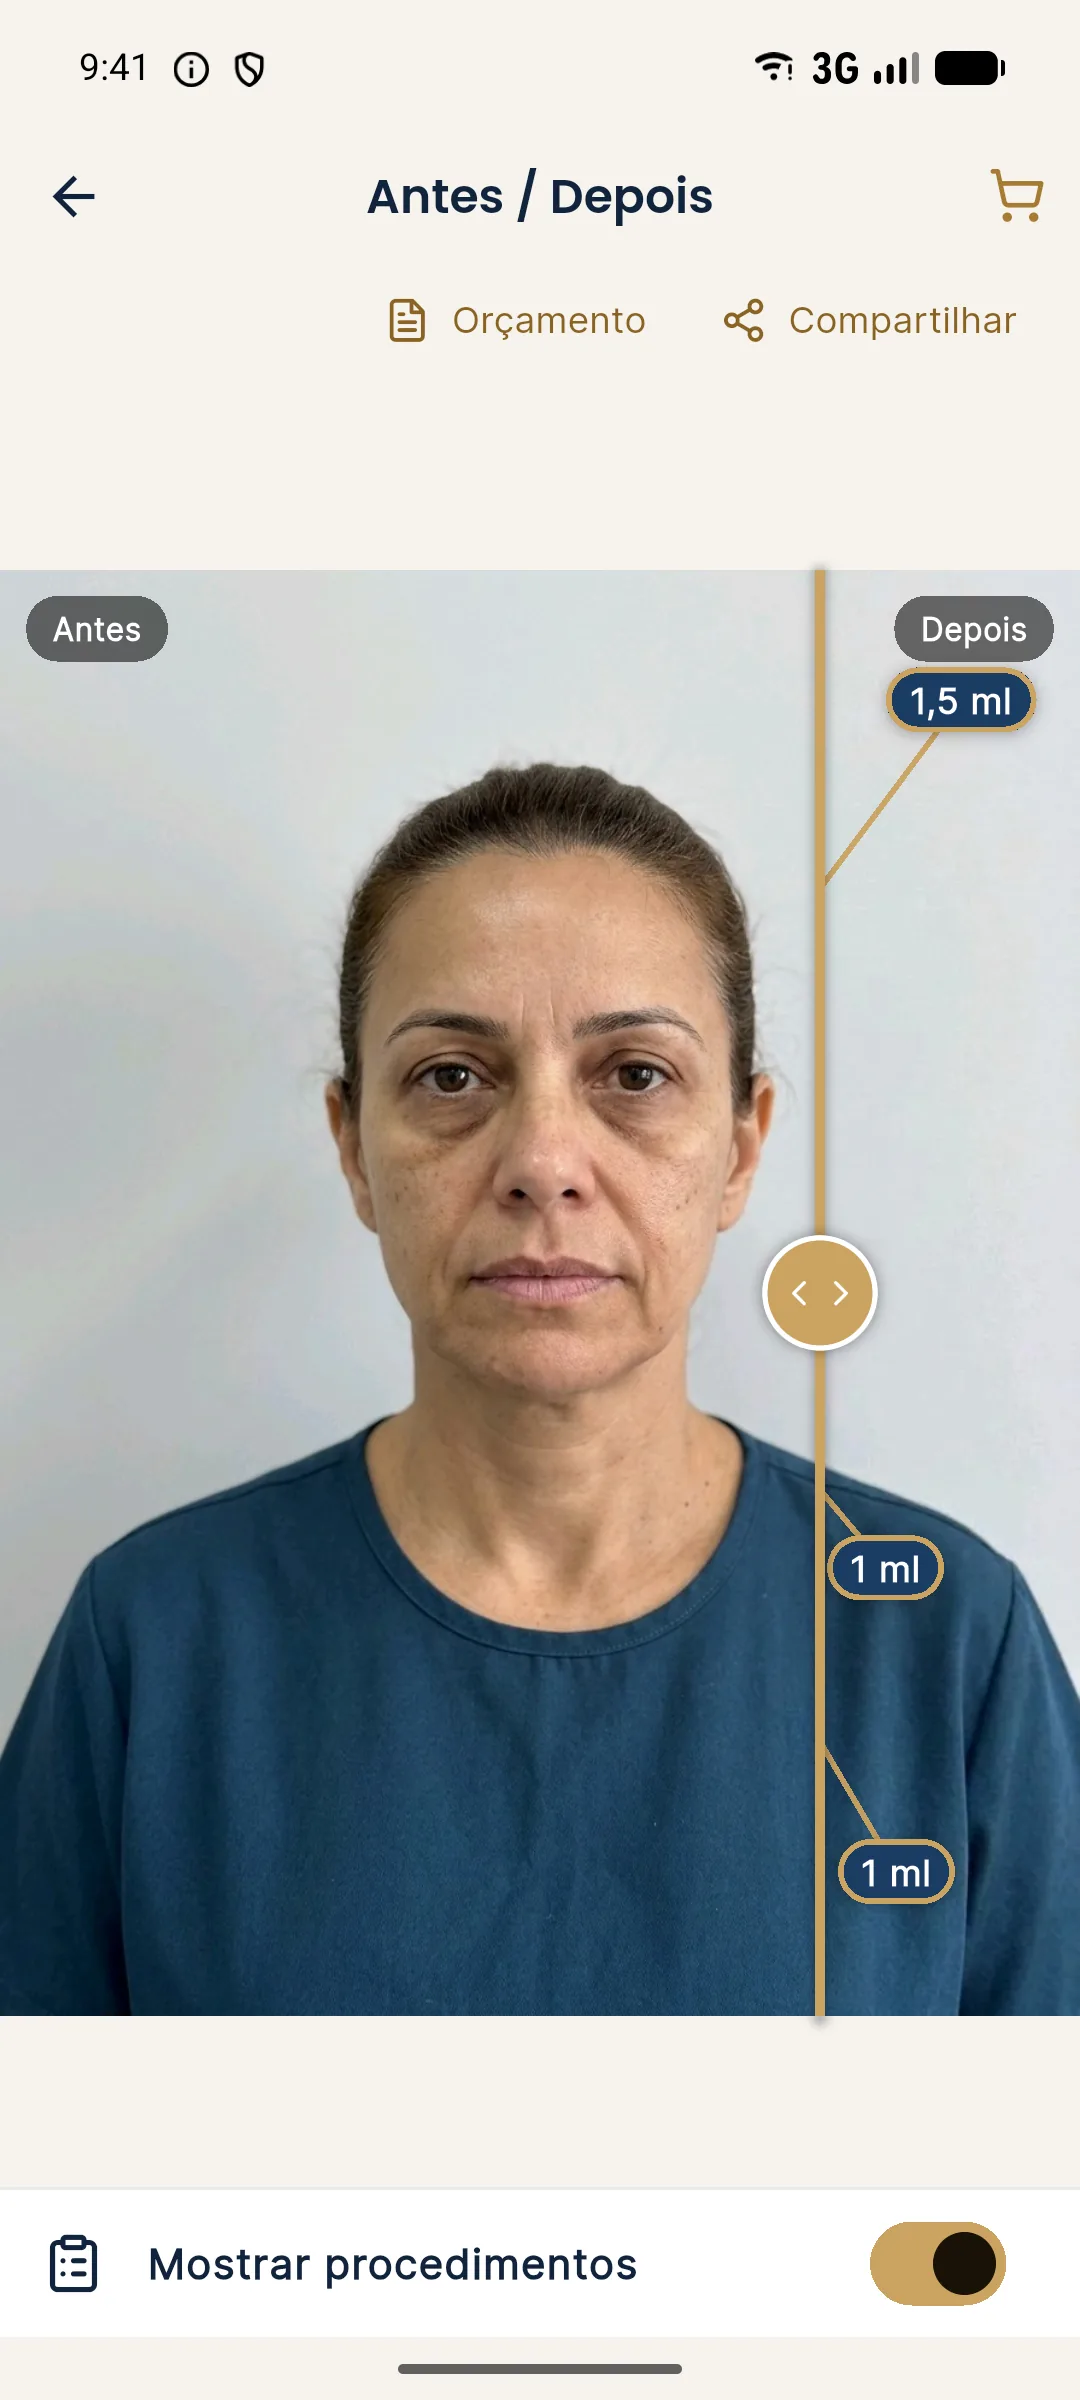
What else is on the screen?
| Feature | What it does | When to use it |
|---|---|---|
| Slider | Compares Before and After by sliding | Always, as a first read |
| Zoom (two fingers) | Enlarges a detail | When discussing an area |
| Show procedures | Displays areas and ml over the After | When explaining the plan |
| Presentation mode | Full screen with only the slider | When turning the phone toward the patient |
| Magnifier | Enlarges only the treated area, before and after side by side | For the detail of the change |
| Patient link | Opens the slider on the patient's phone, with the clinic's logo and contact | To send after the consultation |
Learn more about the button in the guide Show procedures.
How do I use presentation mode?
Presentation mode leaves the screen clean, with only the slider. It is designed so you can turn the phone toward the patient without exposing buttons or data from other appointments. Use it when the conversation reaches the image, and exit the mode to return to planning.
What is the magnifier for?
The magnifier enlarges only the treated area and shows before and after side by side. It helps when the difference is subtle and hard to see on the whole face, for example in the under-eye area or the mouth corner. Remember that the magnifier enlarges the generated image, not the reality of the procedure.
And after seeing the slider?
You can share the image with before and after, clinic header and the simulation notice, or send the patient link, which opens the slider on their phone with the clinic's logo and contact. The step by step is in before and after and sharing. If the result looks different from what you expected, see projection different from expected.
Summary
Drag, zoom, and use the magnifier and presentation mode with intent. The slider helps the conversation, and managing expectations remains your job.
Tips for reading the image
Start by looking at the whole face and only then use zoom. When you zoom in too early, any small difference looks big and the patient loses sense of the whole. After a general read, go area by area, using the magnifier if needed.
Always compare against the same reference point, such as the outline of the eyes or mouth. This avoids the impression that the whole image changed when, in fact, only the marked area was altered. The AI preserves skin, expression, background, hair and lighting, so any variation outside the marked area should be checked. See projection different from expected.
If the patient is very sensitive to numbers, keep Show procedures off until the end. And if they ask to keep the image, offer the patient link or the image with the clinic's brand and the simulation notice. That way, what they take home already carries the right context.
Frequently asked questions
How do I compare Before and After in Harmy?
Drag the slider's gold line to the left or to the right. Two fingers zoom into the image.
What does presentation mode do?
It opens a full screen with only the slider, so you can turn the phone toward the patient without showing the rest of the app.
What is the magnifier for?
It enlarges only the treated area, showing before and after side by side, so you can see the detail of the change.
Can I share the Before / After?
Yes. The image comes out with before and after, the clinic header and the simulation notice, or you can send the patient link.