
Procedure Tray Setup in Facial Harmonization
Quick facts
- Goal
- Reduce contamination, errors and response time
- Principle
- From clean to contaminated, so the hand never crosses the field
- Critical items
- Hyaluronidase, disposal materials and the emergency kit within reach
- Responsibility
- Setup and checking are part of the procedure, not a minor chore
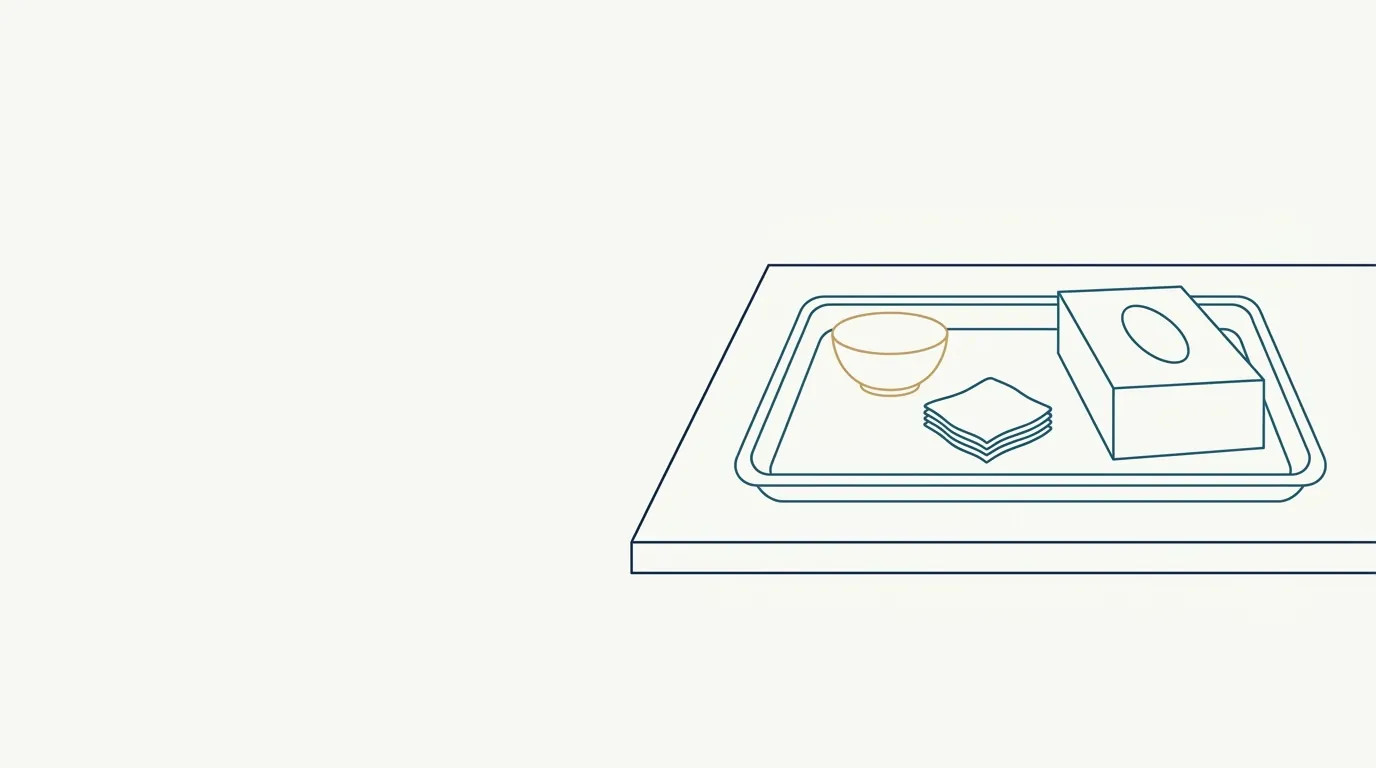
The procedure tray is the quiet stage of the clinic. When it is well organized, nobody notices: the practitioner works without interruption, the patient senses care and the team knows where everything is. When it is disorganized, the signs show up as small slips, like contaminated gloves from reaching for something out of range, the wrong product in hand, a lot number left unrecorded, disposal forgotten, or a pause to look for gauze with the patient already numbed.
This page is an organization guide, with no injection technique. It complements biosafety in facial harmonization, sterilization of reusable materials and sharps disposal and PGRSS (the Brazilian health-waste management plan). The specific health regulations of your practice and of your professional board take precedence over any generic recommendation.
Why invest time in the tray?
Three practical reasons.
- Patient safety. Cross-contamination, mix-ups and a missing critical item are avoidable risks with good organization.
- Practitioner safety. Sharps injuries tend to happen when disposal is far away or the field is cramped. See sharps injury.
- Quality of care. An uninterrupted workflow improves focus, shortens the procedure and gives the patient a sense of control.
There is a fourth reason, less visible: the tray is the foundation of traceability. When the product, lot and expiration date are always in the same place, charting in the patient record happens naturally. See traceability of injectables.
Organization principles
1. Separate areas. Define a clean zone (sterile material and products ready for use), a work zone (where the field is set up) and a disposal zone (used material). Hands and materials should move in one direction, from clean to contaminated, without crossing back.
2. Order of use. Lay out items in the sequence they will be used, left to right for right-handed practitioners (and the reverse for left-handed ones), so the movement feels natural.
3. Effortless reach. Everything used during the procedure should be within reach without the practitioner standing up, twisting the torso or stretching an arm. This reduces fatigue and accidents. Ergonomics is covered in ergonomics for facial harmonization practitioners.
4. Disposal at hand. The sharps container should be close, on the side of the used instrument, so the practitioner does not carry a needle across the field.
5. Emergency items always visible. Hyaluronidase, the emergency kit and support phone numbers do not belong "at the back of the cabinet". See hyaluronidase in the clinic and emergency kit for the facial harmonization clinic.
6. Cleaning between patients. The tray is disinfected according to the practice's protocol between appointments.
7. One patient at a time. No material from one patient on the tray of another.
What goes on the tray
Items vary with the procedure, but you can think in groups. The table is a starting point, to be adapted to your practice's regulations.
| Group | Examples | Note |
|---|---|---|
| Protection | Gloves, mask, glasses or face shield, gown according to protocol | For the practitioner and the team |
| Antisepsis | Skin antiseptic, gauze or compresses, hand antiseptic | See chlorhexidine in facial antisepsis |
| Field | Clean or sterile field according to the procedure, tray, hand rest | Surface disinfected before the patient arrives |
| Product | Syringes, product with lot and expiration date checked | Open at the moment of use |
| Instruments | Needles, cannulas, connectors | See cannula gauge and length |
| Anesthesia | Topical, local anesthetic, infiltration material | See local anesthesia in facial harmonization |
| Records | Lot labels, chart or tablet, pen | To write things down on the spot |
| Photography | Support, backdrop and camera ready | Photos before numbing |
| Disposal | Sharps container, regular and infectious waste | Closest to the used instrument |
| Emergency | Hyaluronidase, emergency kit, support phone number | Always in a known place |
Workflow before, during and after
Common mistakes
- Opening everything before starting. Unused open material loses sterility and raises the chance of contamination.
- Preloading several products without labels. Similar syringes on the tray are a classic source of mix-ups. Keep the label, lot and identification visible.
- Disposal far away. The practitioner carries a used needle across the room and risks an injury.
- Forgotten photos. Standardized photography must be done before numbing and injecting.
- Hidden hyaluronidase. In a complication, searching for the enzyme is the worst moment to find out it is not where it should be.
- A tray shared by several procedures. Mixing materials from different patients or procedures invites error.
- Charting later. Leaving the notes for the end of the day risks forgetting the lot and the volume.
Team and routine
In clinics with an assistant, dividing the tasks makes the workflow safer. Tray setup, opening materials and support during the procedure can be shared, with a written protocol and training. See multidisciplinary team in facial harmonization. In solo practices, the checklist stands in for the assistant and does the checking that memory tends to miss.
Lighting is also part of the tray setup: enough light with no shadow over the field helps you see skin color and texture during the procedure. See lighting in the facial harmonization clinic.
Two habits make a difference over time:
- Weekly review of expiration dates, stock and equipment function. See inventory control for injectables.
- Periodic complication drills, with the team assembling the kit and the enzyme against the clock.
How the patient sees the tray
Patients notice more than you might think. A clean, organized tray with no improvisation communicates care. A tray with scattered material, open packaging and disposal in plain sight conveys insecurity, even if the procedure is flawless.
In Harmy
Summary
A good tray is one where nothing has to be searched for. Separate clean from dirty, arrange in the order of use, keep disposal and emergency items within reach, open material at the moment of use, record on the spot and check before you start. The result is more safety, smoother work and an impression of care that the patient recognizes even without being able to explain it.
Frequently asked questions
How should I set up the tray for facial harmonization?
Separate clean and dirty areas, lay out materials in the order of use, keep the sharps container within reach without crossing the field, and keep emergency supplies, including hyaluronidase, in a place the whole team knows.
What must not be missing from the tray?
Gloves, antiseptics, gauze, the product and instruments for the procedure, a sharps container, lot tracking records and emergency items. The exact list depends on the procedure and on the health regulations that apply to your practice.
Can I leave everything open before the patient arrives?
It is not recommended. Sterile material opened in advance loses its sterility and raises the risk of contamination. Open what you need at the moment of use and follow your practice's biosafety standards.
Who should check the tray?
Ideally the practitioner who will perform the procedure, with the help of a checklist and, when available, a trained assistant. Checking before you start avoids stopping halfway to look for something.
Harmy images are illustrative simulations generated by AI from the patient's photo to support the conversation between practitioner and patient. They are not a promise of results. Indication, technique, product and volume are solely the decision of the licensed practitioner. This content is for information only and does not replace a clinical assessment.