
How to use the frontal photo in the conversation with the patient

Quick facts
- Goal
- Use the photo as a conversation aid, not as a showcase or as proof
- Before anything
- Image-use authorization and a standardized photo
- Care
- Screen facing only the patient, no third parties and no storage outside the system
- Limit
- The projection uses only the frontal photo; it does not show the profile
The frontal photo is one of the most useful tools in the facial harmonization consultation. It gives the patient something concrete to look at, the professional a support for explaining and both a shared reference. But the same image that helps the conversation can embarrass, expose or induce, depending on how it is used.
This guide covers using the frontal photo in the middle of the conversation: how to frame it, how to show it, how to mark areas and how to protect the patient.
What is the frontal photo for in the consultation?
In practice, the photo serves four functions:
- Record the starting point. It documents the face before the procedure, with controlled light and framing.
- Support the explanation. It lets you point to areas and show proportions without touching the patient's face.
- Align on what was agreed. The patient sees what we are talking about.
- Serve as the basis for the projection, when you use it.
The photo does not replace the physical exam, palpation, assessment in motion or the profile view. It shows a static, frontal version of the face, and that has limits.
What precautions should you take before photographing?
Before opening the camera, three points:
- Authorization. Ask for image authorization specifically, separating clinical use from any other. See asking the patient for image authorization.
- Explanation. Say what the photo will be used for and where it will be stored.
- Standardization. Light, background, distance and head position affect how it reads. The page standardized clinical photography details the method.
How do you show the photo without exposing the patient?
Privacy in the room matters too:
- Turn the screen toward the patient only, with no companions looking over.
- If there is a third party in the room, ask the patient's permission before showing.
- Avoid leaving the photo open on a monitor visible from the front desk.
- Do not project the image on a large screen unnecessarily.
- Close the app when you are done.
In consultations with a companion, the conversation is different. The text simulation with a companion in the room explains how to handle it.
How do you mark areas on the photo without causing discomfort?
Marking is the moment when the photo becomes language. The risk is turning the patient's face into a list of flaws. A respectful approach:
- Ask the patient to point out what bothers them, before you mark anything.
- Mark first the areas they mentioned.
- If you need to include another area for a clinical reason, explain the reason beforehand.
- Use the language of areas, not flaws: "this area," not "this problem."
- Ask whether you may continue, at each step.
What does the frontal photo show, and what does it not?
| The frontal photo helps you see | The frontal photo does not replace |
|---|---|
| Frontal symmetry and proportions | Profile and projection |
| Volume distribution in the frontal view | Palpation and dynamic exam |
| Expression lines at rest | Movement and expressions |
| A starting point to compare later | Full clinical assessment |
For the profile, the text facial profile explains what the frontal view does not reveal. If the decision depends on the profile, talk to the patient about this limit.
How does Harmy use the frontal photo?
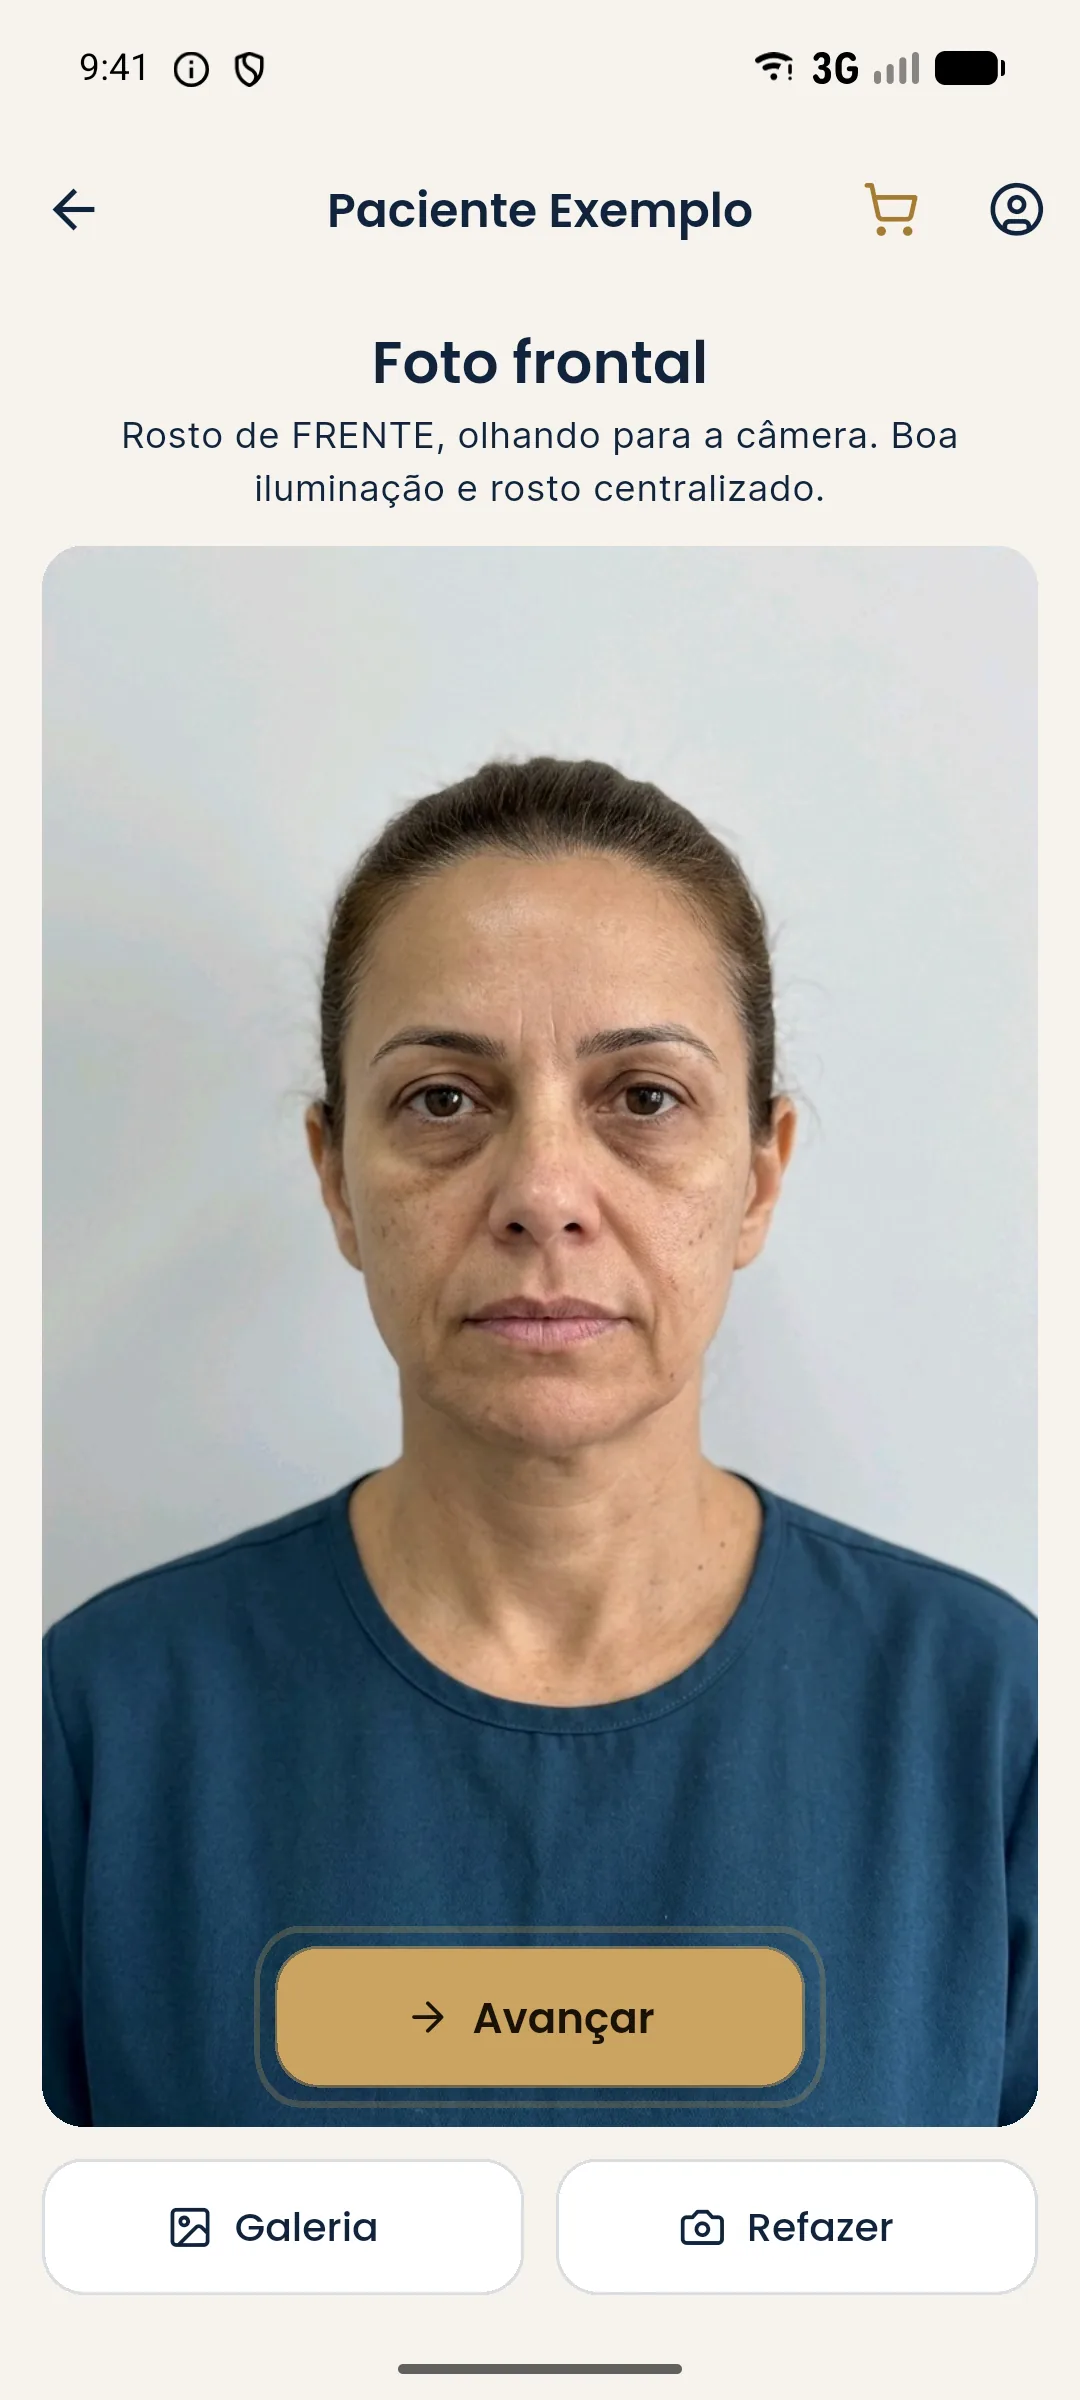
The app's flow starts precisely with the patient's frontal photo, from the camera or gallery. The face is detected on the device itself, and you mark the areas to treat.
And when the photo is poor quality?
A dark photo, taken from the side, with hair covering the face or an altered expression hurts both the conversation and the projection. Ask for a new one, with simple instructions: frontal light, relaxed face, hair pulled back. The text simulation with a bad photo offers solutions.
How do you keep the photo from becoming inducement?
The photo is powerful because it shows what the mirror rarely shows. That can be good, but it can also create insecurity. Two rules:
- Do not show comparisons between the patient's face and other people's.
- Do not use the photo to point out what they did not bring up as a concern.
The reasoning is the same as in how to compliment without inducing a procedure.
Checklist
Used well, the frontal photo brings you and the patient closer. Used badly, it creates distance. The difference lies in asking, explaining and protecting.
What do you say when the patient does not like their own photo?
It is common. The photo freezes an expression and shows asymmetries that the mirror, in motion, disguises. The patient may become discouraged or more self-critical.
Do not insist on showing the photo if it is causing distress. A pause and a change of tool usually solve it, and the conversation continues with the patient more comfortable. If the discomfort is persistent and out of proportion, consider talking about it carefully.
Frequently asked questions
Can I show the patient their photo during the consultation?
You can, and it is part of clinical use. First, confirm the image authorization and make sure no one besides the patient sees the screen.
How do I mark areas on the photo without making the patient uncomfortable?
Mark only what they brought up as a concern or what is needed for the plan, explaining why. Avoid circling flaws they did not mention.
Does the frontal photo show everything I need to assess?
No. It helps with frontal proportion and symmetry, but it does not replace an in-person exam and does not show profile, projection or movement.
Can I keep the photo on my personal phone?
Avoid it. A photo of the face is sensitive data and should stay in a secure place with controlled access, in line with the LGPD (Brazil's data protection law) and the clinic's guidance.
Harmy images are illustrative simulations generated by AI from the patient's photo to support the conversation between practitioner and patient. They are not a promise of results. Indication, technique, product and volume are solely the decision of the licensed practitioner. This content is for information only and does not replace a clinical assessment.