
How to mark the jawline in Harmy and what to expect
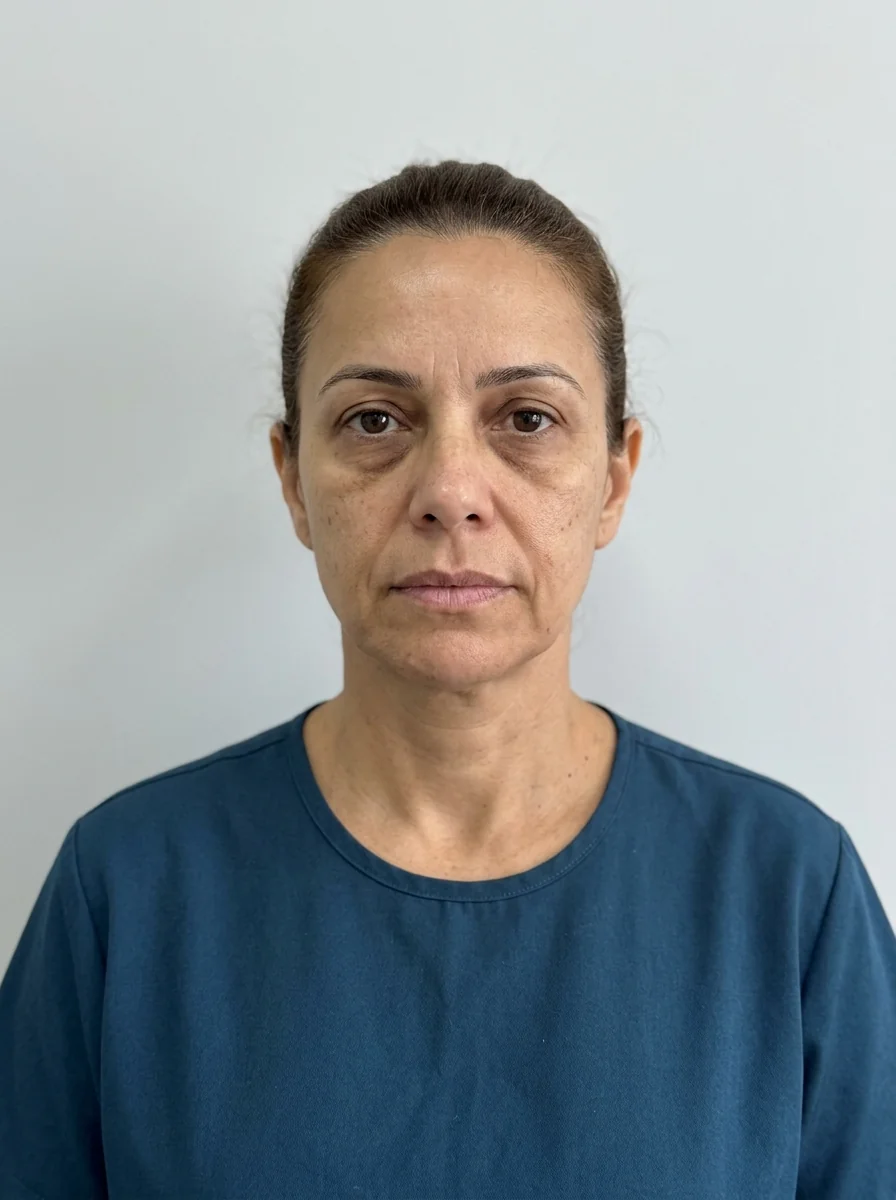
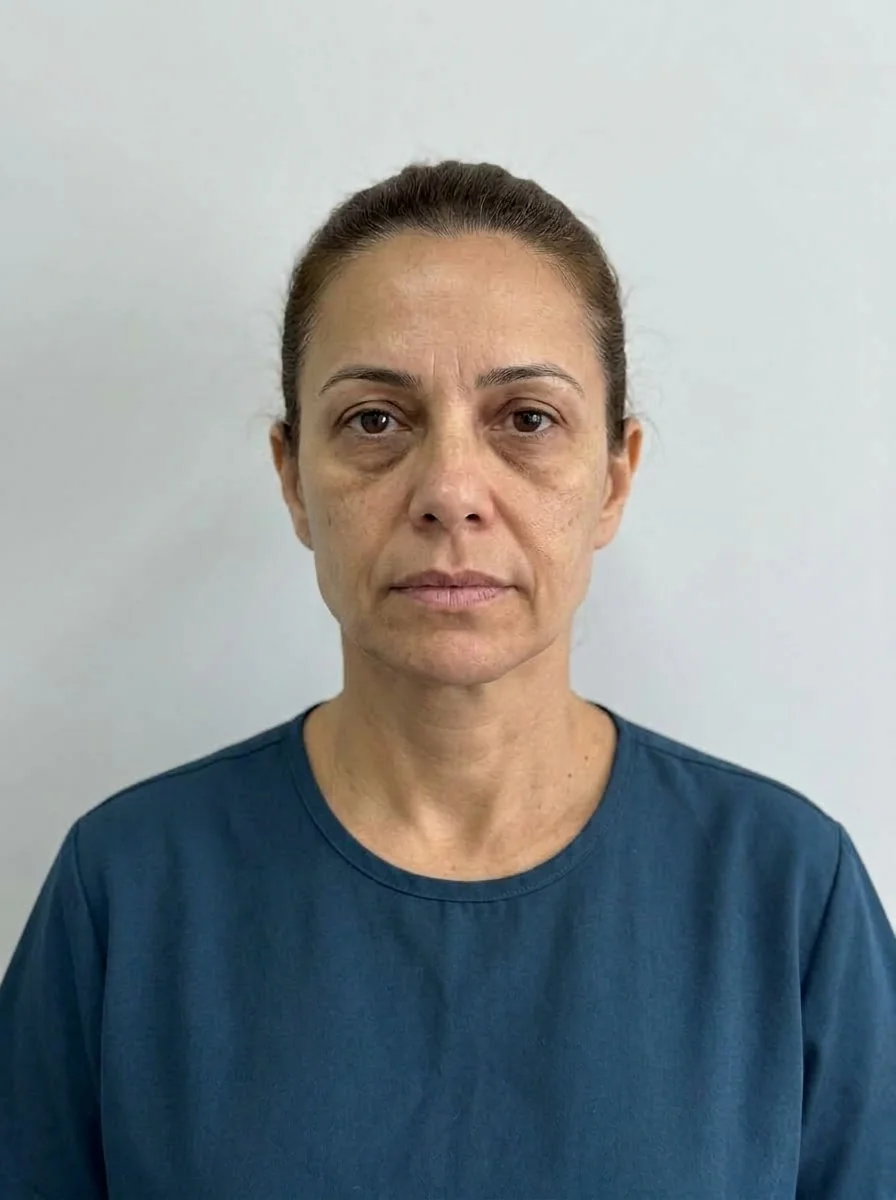 BeforeSimulation
- Nerve
- Highlighted area
The Jawline point is one of the ones patients most often ask to see: the line of the jaw defines the face and is a common concern for people looking for more support or a more defined contour. In Harmy, marking follows the same flow as the other areas. The difference is in how you read it, because the projection uses only the front-facing photo.
What does the point represent?
The point sits along the jawline, at the level of the mandibular angle, and takes the plan to the Plan screen. The area is bilateral, and the ml is the total for both sides. For the clinical content, see the page on the jawline and the procedure for jawline filler.
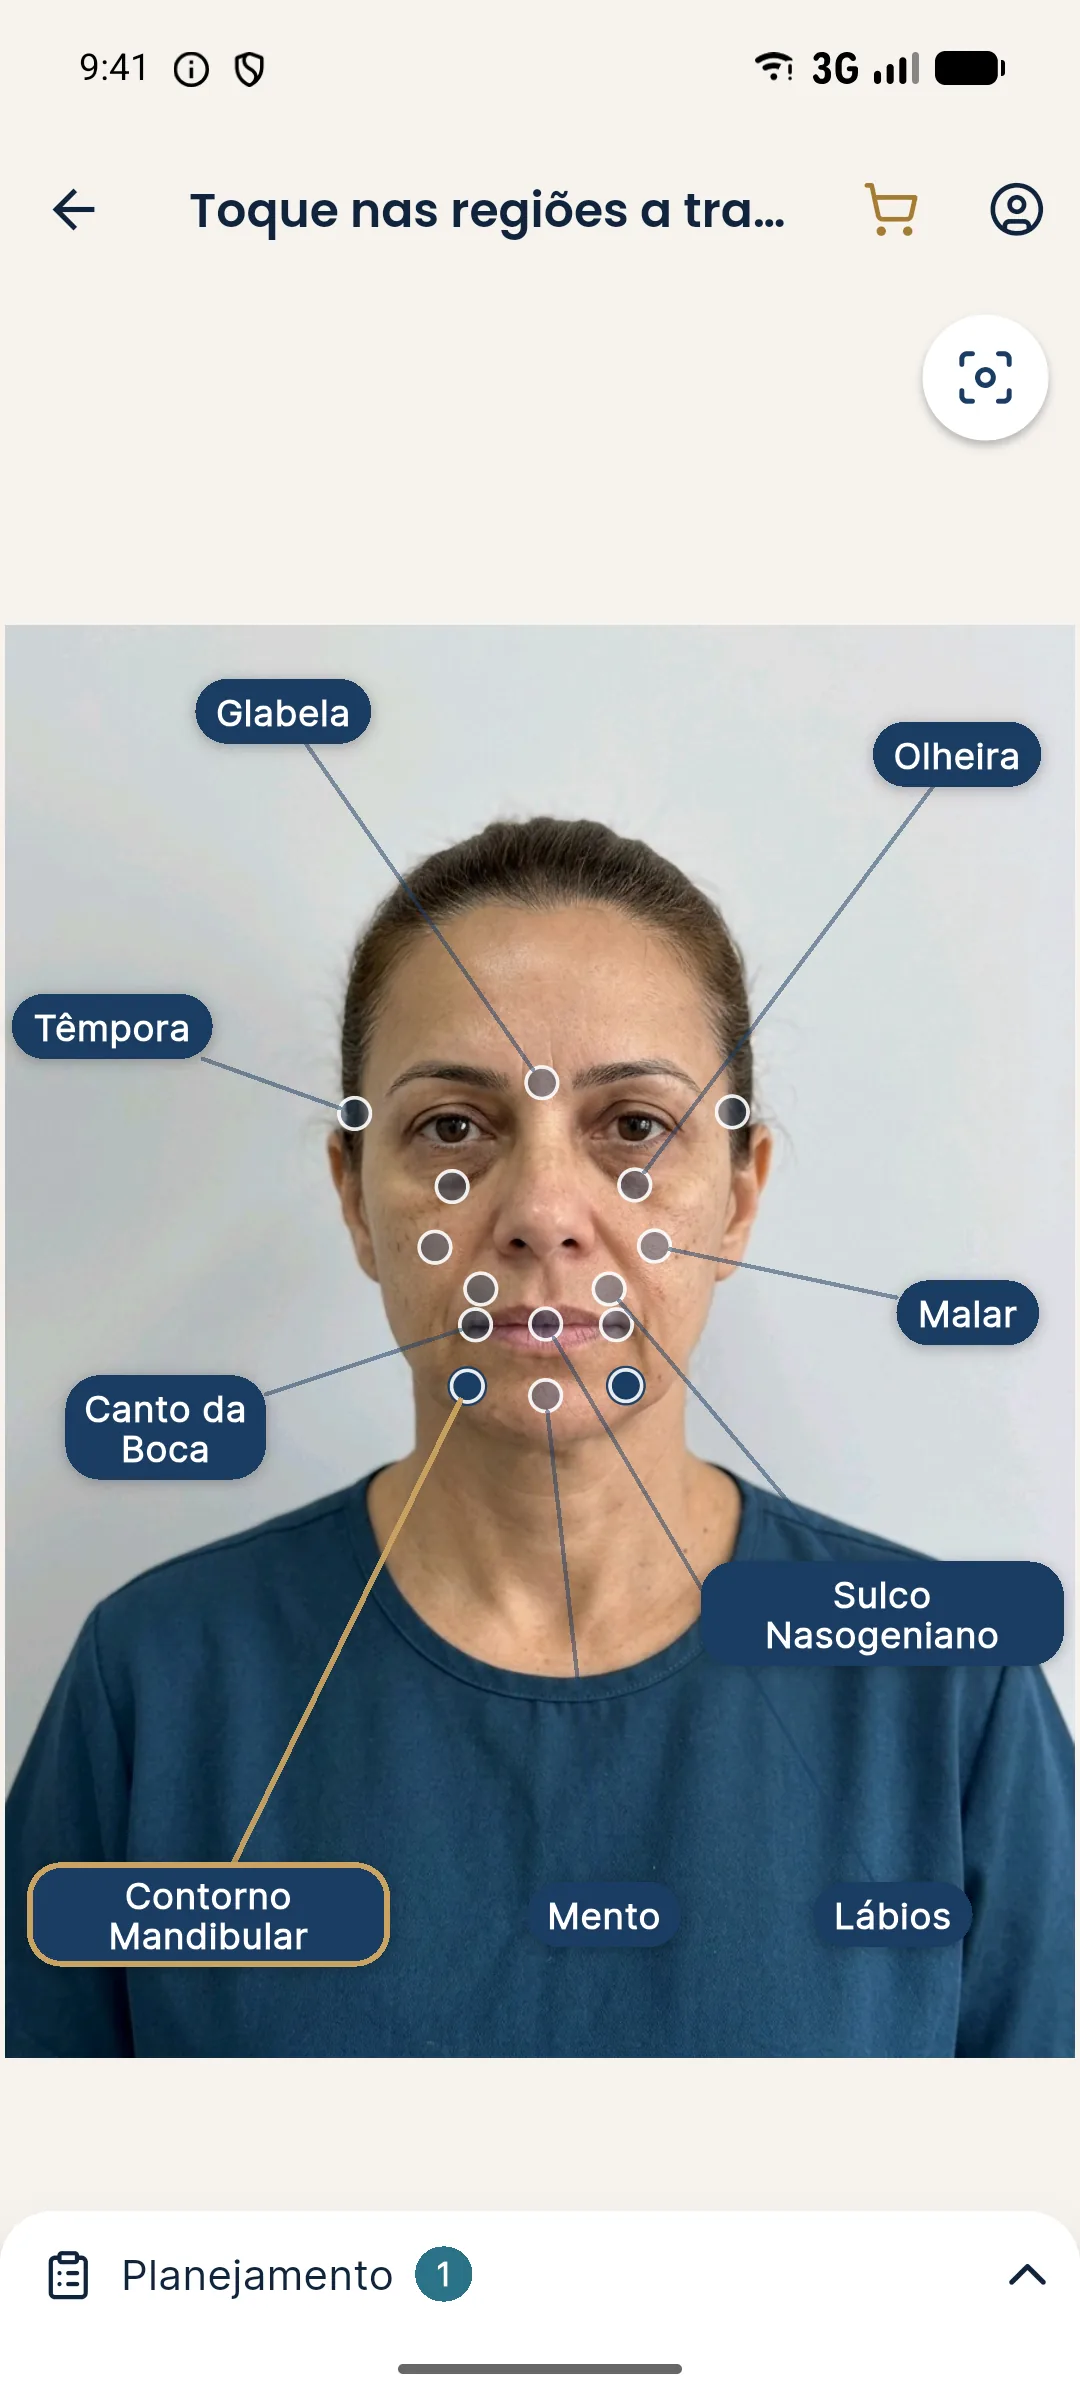
Step by step
- With the front-facing photo approved, open the Tap the areas to treat screen.
- Tap the Jawline point or label. The point fills in and the label gets a gold border.
- Use two-finger zoom if the point is close to another one.
- Open the Plan and adjust the ml (from 0.5 to 5 ml, in 0.5 ml steps).
- Choose the intensity: Subtle, Moderate or Pronounced.
- Tap Create projection and turn on Show procedures to see the ml over the after image.
What to expect from the projection
The projection shows the contour of the face slightly more defined, proportional to the ml and the intensity. Because the app uses only the front-facing photo, the reading of chin and angle projection is limited: what you see is the side line of the face, not the profile.
Talking to the patient
Many people ask for a "defined jawline" without knowing that definition depends on fat, skin and bone, as well as volume. Use the projection to talk about proportion and natural-looking results, without promising an outcome. For the patient, see defined jawline.
Common errors
| Situation | How to fix |
|---|---|
| Hair covering the contour | Tie the hair back and retake the photo |
| Head tilted | Reposition the patient facing forward |
| Expecting to see the profile | Explain that the app uses only the front-facing photo |
| Volume inflated to "make it show" | Go back to the ml you would actually inject |
To plan the whole, see combining several areas in one Harmy projection.
Proportion with the chin and cheekbone
Reading the contour depends on its neighbors. A recessed chin changes how the jaw looks, and an unsupported cheekbone changes how the side line looks. That is why the Full harmonization shortcut puts cheekbone, jaw and chin in the same plan, and the projection shows the whole. Use the idea, not the ready-made numbers: every face has its own proportion.
In the conversation, explain to the patient that the contour results from a set of factors, and that the projection illustrates only the part that was marked. This keeps them from expecting from one area what depends on several.
Frequently asked questions
How do I mark the jawline in Harmy?
On the marking screen, tap the point or the Jawline label. The area goes to the Plan, where you set the ml and the intensity.
Is the jawline ml for one side or both?
Both. The ml entered is the total and the projection splits it between the two sides of the jaw.
Does the projection show a more defined jawline?
It shows a subtle change proportional to the ml and intensity chosen, without promising results. The front-facing photo limits how well the profile can be read.
Does the projection use a profile photo for the jawline?
No. Harmy uses only the front-facing photo, and there is no profile or 45-degree view. For profile assessment, rely on your clinical assessment.