
Photographing every session in staged treatments

Quick facts
- When
- Before the first session, before each following session and at the agreed final follow-up.
- What
- The same poses, light, distance and background in every session.
- Why
- Show the real progress, calibrate the next stage and have proof of the starting state.
- Limit
- The sequence documents, it does not promise; results vary between patients.
Staged treatments, such as biostimulator plans, corrections in sessions and maintenance protocols, share one trait: the result is built over weeks or months. Without a photo record at each stage, the patient forgets the starting point and the professional loses the reference for deciding the next session. A well-made timeline solves both problems.
This page shows how to organize photography at each session, what to repeat and how to use the sequence in the conversation with the patient.
Why photograph every session and not just the first and last?
Because progress is not linear. Between the first and the last photo there may be swelling, touch-ups, changes in weight, sleep and routine. With intermediate photos:
- you calibrate the next stage based on the real state, not on memory;
- you document complications and variations with a date;
- you show the patient that the process is following the plan;
- you have a baseline record at each session, useful if a doubt comes up later;
- you reduce the feeling that "nothing changed", which is common in gradual treatments.
For treatments such as the collagen biostimulator, perception takes time, and sequential photos help in talking about expectations. See also when to take the follow-up photo.
Which photos should you take at each session?
Define a pose protocol and stick to it. An example of a minimum set:
| Pose | What it is for |
|---|---|
| Frontal at rest | Symmetry, proportion and overall comparison |
| 45-degree obliques (R and L) | Volume and contour (45-degree photo) |
| Profile (if indicated) | Nose, chin and projection (profile photo) |
| Poses for a specific area | Glabella, under-eye, lips, depending on the case |
| Dynamic (if indicated) | Contraction and smile (rest and dynamic) |
Before or after the application?
The comparison photo is the one taken before the application, with clean skin and without marks from the previous procedure. It shows the real state of that stage. Photos right after the procedure contain swelling, redness and marks, and should be labeled as immediate post-procedure if taken. These images do not replace the comparison ones. For recording swelling and bruising, see bruise and swelling photo for tracking.
How do you keep the standard over months?
The biggest enemy of a timeline is a silent change of conditions: a different bulb, a different phone, a different distance. To avoid it:
- keep a written protocol for light, distance, height, background and device;
- use floor marks and a fixed gaze point, as in marking the floor position;
- lock white balance, exposure and focus (locked exposure and focus);
- note any change (device, room, bulb) in the chart;
- follow the routine in standardizing photos between visits.
How do you organize and name the files?
A timeline needs consistent names. Include the patient identifier (not the full name, if possible), the date in YYYY-MM-DD format, the session number and the pose. See naming clinical photo files and storing patient photos. Keep them for a period compatible with the chart, as in photo retention in the chart.
How do you show progress to the patient?
Use the same poses side by side, in the same frame, with a date on each. Explain that these are real records, unedited. In gradual treatments, show the sequence and not just the first and last. Avoid promising what the next stage will bring. The on-screen comparison is discussed in side-by-side or slider comparison and in photo to compare the procedure result.
And in Harmy?
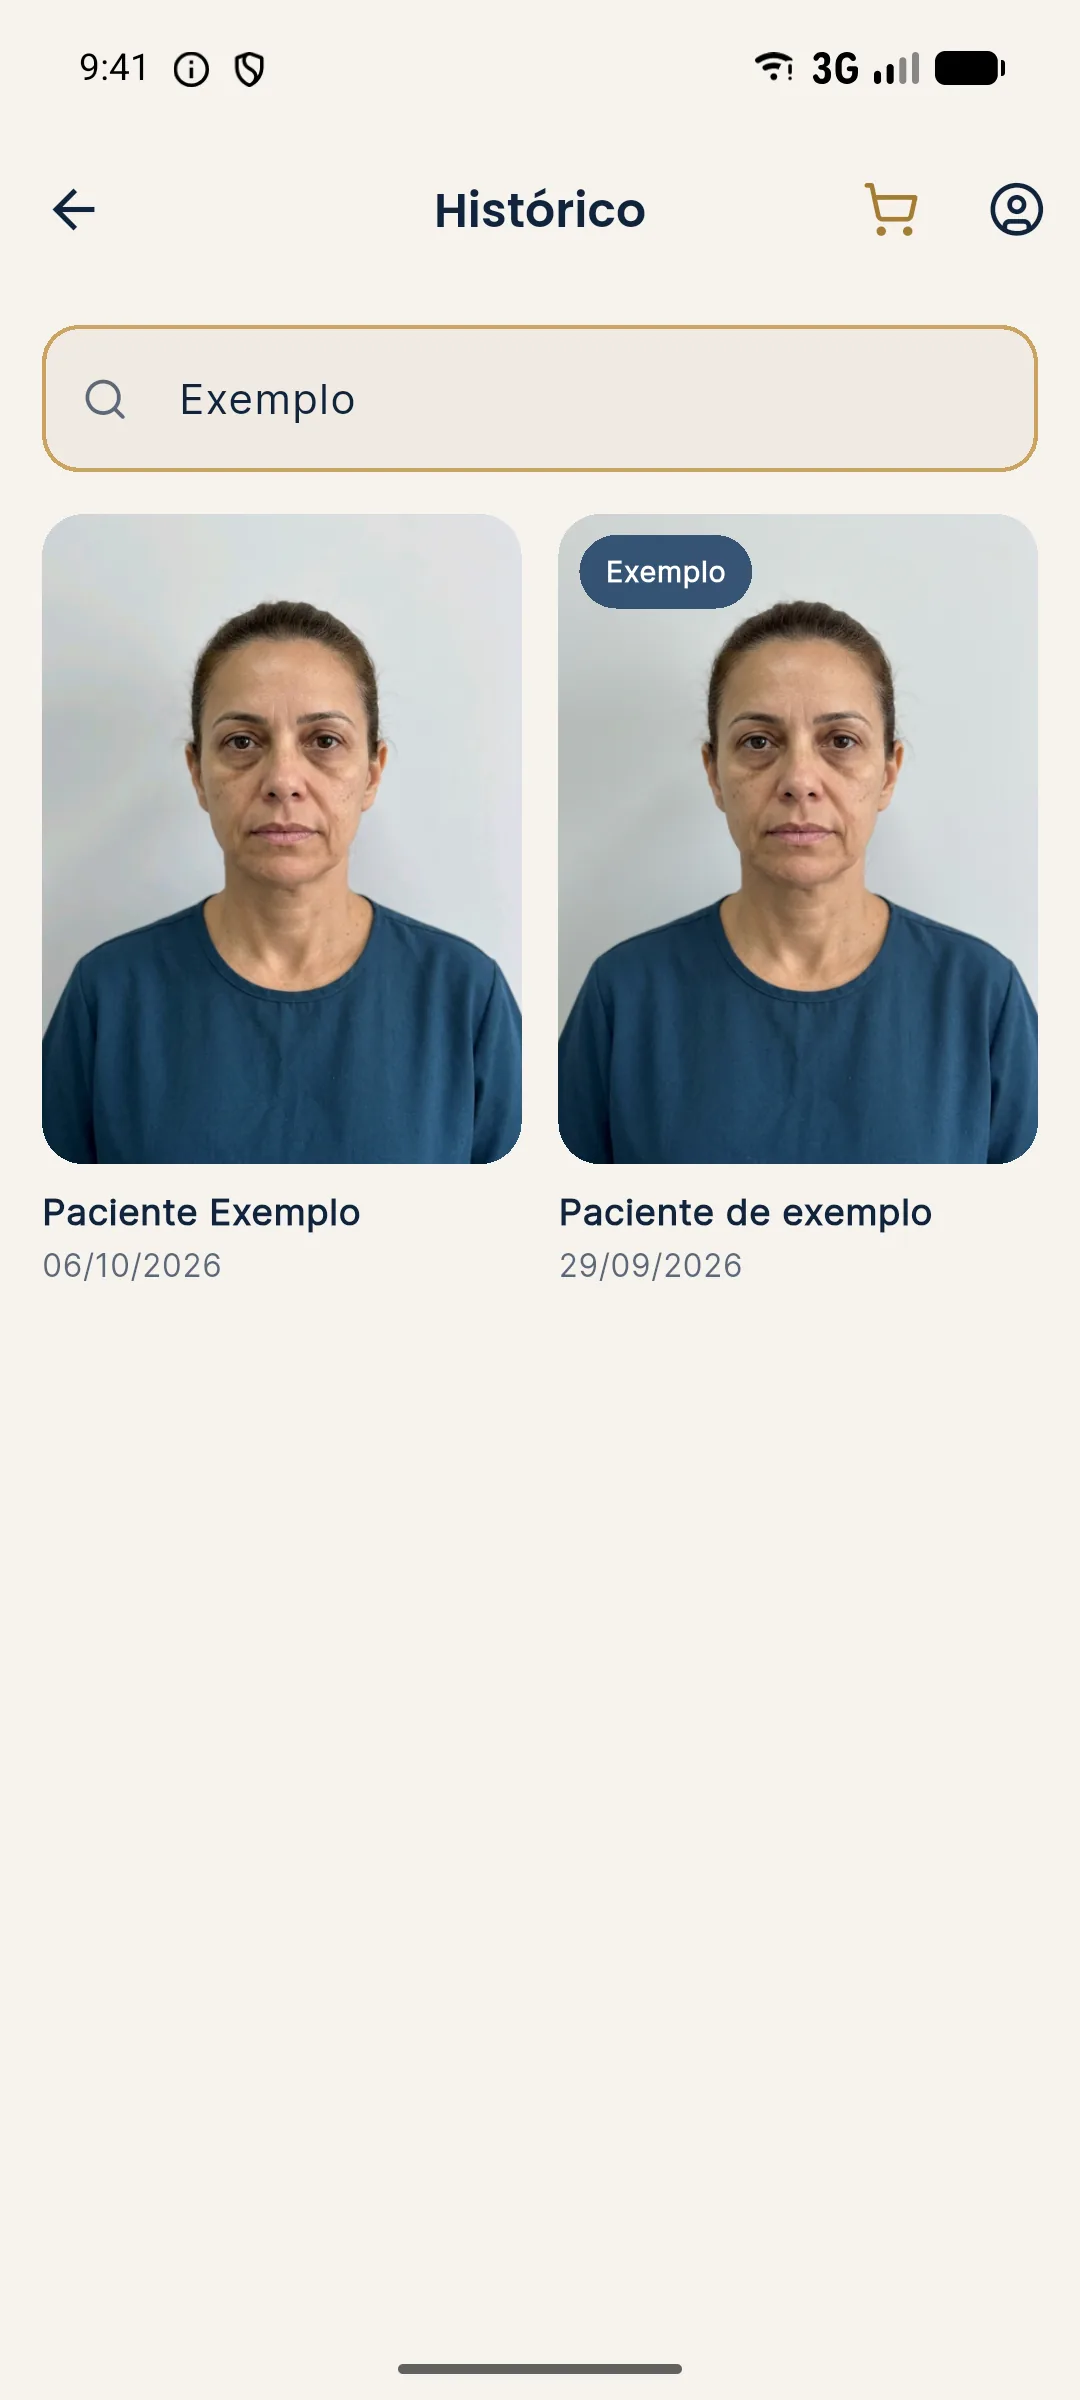
Harmy creates one projection per session from a frontal photo and keeps the history per patient, with search by name. By creating a new projection at each stage, you keep the timeline in the app. The projection is an illustrative simulation, and "Actual result" lets you save the post-procedure photo aligned by the eyes to compare Projection, Actual result and Projection vs Actual.
Summary
Define a protocol, photograph before each application, keep the standard and note the context. The timeline shows the real progress and helps calibrate each stage, without promising results.
Frequently asked questions
Do I need to photograph every session of a staged treatment?
It is best practice. The photo from each session documents the starting state of the stage and the progress since the previous one, which helps calibrate the plan and show the patient the path.
Which photos should I take at each session?
The same poses as the clinic's protocol, such as the frontal at rest and the obliques, before any application, under the same light, distance and background.
When should I take the photo: before or after the application?
The comparison photo should be taken before the application, with clean skin. Immediate post-procedure records can be taken separately, labeled as immediate post-procedure, because of swelling.
How do I show the timeline to the patient?
With the photos from each session in the same frame, side by side or in sequence, always identified as real records, with dates and without image editing.
Harmy images are illustrative simulations generated by AI from the patient's photo to support the conversation between practitioner and patient. They are not a promise of results. Indication, technique, product and volume are solely the decision of the licensed practitioner. This content is for information only and does not replace a clinical assessment.