
Photos for comparing the result of a procedure

Quick facts
- Principle
- Change only one thing between the photos: the face. Light, distance, angle, lens and expression must be the same.
- Sequence
- Frontal at rest, 45-degree obliques and profile, in the same order, before and after.
- Timing
- Set by the professional according to the procedure, with the swelling already resolved.
- Record
- Form with light, distance, lens, date and label, linked to the chart.
Every before and after photo implicitly asks: did the face change, or did the photo change? An honest answer is only possible when the second photo has the same conditions as the first. If the light, distance, angle or expression differ, the difference the patient sees is a mix of what the procedure did and what the photographer did. And the patient, by nature, attributes everything to the procedure: if the after photo is worse, they blame the professional; if it is better, they expect that forever.
This page describes the minimum sequence for a fair comparison and what to record so it can be repeated. It is the operational summary of several pages in this section, which are cited throughout the text.
What needs to be the same?
The rule is to change only one thing between the photos: the face. Everything else is noise.
| Variable | Why it matters | Learn more |
|---|---|---|
| Distance | Changes facial proportions | phone distance |
| Camera height | Changes the apparent size of nose, chin and double chin | camera height |
| Lens and zoom | Distorts the face | phone zoom |
| Light | Creates or erases volume shadows | lighting for clinical facial photos |
| Background | Changes the perception of skin tone | background for clinical photos |
| Head position | Changes projection and contour | Frankfurt plane |
| Expression | Changes lips, eyes, cheek | neutral expression |
If you cannot match an item (the room lamp burned out, the patient came with a different hairstyle), write it down. A recorded difference is a difference that can be discounted when interpreting.
What is the minimum sequence?
The set depends on the treated area, but there is a common core:
Apply the same order in both sessions: the patient gets used to the ritual, and the position becomes more reproducible with each visit. For the treated area, see the specific pages, such as under-eye photo in documentation, temple photo in documentation and lip photos in documentation.
When to take the after photo?
When the face is no longer reacting. The timing depends on the procedure, the area and the patient, and the professional decides. The organizational rule is: note the interval, take the photo at the same time of day if possible (the face is more swollen in the morning), and confirm that the patient is in the same conditions (hydration, sleep, alcohol, salt). The page when to take the follow-up photo covers the subject, and photo of the result with swelling still present explains why an early one misleads.
How to take the after photo with the before photo at hand?
Before starting, open the before photo and show it to the patient. Note the head position, the tilt, the camera height, and try to reproduce them. A few resources help:
- a floor mark for the feet and a fixed distance for the camera;
- a reference wall and the same light;
- a transparent overlay of the before photo on the camera, which aligns the pupils;
- the same person taking the photo, if possible, with the same device.
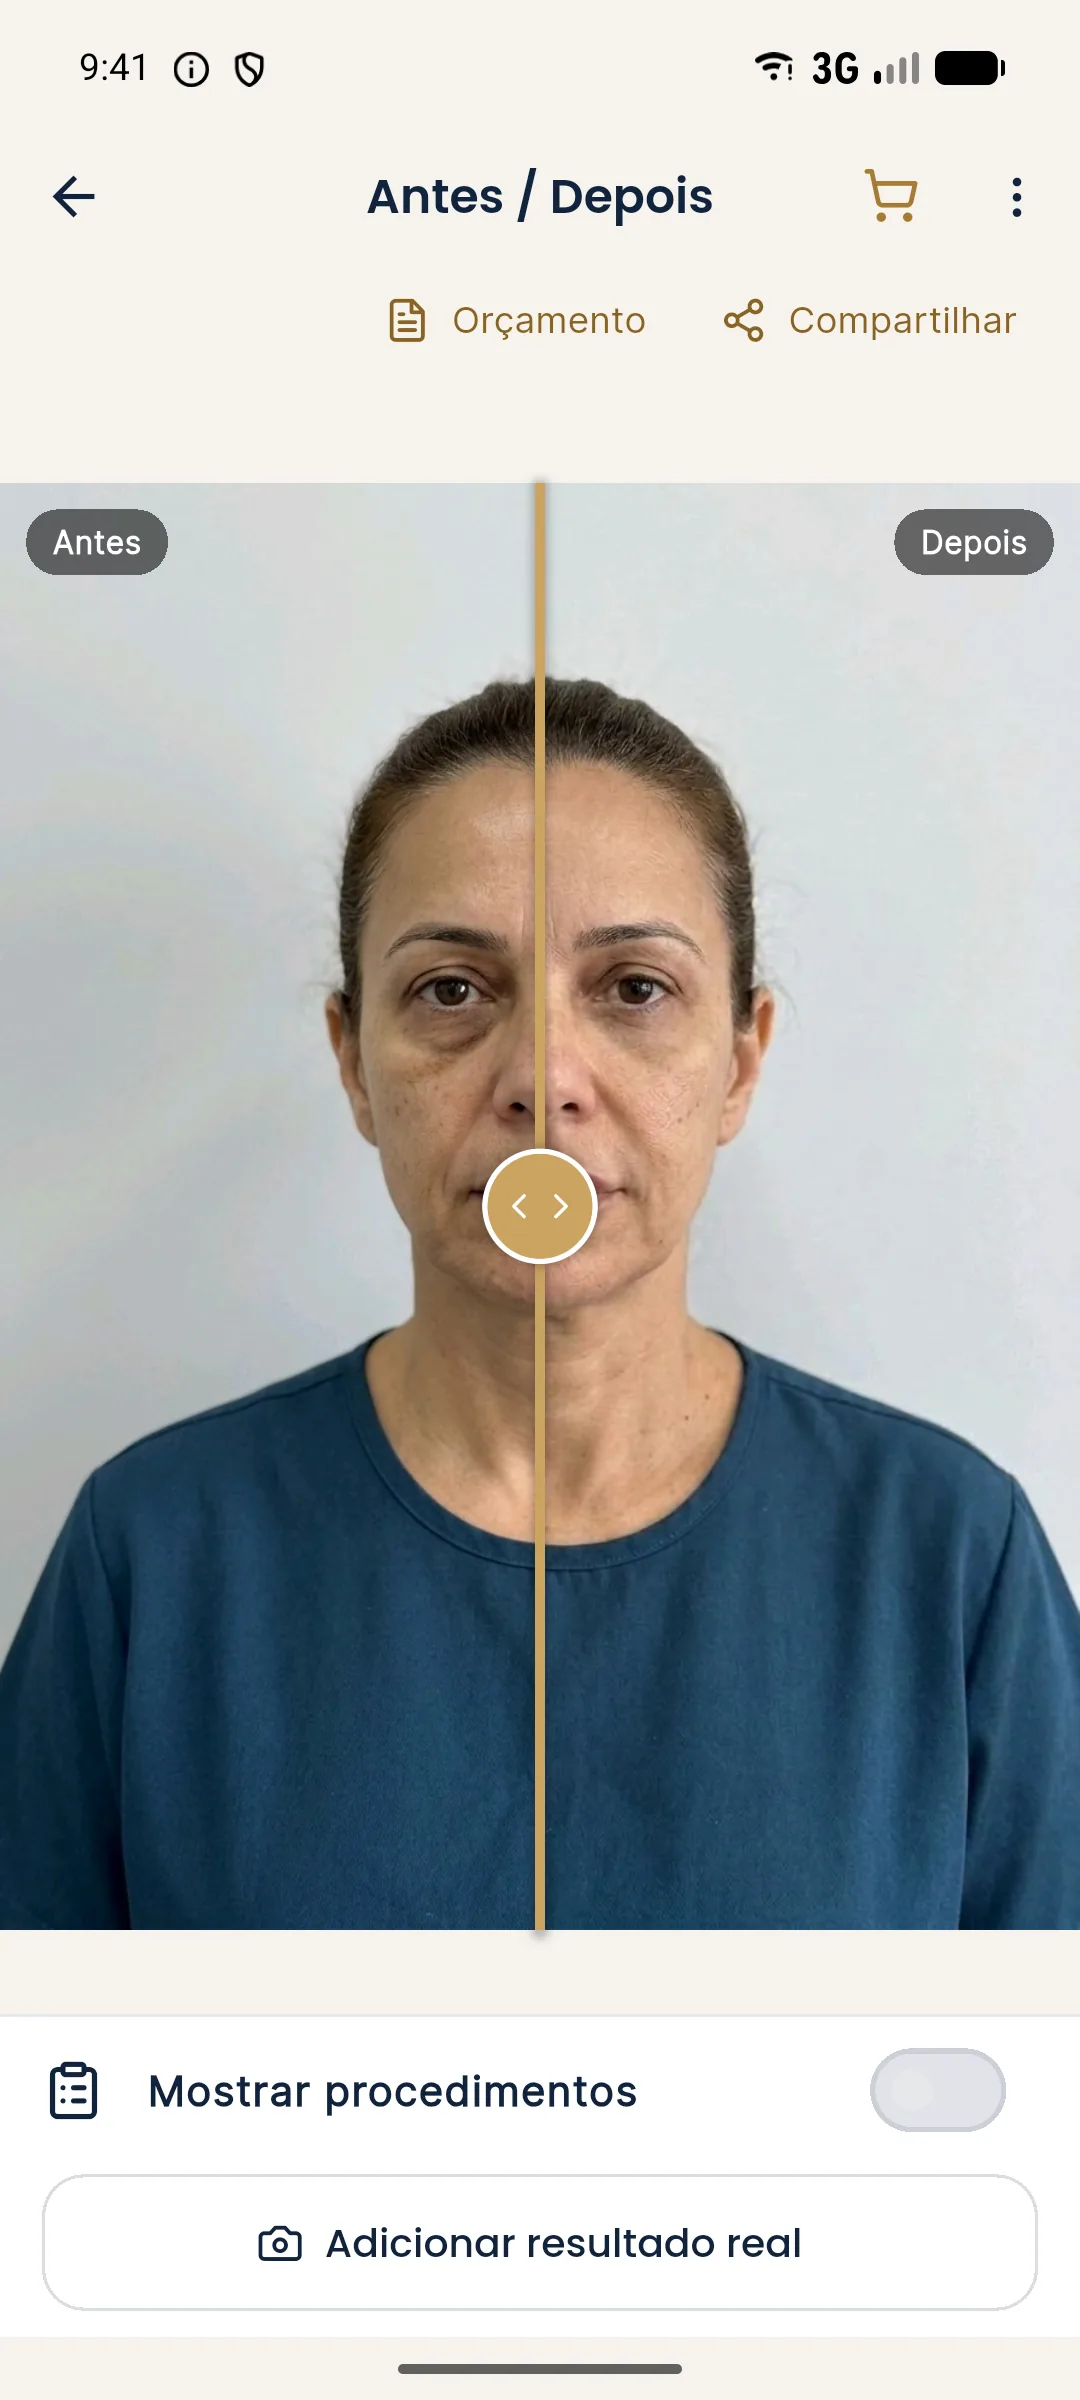
The overlay helps with framing, but it does not replace lighting, distance and expression, which depend on whoever is taking the photo. For cases where the photos were already taken without an overlay, later alignment is covered in aligning photos by the eyes.
How to present the comparison?
The format changes the reading. Side by side is more honest for the record. The slider is more instructive for the patient, but depends on very good alignment. The discussion is in side-by-side or slider comparison. Whatever the format, the face appears at the same scale, with the same frame.
When presenting, say what changed and what did not. For all purposes, the result depends on each patient, and the comparison is a record, not a promise. If the after photo turns out worse than the before, it is worth reading after photo worse than the before before drawing any conclusion.
What to record to repeat it?
A short form, linked to the chart, with:
- date and interval since the procedure;
- device, lens and distance;
- camera height and patient position;
- light (position, type) and background;
- label for each photo (rest, smile, oblique);
- whether any crop, alignment or adjustment was applied.
Name the files with a pattern, as in naming clinical photo files, and use a patient code instead of the name. Storage follows storing patient photos and the rules in consent and LGPD, Brazil's data protection law.
What if the comparison will be published?
Publishing a patient's photo is a different decision, with specific authorization and the rules of your professional council in Brazil, as in what can be published (CFO and CONAR). Never present the illustrative simulation as if it were the result.
What mistakes to avoid?
- Changing light, distance or angle between photos.
- Photographing the after with swelling still present.
- Comparing rest with smile.
- Not noting the conditions.
- Aligning and cropping each photo differently.
- Presenting the comparison as a promise.
A fair comparison takes work at the first photo, and saves arguments at every one after it.
Frequently asked questions
What needs to be the same between the before and after photos?
Distance, camera height, lens, light, background, head position and expression. The more items that match, the more the difference you see is from the face and not from the photo.
When should the after photo be taken?
When the professional considers the swelling resolved, within the timeframe they define according to the procedure and the patient. An early photo with swelling misleads the reading.
How many photos make a fair comparison?
The minimum set is a frontal at rest and a 45-degree oblique on both sides. Profile and smile are added depending on the treated area. The same set applies to before and after.
How does Harmy help with the comparison?
In Add actual result, guided capture shows the before photo as a transparency over the camera. The app stores the photo aligned by the eyes and compares Projection, Actual result and Projection vs Actual.
Harmy images are illustrative simulations generated by AI from the patient's photo to support the conversation between practitioner and patient. They are not a promise of results. Indication, technique, product and volume are solely the decision of the licensed practitioner. This content is for information only and does not replace a clinical assessment.