
Speech video to assess lips and smile
Quick facts
- Goal
- See how the lips move in speech and smile, and not only how they look at rest.
- Script
- Rest, short phrases with lip sounds, closed smile, open smile and pucker.
- What to observe
- Symmetry, incisor exposure, upper lip elevation and how the philtrum and mouth corners behave.
- Caution
- Specific consent for video and audio, with purpose and storage defined.
The lip is a mobile area. It projects in a pucker, lengthens in a smile, tightens in speech and changes shape with every phoneme. A photo at rest shows the design of the vermilion and the cupid's bow, but leaves out everything that happens in motion. And motion is where the patient lives.
Recording speech and smile for a few seconds adds clinical information that helps with planning and follow-up of procedures on the lips, philtrum and mouth corners.
What does the speech video reveal?
Each movement has a clinical meaning.
| Movement | What it reveals | Relevance |
|---|---|---|
| Rest | Position and exposure of the lips without effort | Reference for planning |
| Speech | How the lip behaves across phonemes, functional symmetry | Naturalness of the result |
| Closed smile | Elevation of the corners, lip tension | Corners and vermilion |
| Open smile | Exposure of the incisors and gums | Lip and smile planning |
| Pucker and kiss | Projection and contraction of the orbicularis oris | Elasticity and perioral lines |
An upper lip that rises a lot in the smile, for example, can expose gum and change the decision on volume or on other approaches. A lip that moves less on one side can indicate a functional asymmetry that the photo at rest does not reveal. For supporting photos, see lip photo in documentation and gummy smile photo in documentation.
What recording script should you use?
A fixed script of 30 to 40 seconds is usually enough. The suggested order:
- Face at rest, mouth closed, for three seconds.
- Counting from one to ten, slowly, in a natural voice.
- Two short phrases with lip sounds, for example "Peter picks a pepper" and "five fine fish".
- Closed smile, held for three seconds.
- Open smile, held for three seconds.
- Pucker, like a kiss, held for three seconds.
- Return to rest.
Keep the same phrases in every session. New phrases change the movement, and the comparison loses value. Ask the patient to speak naturally, without exaggerating. When they see themselves being recorded, they tend to speak artificially; a short chat before recording helps.
How do you frame and light it?
The framing should show the whole face, with forehead and chin, not just the mouth. That way you see the context: head position, movement of the nose and cheeks. If you need a detail, make a second, closer clip, but use the full framing as the standard.
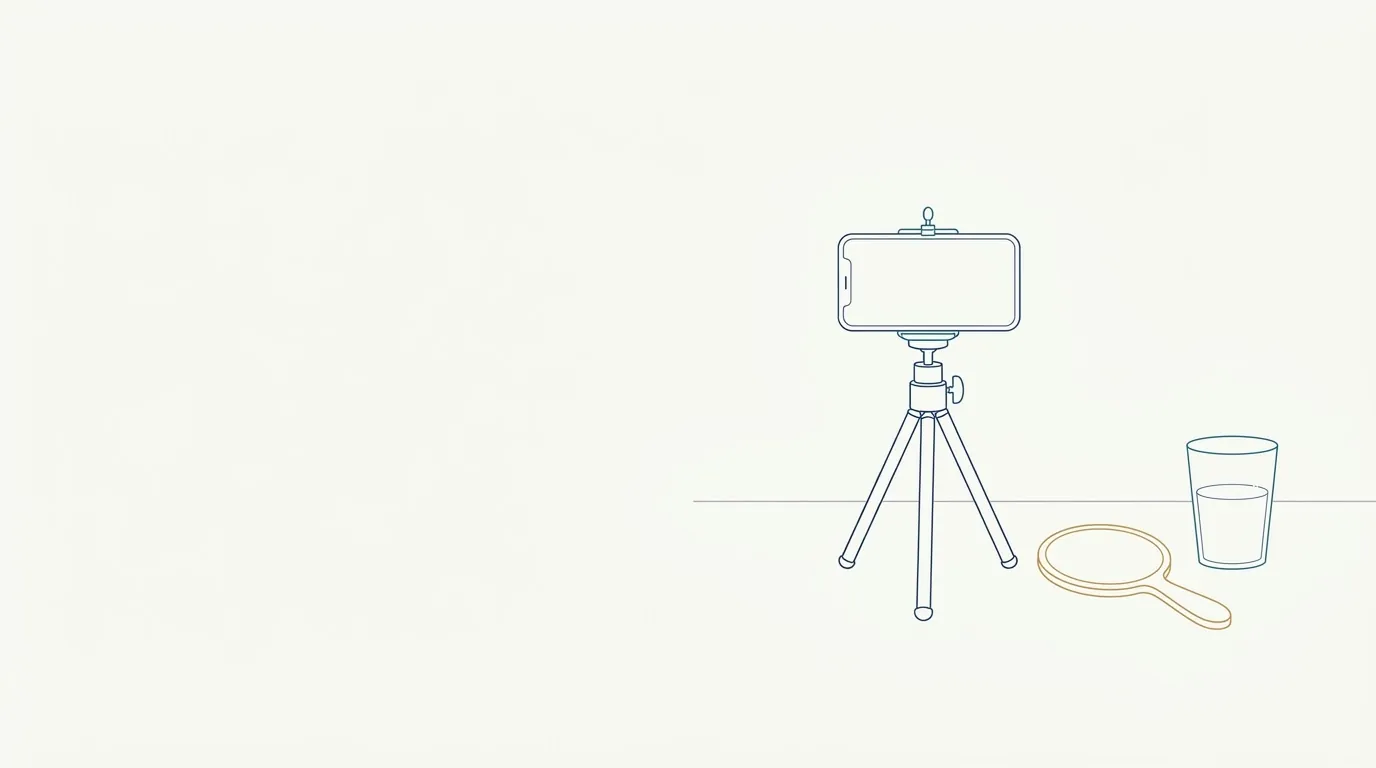
The phone sits on a tripod, at eye level, at a fixed distance, as in tripod for clinical photos. The light should be diffuse and frontal, with no harsh shadows under the nose and chin, which get in the way of reading the upper lip. Avoid light from above, the topic of facial shadows in clinical photos. If the patient wears lipstick, ask them to remove it, as in makeup in clinical photos.
How do you analyze the video?
Watch the video at normal speed first, for the overall impression. Then review it in slow motion at the moments of greatest movement: the start of the smile, the peak of lip elevation, the closing of the pucker. Observe:
- Symmetry: do both sides rise and fall together? Does one mouth corner lag behind?
- Incisor exposure: how much of the upper tooth shows at rest and in the smile?
- Behavior of the philtrum and cupid's bow: do the philtrum and the cupid's bow keep their shape in motion?
- Vermilion: does the lip vermilion roll in, disappear or project when speaking?
- Mouth corners: do they drop at rest or when speaking? See the mouth corners area.
Note your observations in the patient record. If you will repeat the video after the procedure, use the same script, the same light and the same framing, in the right window, as in when to take the follow-up photo. Remember that initial swelling changes lip movement in the first few days.
Consent, privacy and storage
A speech video records voice and the face in motion, which makes it more identifiable than a photo. Consent must be specific, as in consent for clinical video. Tell the patient before recording and explain the goal. Store the file in the same secure environment as the clinical photos, with access control, and not in the phone gallery. The LGPD (Brazil's data protection law) treats this kind of data with extra care.
Video, planning and Harmy
Video helps in understanding movement. The decision about which areas to treat and how much volume to use belongs to the qualified professional, after a full assessment. In Harmy, the Lips point enters the marking with ml and intensity (Subtle, Moderate or Pronounced), and the projection is generated from a front photo. The app does not analyze video or speech: the projection is static, an illustrative simulation and not a promise of results.
Use the video as context for choosing, for example, a Subtle intensity when the lip is already very mobile and exposes the teeth a lot. For the app's input photo, follow standardized front photo. For the area, see lips.
Summary for your routine
Record a short, fixed script, with the whole face, diffuse light and a tripod, after removing lipstick and with specific consent. Review in slow motion, note symmetry and exposure, and repeat the same script at follow-up. The video shows the lip as the patient uses it.
Frequently asked questions
Why record speech to assess the lips?
Because the lip changes shape when talking and smiling. A still photo does not show upper lip elevation, tooth exposure or symmetry in motion.
What phrases should the patient say?
Short phrases, identical in every session, with sounds that move the lips, such as P, B, M, F and V, and open and closed vowels. Keep the same script.
Does the audio need to be recorded?
Only if speech is part of the assessment. To see lip movement, the video is enough, and muting it reduces the personal data stored.
Does video help decide the lip filler volume?
It helps in understanding the lip's movement and exposure, which influence planning. Volume is the qualified professional's decision, after a full assessment.
Harmy images are illustrative simulations generated by AI from the patient's photo to support the conversation between practitioner and patient. They are not a promise of results. Indication, technique, product and volume are solely the decision of the licensed practitioner. This content is for information only and does not replace a clinical assessment.