
Simulation on dark skin: lighting and reading the photo

Quick facts
- Topic
- Photo and simulation on dark skin
- Challenge
- Exposure, shadows and reflections that hide or exaggerate volume
- Solution
- Diffuse frontal light, manual exposure and a suitable background
- Reading
- Always cross-check with the in-person exam
- Caution
- Do not assume the image represents the true skin tone
Every professional who photographs patients with dark skin knows the problem: the face comes out too dark, the shadows disappear or, on the contrary, the shine on the forehead and cheekbone blows out the image. What was visible to the naked eye is hidden on the screen. Because the Harmy projection starts from the photo submitted, the quality of that photo determines the quality of the conversation. This page gathers practical advice on light, exposure and reading for photographing and simulating facial harmonization on high phototypes.
Why does the camera fail on darker skin?
Phone cameras set exposure based on the whole scene. When the background is light and the face is dark, the device tends to underexpose the face to preserve the background, or to balance in the middle and lose detail. On dark skin, contour information (hollows, shadows, volumes) sits in narrow brightness bands, and a poor exposure wipes it out. The natural shine of the skin can also reflect the light source and saturate areas such as the forehead, nose and cheekbone.
The result is a photo in which the professional does not see what they see in person, and the volume analysis becomes less reliable. This affects planning, simulation and the comparison between before and after. See lighting for the planning photo and locked exposure and focus on the phone.
How to set up the light?
The principle is simple: diffuse, frontal and constant light. Avoid strong direct light, which creates reflections, and side light, which creates harsh shadows. A window with a curtain or a light source with a diffuser, placed in front of the patient, usually works. The room light should be the same at every visit.
The tap point on the screen is decisive: by tapping the face, you tell the device which area should be exposed correctly. See white balance in the clinical photo and phone flash in the clinical photo.
Which background to use?
A plain, mid-tone background helps the camera decide exposure without getting confused. Very light backgrounds make the face look darker; very dark backgrounds can swallow the contours. Avoid patterns, pictures and windows behind the patient. The background should also be the same between visits, so that apparent changes in tone or contour are not an artifact of the setting.
How does reading volume change?
On dark skin, shadows and reflections play a bigger role in the perception of volume. A cheekbone with soft projection can appear with no shadow and look flat; a slight hollow can disappear. That is why photo-based analysis must be complemented by an in-person exam with side light and movement. The photo helps with the record, but does not replace palpation and direct observation.
| Situation | Risk in the photo | Caution |
|---|---|---|
| Light background | Underexposed face | Neutral background and tap the face for exposure |
| Direct flash | Reflection and loss of contour | Avoid flash; use diffuse light |
| Strong side light | Harsh shadow that exaggerates hollows | Diffuse frontal light |
| Beautification filter | Altered tone and texture | Turn off filters in the camera app |
| Contrast editing | Appearance different from the real one | Avoid it; record without editing |
| Change of setting between visits | Misleading comparison | Standardize the setting |
See also phone filters and beautification in the clinical photo and photo with a different skin tone between visits.
What changes in the simulation?
The Harmy projection starts from the photo submitted and changes only the marked areas, with no makeup, skin retouching, change of expression, background, hair or lighting. This means the quality of the simulated image depends on the quality of the source photo. An underexposed photo produces a simulation in which the patient does not recognize themselves, and a blown-out photo hides the contour the AI uses to interpret the area. Before generating, assess the photo as if you were the patient: do they recognize themselves?
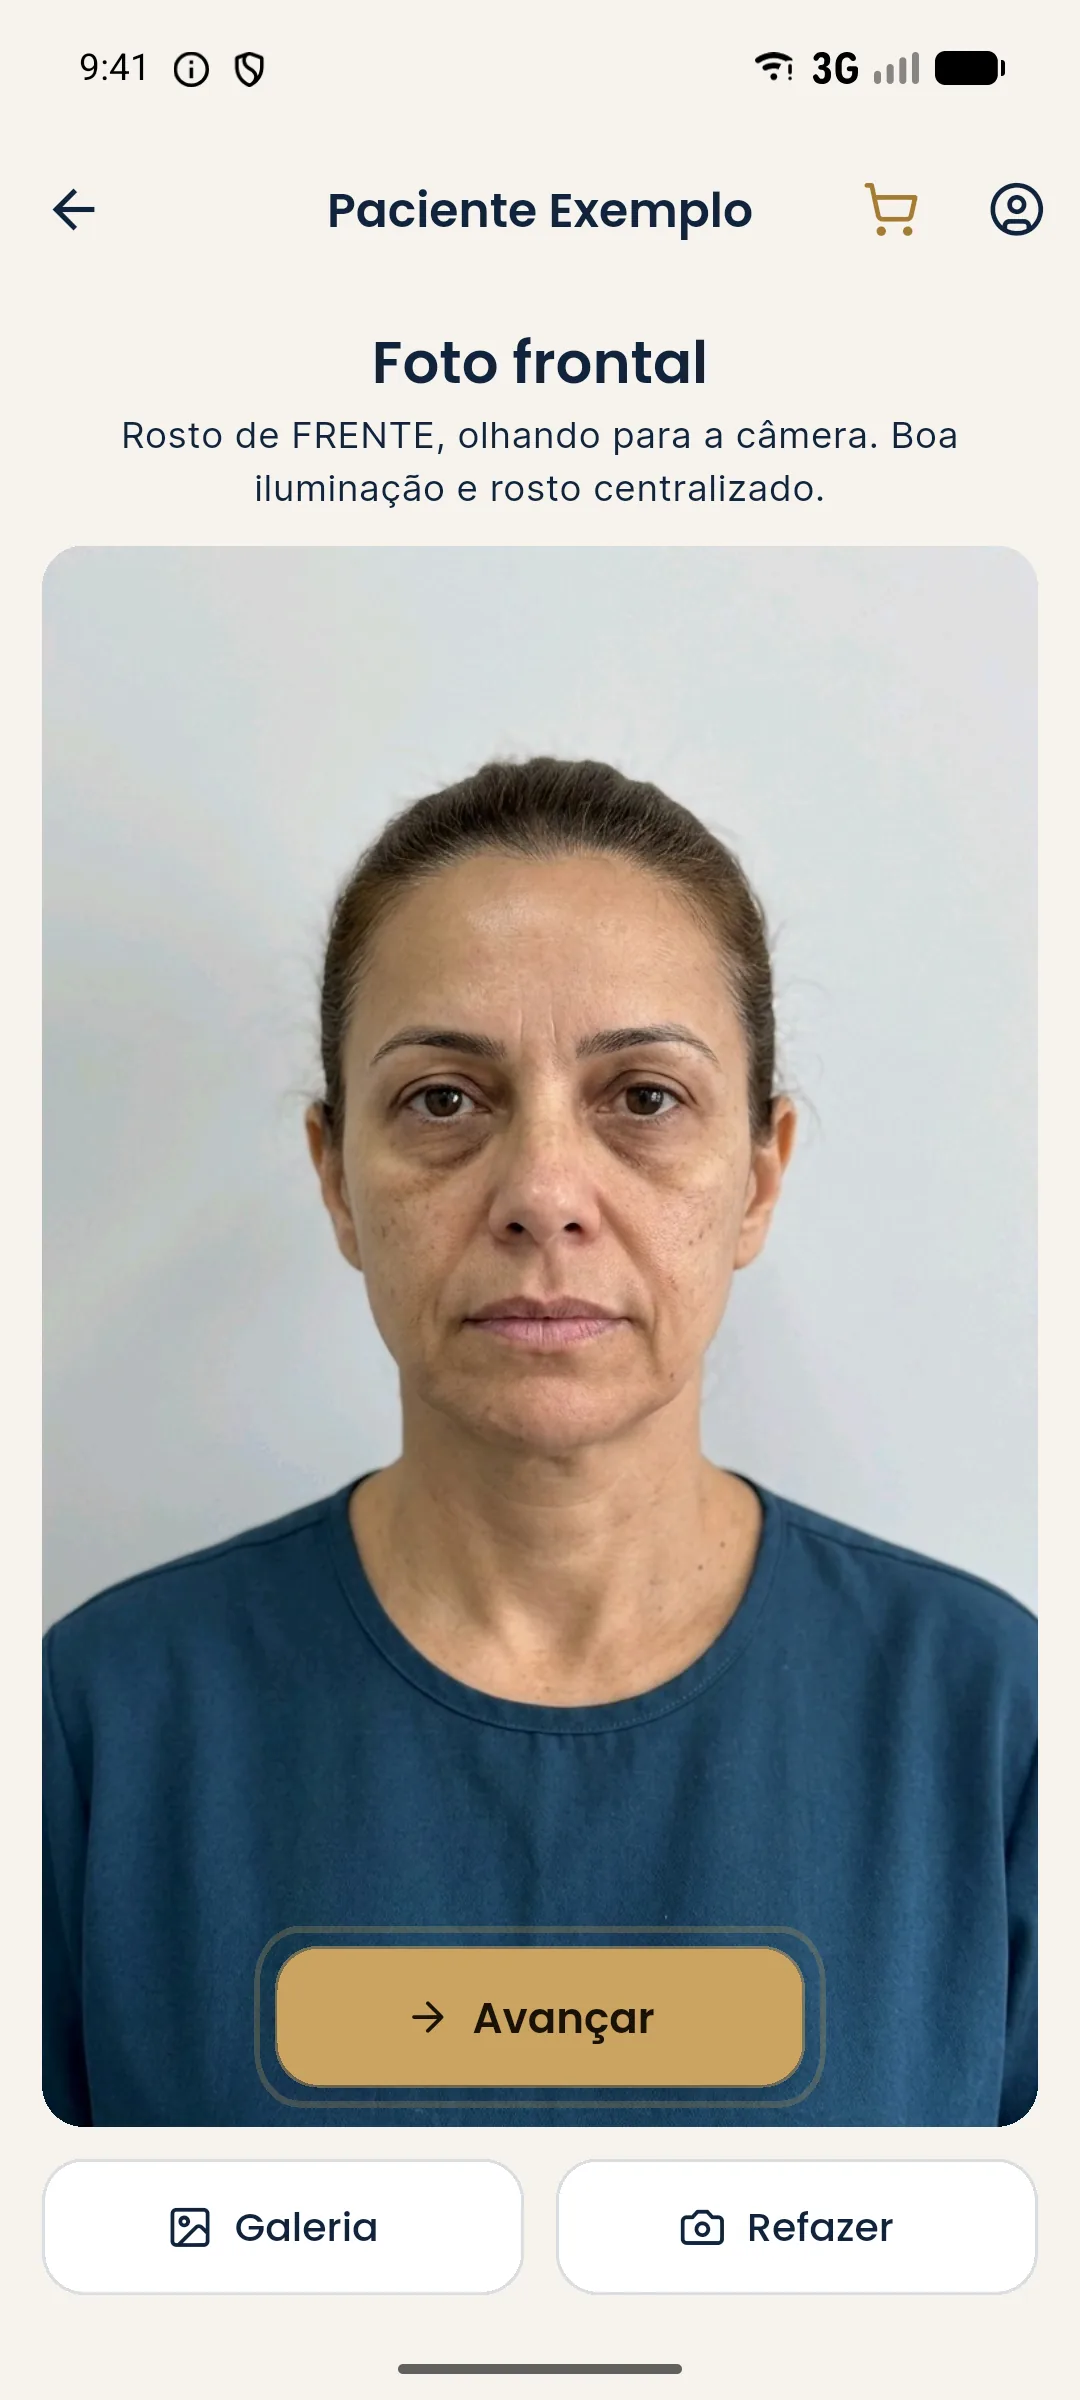
Since the app does not correct for skin tone or retouch the image, responsibility for the photo's fidelity lies with the professional. Before showing it to the patient, check that the Before image is faithful to their face. If it is not, retake the photo. See limits of 2D simulation and clinical photo with a phone.
How to talk to the patient about the photo?
Many patients with dark skin have already had the experience of being poorly photographed. Explain why you adjust the light, show the difference between a well-exposed and a poorly exposed photo and stress that the goal is to record the face as it is. This conversation shows care and reduces mistrust. Ask whether they recognize themselves in the photo before going on.
How to document for later comparison?
Note in the patient record the light source, the location, the device and the settings used. If possible, use the same conditions at every visit. For comparison with the actual result, Harmy's guided capture shows the "before" photo as a transparent overlay on the camera, which helps repeat the framing. But the light remains the professional's responsibility. See photo record by plan stage and alignment errors when comparing photos.
Frequently asked questions
Why does a photo of dark skin need special care?
Because phone cameras tend to set exposure based on the whole scene. On darker skin, this can underexpose the face and hide contours, or create excessive shine, and reading volume becomes difficult.
What light works best for photographing?
Diffuse, frontal light, without harsh shadows and without direct flash. The same light should be repeated in all of the patient's photos to allow comparison.
Does Harmy adjust the simulation to skin tone?
The projection is generated from the photo submitted and does not retouch the skin. That is why the quality and fidelity of the source photo are decisive. Always check the image with the patient in front of you.
Can I use a filter to improve the photo?
It is not recommended. Filters and beautification alter tone and texture and can mislead the reading. It is better to fix the light and exposure when taking the photo.
Harmy images are illustrative simulations generated by AI from the patient's photo to support the conversation between practitioner and patient. They are not a promise of results. Indication, technique, product and volume are solely the decision of the licensed practitioner. This content is for information only and does not replace a clinical assessment.