
Lighting for the Facial Planning Photo

Quick facts
- Goal
- Get frontal, diffuse, repeatable light so volumes and folds are not distorted
- Most common mistake
- Strong overhead or side light, which casts shadow and exaggerates the tear trough and fold
- Standard
- Two diffuse sources at 45 degrees, or one large frontal source, always in the same spot
- Caution
- Light changes how darker skin reads, with its own highlights and shadows
Portrait photographers know a trick: with a single change in light position, the same face looks fuller, thinner, younger or more tired. Light draws shadows that the eye reads as volume and depth. In HOF (orofacial harmonization), that same property is a problem, because the plan depends on reading volumes and folds faithfully.
A planning photo with poorly placed light can fake a tear trough, deepen the nasolabial fold, hide an asymmetry or create one that does not exist. This page explains how light interferes, which setup is most reliable, how to standardize it and what changes for patients with darker skin.
How does light distort volumes and folds?
The human eye reads shadow as depth. Where there is shadow, there seems to be a depression; where there is shine, there seems to be volume. A poorly placed light source creates shadows that do not exist on the face at rest under even light.
| Light position | What happens to the face | Most affected area |
|---|---|---|
| From above (ceiling) | Shadow under the brow, eye, nose and chin | Tear trough, bag, nasolabial fold |
| Strong side light | One side lit, the other in shadow | Symmetry, cheekbone, jaw |
| From below | Inverted shadows, odd look | The whole face |
| Direct flash | Flattened face, shine on the skin | Volumes in general, lips |
| Backlight | Dark face, no detail | Everything |
The most common effect is an exaggerated tear trough. Ceiling light darkens the area under the eyes and the patient looks more tired than they are, which can lead to planning volume where a more modest plan would do. The reasoning on tear troughs is in tear troughs: types and assessment and in tear trough groove.
Which lighting should you use?
The most reliable setup is diffuse, frontal light from a large, soft source. Two practical options:
- Two diffuse side sources. One on each side, at about 45 degrees, at face height, with the same intensity. It removes harsh shadows and keeps a bit of relief.
- One large frontal source. A panel or softbox in front of the patient, slightly above eye level, which lights the face evenly.
In both cases the environment matters too: a neutral background wall, no strong light from behind, and no side windows competing.
Other parts of the photo standard are in standardized clinical photography and distance and lens in the assessment photo.
How do you standardize to compare over time?
A before and after comparison is only valid if the light is the same. One key point: it does not have to be perfect, it has to be repeatable. A simple, fixed setup beats a sophisticated, variable one.
The color of the light counts too. Lamps of different temperatures change skin tone and can distort redness and pigmentation. Fixing the color temperature and the white balance avoids surprises.
What about natural light?
Light from a large, diffuse window on an overcast day is excellent portrait light. The problem is variation: it changes from morning to afternoon, from sun to cloud. For routine photos, a fixed artificial light is more reliable. If you do use natural light, keep the same time of day, the same window and the same spot, and note it in the photo's remarks.
Avoid photographing with direct sun on the face or with the patient's back to the window. In both cases the result loses detail.
What changes with darker skin?
Darker skin reflects and absorbs light differently, and a setup that works well for light skin can leave deep shadows or intense shine on dark skin. In general, it helps to:
- use diffuse and somewhat more powerful sources to reveal volumes;
- watch the shine (reflections) on the forehead and cheekbone, without erasing relief;
- check the white balance so that skin tone stays true;
- avoid direct flash, which creates strong reflections.
The subject appears in simulation on dark skin and lighting and in HOF on Black skin. The Fitzpatrick phototype can guide camera and light adjustments, but it does not replace visually checking the photo.
How does light affect how folds and tear troughs read?
Two areas deserve attention, because light alters them easily.
Tear trough
The area under the eye is a natural depression, and any overhead light deepens it. To assess it properly, look at the patient in person, under diffuse light, and then confirm on the photo. Telling a structural tear trough from a pigmented one or from a light shadow is part of the reasoning (see palpebromalar groove).
Nasolabial fold
Strong side light deepens the fold on one side and flattens it on the other, creating the illusion of asymmetry. Even frontal light shows the fold as it really is. Compare with the in-person assessment and with the photo under two different lights when in doubt.
How does ambient light enter the simulation?
The projection starts from the photo. If the photo has a harsh shadow, the projection carries it along, and the image may look like it has more or less volume than the face really has. That is why the quality of the input photo is the foundation of a good projection.
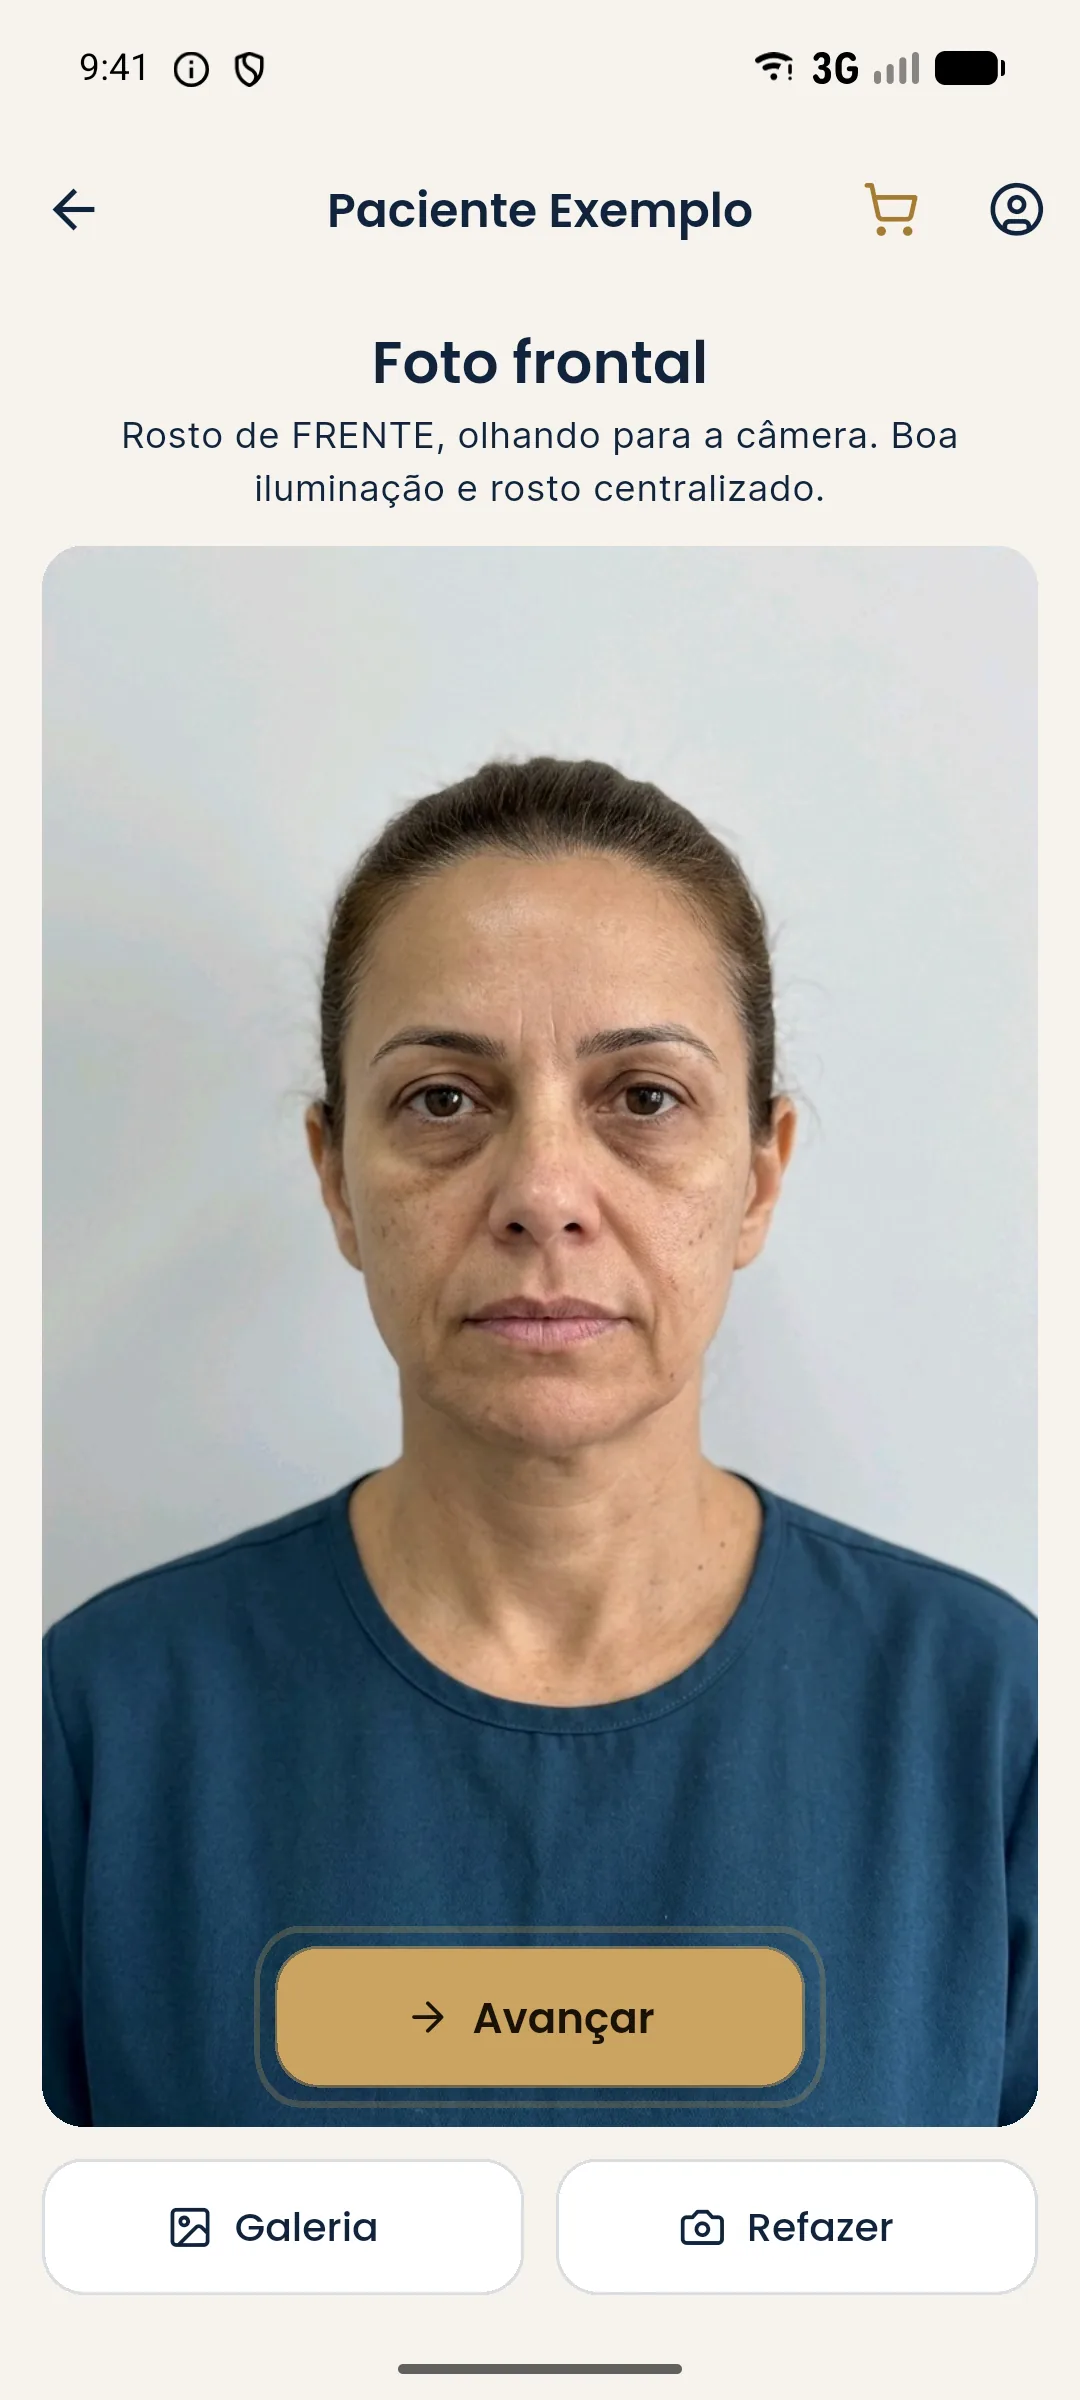
The capture flow is in standardized frontal photo, and what to do with problem photos is in bad photo in Harmy: how to improve it.
Quiz: light and planning
Summary
- Light draws shadows that the eye reads as volume, and bad light distorts the tear trough, the fold and symmetry.
- Use diffuse, frontal light, no direct flash, always in the same position.
- Standardize and mark the patient and light source positions on the floor.
- On darker skin, watch shine, shadow and white balance.
- The light of the original photo stays in the Harmy projection.
Frequently asked questions
What is the best light for the facial planning photo?
Diffuse, frontal light from a large source, which lights the face evenly without harsh shadows. The most important thing is to repeat the same setup every time.
Why does overhead light get in the way?
Because it casts shadow under the eyes, nose and chin, which exaggerates tear troughs, folds and bags and leads to overestimating the volume needed in those areas.
Can I use natural light?
You can, near a large window with diffuse light, but natural light varies through the day and with the weather. To compare photos over time, a fixed artificial light is more reliable.
Does the phone flash work?
Generally no. Direct flash flattens the face, creates shine on the skin and erases volumes. Prefer diffuse light from a larger source, placed consistently.
Harmy images are illustrative simulations generated by AI from the patient's photo to support the conversation between practitioner and patient. They are not a promise of results. Indication, technique, product and volume are solely the decision of the licensed practitioner. This content is for information only and does not replace a clinical assessment.