
Photo Documentation by Stage of the Facial Harmonization Plan
Quick facts
- Topic
- Standardized photos at each stage of the plan
- Moments
- Before, right after, follow-up and late reassessments
- Golden rule
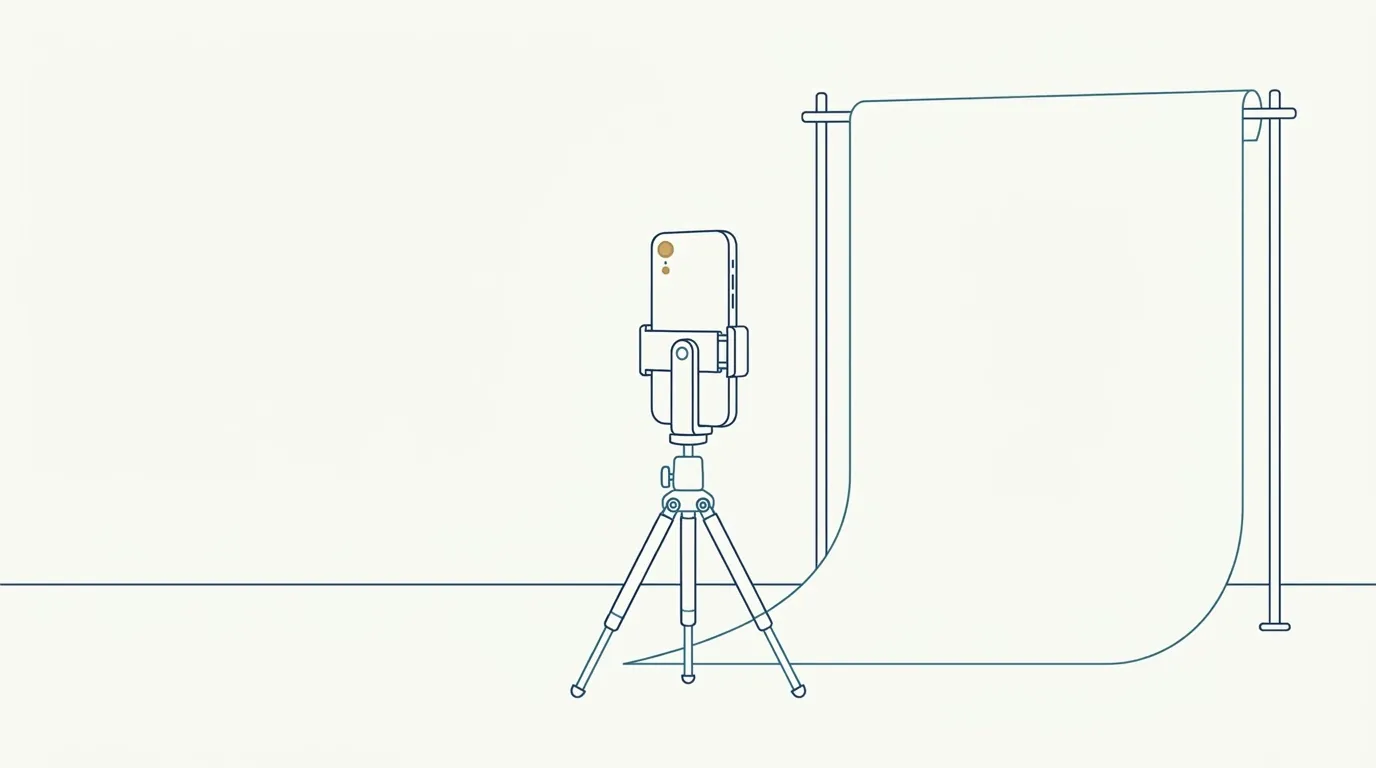
- Same distance, light, background, expression and framing
- Organization
- File name with patient, date and stage
- Warning
- Recent swelling distorts the comparison
In a facial harmonization plan divided into stages, the photo from each session is the only reliable way to know what changed and what did not. The memory of the professional and of the patient can be wrong, and the mirror changes from day to day. But photos taken without a standard mislead even more, because they look like proof and are not. This page proposes a documentation standard for each stage of the plan.
Why photograph at each stage and not only at the start and the end?
An initial photo and a final one leave a gap in the middle. You do not know how much each stage contributed, or whether an adjustment in the second session was responsible for what the patient noticed. Photos at each stage let you see the evolution and decide the next step based on visual evidence, not impression. They also feed the conversation with the patient, who often recognizes the change only when seeing the sequence.
This logic ties in with the patient's timeline in facial harmonization and plan diary: recording evolution per session.
At which moments should you take photos?
The point to watch is the photo right after the procedure. It shows swollen tissue and marked skin, so it is a poor record of the result. Use it only to document the state of the day. See swelling gets in the way of comparing results and when to photograph the result after the procedure.
What should stay the same from one photo to the next?
What does not change between photos is what makes comparison possible. Six variables deserve control.
| Variable | How to standardize | Typical mistake |
|---|---|---|
| Distance | Mark on the floor the spot for the patient and the phone | Getting closer in one stage and distorting proportions |
| Camera height | At the patient's eye level | A shot from above that enlarges the forehead |
| Light | Same source, no direct flash | Different shadows that look like a change in volume |
| Background | Plain and neutral | A background that changes how skin tone is perceived |
| Expression | Neutral, mouth relaxed | A slight smile in one and a serious face in the other |
| Hair and accessories | Hair pulled back, no earrings or glasses | Strands across the jawline |
Detailed guides are in distance and lens in the assessment photo, lighting for the planning photo and neutral expression in the planning photo.
How should you name and store the files?
A simple naming scheme avoids rework. One example: patient_YYYY-MM-DD_stage1_baseline_frontal. Always keep the order patient, date, stage, moment and angle. In alphabetical order, the files line up on their own in the folder. If you use more than one device, note which phone was used, since different lenses change the perspective.
Secure storage matters: a photo of the face is sensitive data. Keep the images in a controlled location, with restricted access and backup, and avoid personal WhatsApp. The entry on LGPD (Brazil's data protection law) and the guide consent and LGPD for photos explain the basis. All subject to your council's rules.
And Harmy's frontal photo?
Harmy's projection uses a single frontal photo. For the simulation to work well, the photo must be face-on, with good light and nothing covering the face. Using the same standardized photo from the stage as the base for the projection keeps the patient record and the simulation consistent. At each new stage, a new baseline photo generates a new projection with that stage's ml.
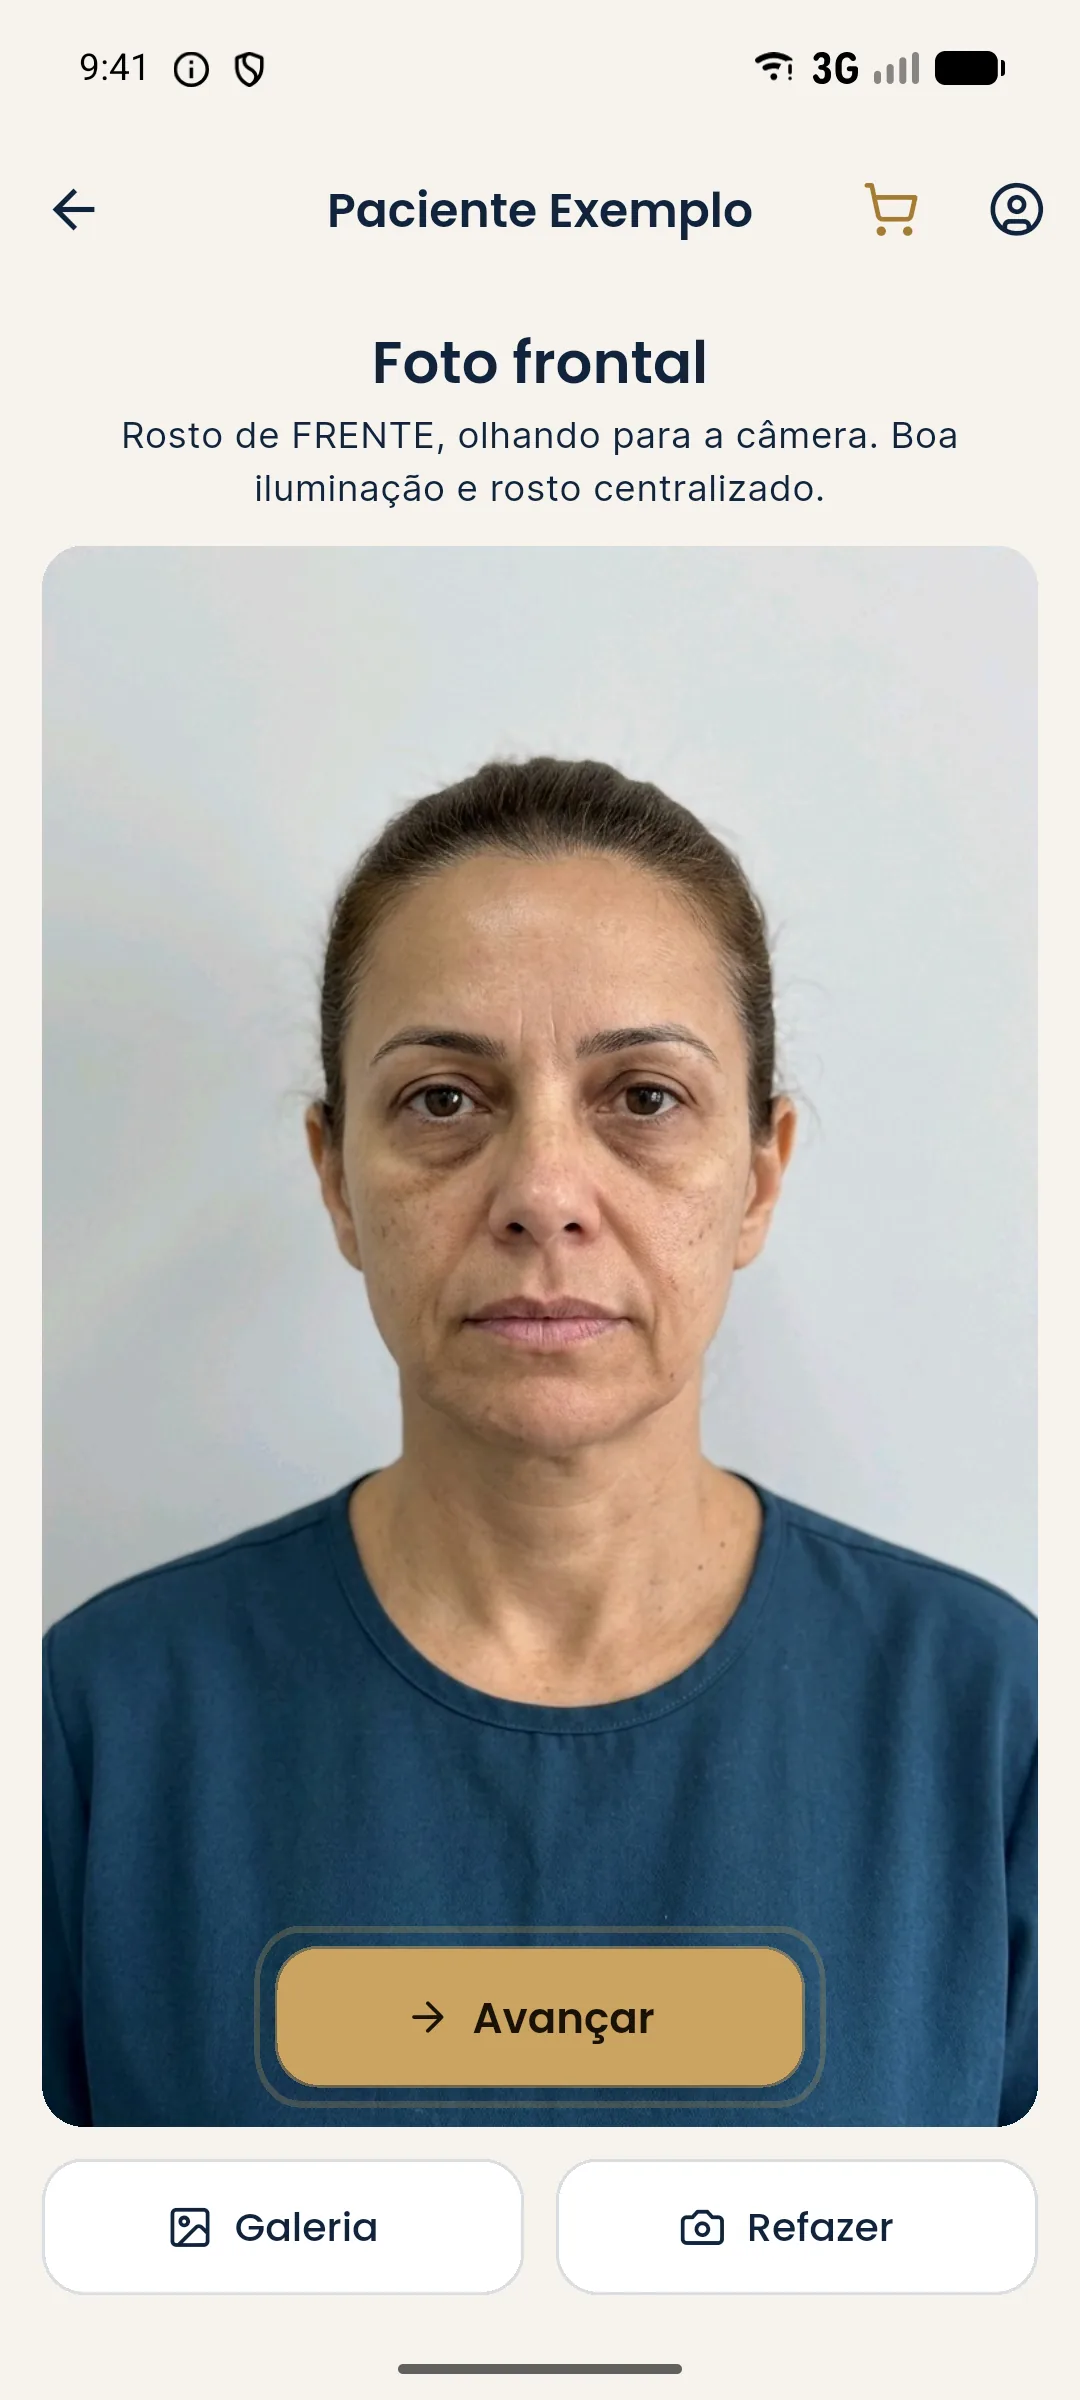
For the step-by-step on comparing, read comparing projection and actual result and alignment errors when comparing photos.
How do you explain to the patient that photos are part of the treatment?
Many patients are surprised by the insistence on a standardized photo. Explain that it serves them: it is what lets you show, honestly, what changed. Reinforce that no one will see the images beyond what was agreed.
Checklist for each session
Which mistakes hurt the photo series most?
The most frequent mistake is a silent change in conditions. At the first consultation, the photo was taken in the assessment room, with window light; at the second, in the procedure room, with ceiling light. The patient seems to have changed, but only the lighting did. Another common mistake is photographing the patient in a different state: just arrived by bike, flushed from effort, or after a poor night's sleep. Skin and apparent volume vary. When possible, always photograph at the same time of day and before any manipulation of the face.
A third mistake is taking a single photo and trusting it. Always take two or three, and choose the best for the official file. Discard with judgment, and save the chosen one with the standard naming. Duplicate, unlabeled photos make later review much harder.
How do you handle weight, sun and hair changes between stages?
Between one stage and the next, the patient's life goes on. They may lose weight, gain weight, get sun or change their haircut. Note these variables in the patient record on the day of the photo, because they explain differences unrelated to the procedure. Read reviewing the plan after weight gain and habits that change the plan: sun, smoking and sleep.
Frequently asked questions
When should I photograph in a staged facial harmonization plan?
Generally before each session, at the follow-up and at agreed reassessments. Photos right after the procedure serve more to record swelling and complications than to assess the result.
How many angles should I record?
It depends on your documentation protocol. Harmy uses only the frontal photo for the projection, but in clinical documentation many professionals also record the profile and three-quarter views, at the practice's discretion.
How do I avoid misleading comparisons between stages?
By repeating the conditions: same distance, camera height, light, background, hair pulled back and neutral expression. Any change in framing can look like a change in the face.
Do I need consent to photograph each stage?
Image consent should cover the purpose of clinical documentation throughout the treatment. Check the wording of your consent form and your professional council's rules.
Harmy images are illustrative simulations generated by AI from the patient's photo to support the conversation between practitioner and patient. They are not a promise of results. Indication, technique, product and volume are solely the decision of the licensed practitioner. This content is for information only and does not replace a clinical assessment.