
When to photograph the result after the procedure

Quick facts
- Question
- At what point does the post-procedure photo show the result and not the swelling?
- Rule
- Photograph more than once: right after (safety record) and after the swelling has gone down (comparison)
- Window
- Varies with product, area and patient; set by the professional and agreed in advance
- Standard
- Same light, distance, expression and framing as the initial photo
There is a question almost every patient asks and many professionals answer in a hurry: "when can I see the result?" The honest answer is that there are at least three results: the one on the day, which mixes product and swelling, the one from the first weeks, when the tissue settles, and the one that remains afterward. The photo you take at each moment tells a different story, and comparing the wrong one with the simulation creates needless frustration.
Here you will find a way of reasoning to choose the photo moment, the capture precautions and how to agree on this with the patient before the procedure. The timeframes are general ranges and depend on the professional.
Why does the timing of the photo change the conclusion?
Because the face right after the procedure is not the final face. Swelling, local redness and sometimes bruising alter volume, contour and color. A same-day photo may show more volume than the final result, or an irregular contour that resolves. The opposite also happens: as the swelling goes down, it may reveal a more subtle result than expected.
An honest comparison with the projection only makes sense once the swelling has passed. The complementary topic is in swelling gets in the way of comparing results and in why the actual result differs from the simulation.
Which photos to take, and when?
Three moments cover most cases. The intervals are examples of organization, not protocol deadlines.
The "right after" photo has clinical use: it documents what was done and the state of the skin. The follow-up photo is the one that talks to the simulation. For the follow-up milestones, see reassessment at 3, 6 and 12 months.
What changes depending on the procedure and the area?
The window depends on two main factors: the type of product and the area. Areas more prone to swelling, such as the lips and the under-eye area, usually need more time before the comparison. Structural areas, such as the chin and jaw, tend to settle differently. Botulinum toxin has its own logic, since the effect depends on latency and on how the effect develops, not on swelling.
| Type of treatment | What interferes with the photo | Note |
|---|---|---|
| Lip filler | Swelling and bruising | Area with large initial variation |
| Under-eye filler | Swelling, bruising and shadow | Thin skin, visible response |
| Structural filler (cheekbone, chin, jaw) | Swelling, irregular initial contour | Gradual settling |
| Toxin | Latency of the effect | Photo at rest and in motion, on an agreed date |
| Biostimulator | Progressive result | Photos at more widely spaced milestones |
Specific timeframes depend on the product, the technique and the patient, and the qualified professional decides. What this table shows is the logic, not a calendar.
How do you standardize capture so the comparison holds up?
Half of the difference between the before and after photos often comes from the capture, not from the treatment. Standardize:
- Light: the same source and direction, preferably diffuse. See lighting for the planning photo.
- Distance and lens: the same distance from the patient and the same device, to avoid distortion. See distance and lens in the assessment photo.
- Expression: neutral, relaxed mouth, eyes on the horizon. See neutral expression in the planning photo.
- Background and accessories: no earrings, glasses or hair over the face, as in hair, earrings and glasses in the assessment photo.
- Makeup and beard: same condition in both photos. See makeup and beard in the planning photo.
- Alignment: the head in the same position, compared in overlay. See alignment errors when comparing photos.
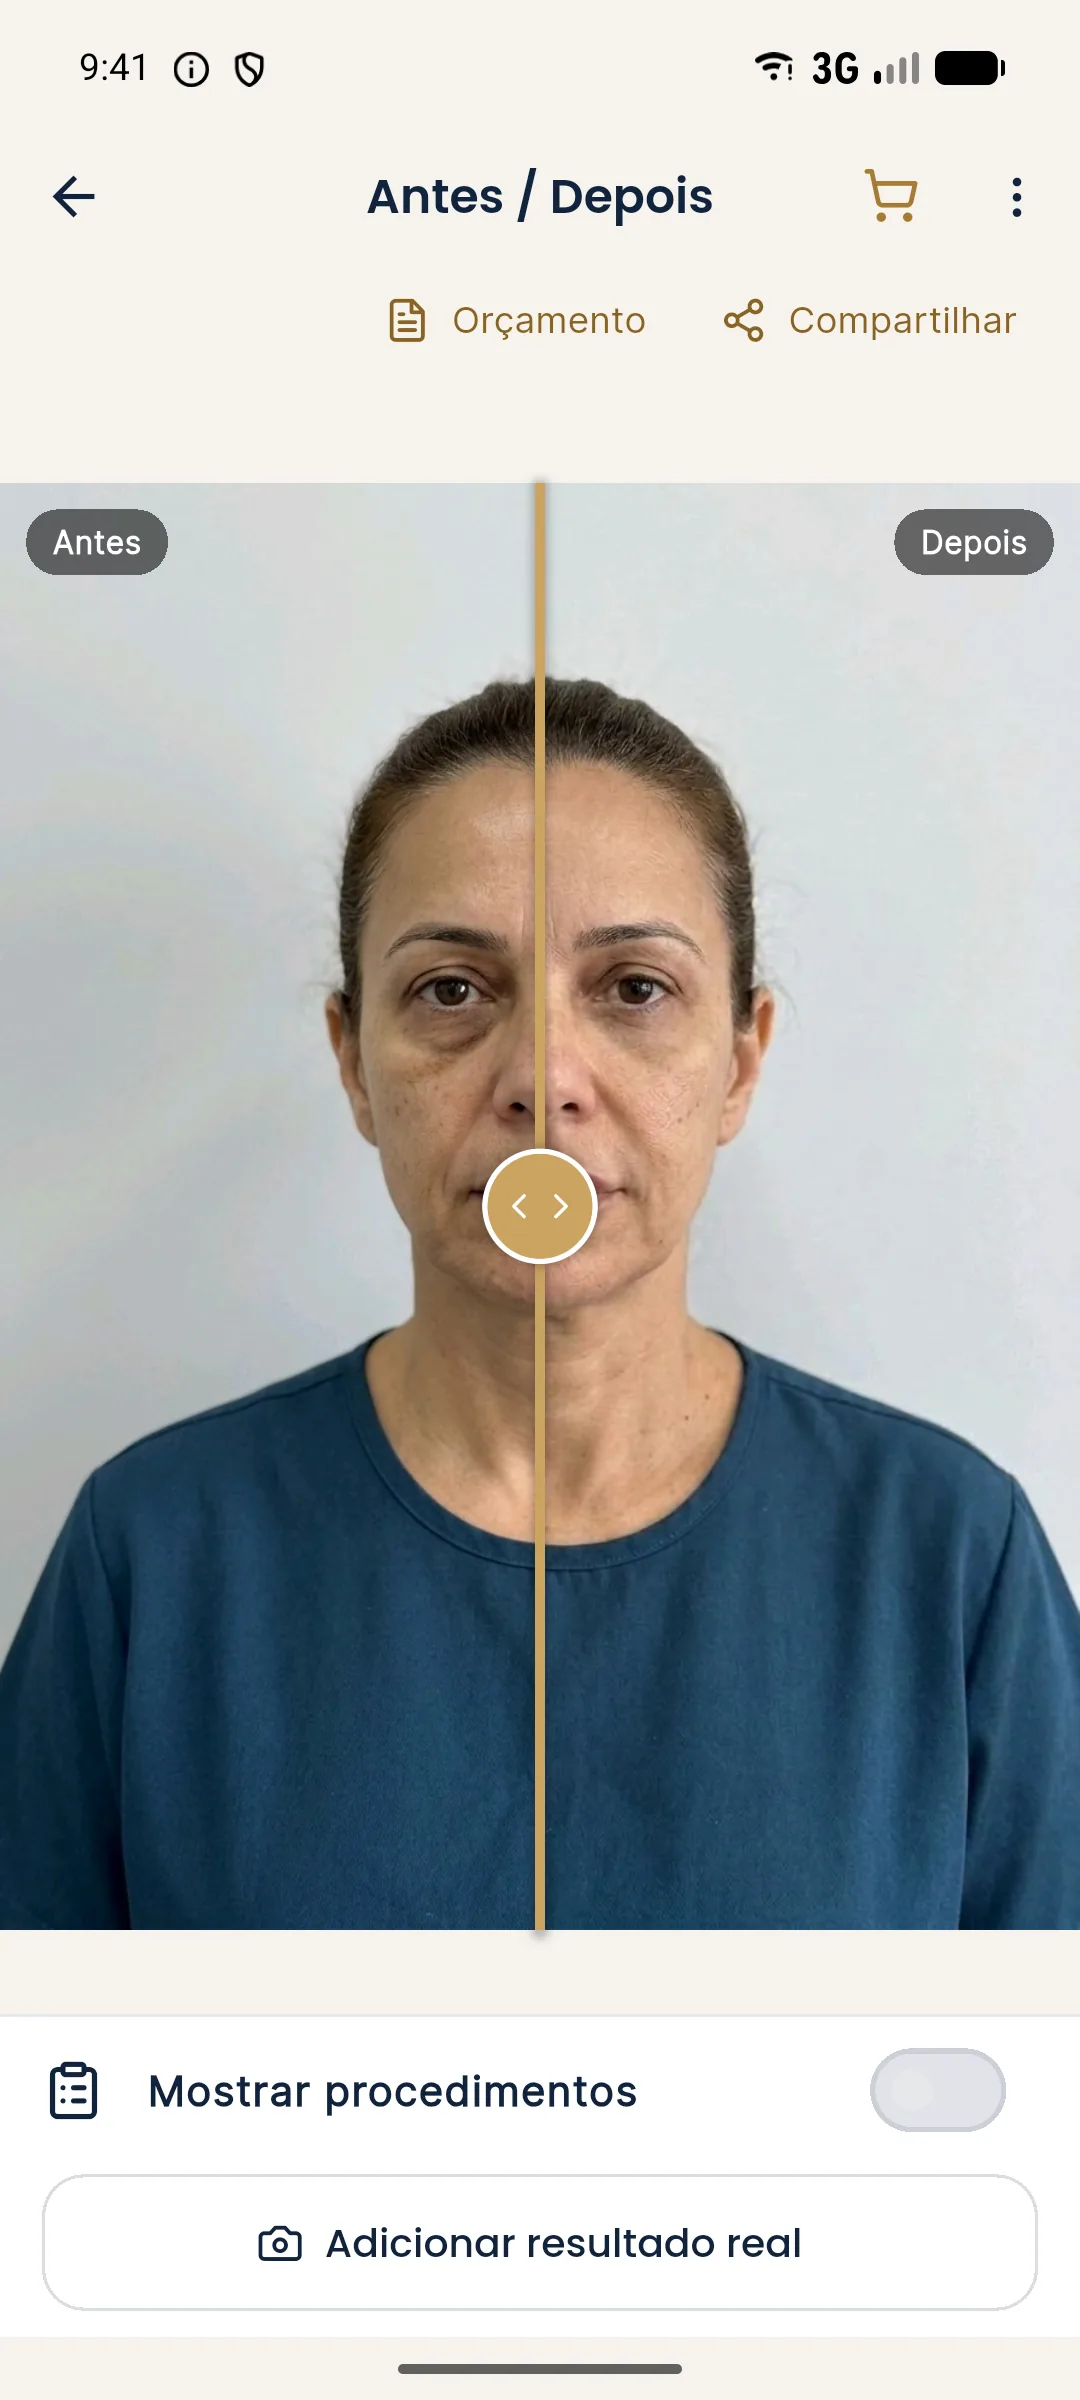
How do you explain this to the patient in the consultation?
Before the procedure, agree on two things: that the photo of the day is only a record, and that the result assessment happens on a set date, once the swelling has passed. This keeps the patient from using the next-day photo to judge the result and then feeling misled.
Also show that the follow-up is part of the treatment, not a favor. The conversation about time expectations is covered in aligning expectations about timing, explaining that the result is not immediate and aligning expectations about swelling and bruising.
What if the patient sends a photo on their own?
It always happens: the patient takes a selfie the next day and sends it, worried. Reply calmly, explain that the image shows a period of swelling, and guide them on warning signs that require immediate contact, per the aftercare instructions you provided. Do not assess the result from a selfie. A selfie has its own distortion and a difference in self-image, the topic of mirror, selfie and photo: the self-image gap.
If there are signs of a complication, direct contact is the priority, and the course of action follows the judgment of the qualified professional. The communication protocols are in communicating a complication to the patient.
Handling of data and images follows the LGPD (Brazil's data protection law), as in consent and LGPD for photos.
Frequently asked questions
When should I photograph the result of a filler?
There are two useful moments: right after, as a record, and at an agreed follow-up once the swelling has gone down, to compare with the initial photo. The exact timing depends on the product, area and patient.
Why not compare with the next-day photo?
Because swelling and any bruising distort the contour and the color, and the comparison gives a wrong idea of the result, too much or too little.
Does the after photo need to follow the same standard as the initial one?
Yes. The same light, distance, angle, expression and background remove from the comparison the part of the difference that does not come from the treatment.
How does Harmy help repeat the framing?
In the guided capture of the Actual result, the before photo appears as a transparent overlay on the camera, and the after photo is saved aligned by the eyes for comparison.
Harmy images are illustrative simulations generated by AI from the patient's photo to support the conversation between practitioner and patient. They are not a promise of results. Indication, technique, product and volume are solely the decision of the licensed practitioner. This content is for information only and does not replace a clinical assessment.