
Clinical Photos With a Phone: How to Take Quality Shots
Quick facts
- Equipment
- A current phone with a rear camera is enough, with no special lens or accessory.
- Settings
- Maximum resolution, grid on, flash off, filters and aggressive HDR off.
- Routine
- Same light, same distance, same height, same background and same script.
- Storage
- Original file, named and kept outside the personal gallery.
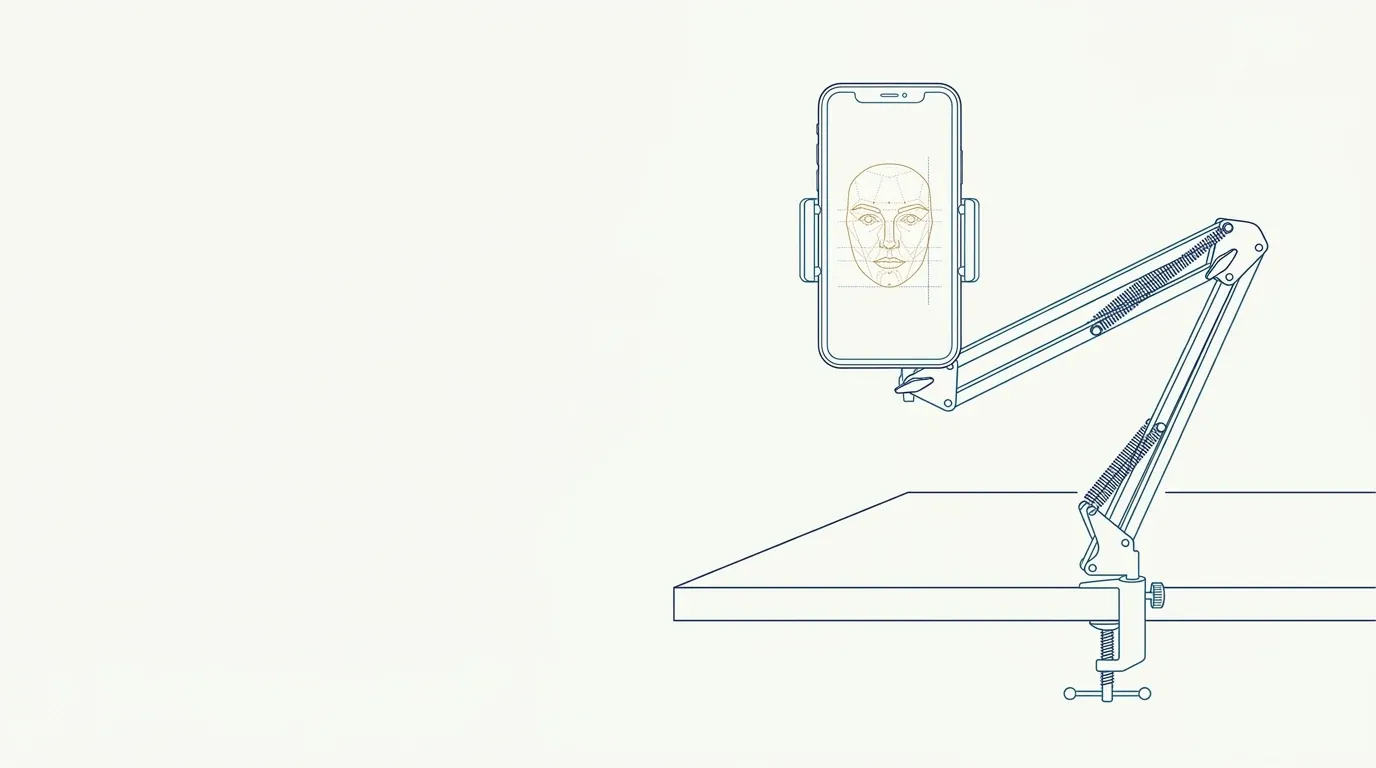
A clinical photo does not require a professional camera. It requires repetition: the same light, the same distance, the same height, the same background and the same expression at every visit. A current phone, well configured, does that with room to spare. What is usually missing is not equipment, it is method.
This page brings together the device setup and the capture routine that, together, produce patient photos comparable over time.
Which phone and camera should you use?
A device with a good-resolution rear camera and no exaggerated processing. The most important thing is to always use the same one, because each model has its own "style" of color and sharpness. If the clinic changes phones, record the change in the medical record and redo the calibration.
- Main rear camera: sharper and with less beautification. See front or rear camera in clinical photos.
- Avoid ultra-wide: it distorts the edges of the face. Details in wide-angle lens distorts the face.
- Avoid digital zoom: it loses sharpness. The right zoom is moving away or closer, not pinching the screen, as shown in phone zoom in clinical photos.
Which settings should you change in the camera app?
- Maximum resolution and the device's standard format (see resolution and format of clinical photos).
- Grid on, to align the eyes with the horizontal line and center the face.
- Flash off, not automatic (why to avoid flash).
- Beauty mode, retouching, portrait mode and filters off (filters and beauty mode).
- HDR on a subtle setting or off, depending on the device (HDR and portrait mode).
- Focus and exposure locked on the face, so the camera does not vary with every shot (locked exposure and focus).
- Location off for photos, so the clinic's address is not written into the metadata (metadata and location).
How do you set up the scene without special accessories?
The scene is worth more than the device. Without buying anything beyond the basics:
- Plain, neutral background (light or gray wall), about one meter behind the patient. See background for clinical photos.
- Diffuse light coming from the front and slightly above, with no window behind the patient. See lighting for facial clinical photos.
- Fixed chair or stool and floor marks for the patient and the photographer, as in marking floor position.
- Gaze point on the wall, at eye level.
Distance, height and framing
Three decisions that most influence the comparison:
| Parameter | Practical recommendation |
|---|---|
| Distance | About one to one and a half meters, always the same. See phone distance. |
| Height | Lens at the patient's eye level. See camera height. |
| Framing | From the top of the head to the base of the neck, with a margin. See frontal photo framing. |
Photographer and patient: who does what?
If possible, the same professional or assistant takes the photos at every visit. They hold the device the same way each time, with the elbow supported or with a tripod, and guide the patient through the script. Guidance on posture and expression is in neutral expression in clinical photos. Ask for hair to be moved off the face and accessories removed, as in hair tied back and earrings, glasses and accessories.
After the shot: where do you store it?
The phone gallery is the worst place for patient photos: it mixes them with personal photos, syncs with the personal cloud and can be seen by whoever picks up the device. Use a clinic device, turn off automatic backup for these photos and organize them in named folders. See phone gallery and patient photos, naming clinical photo files and storing patient photos.
And in Harmy?
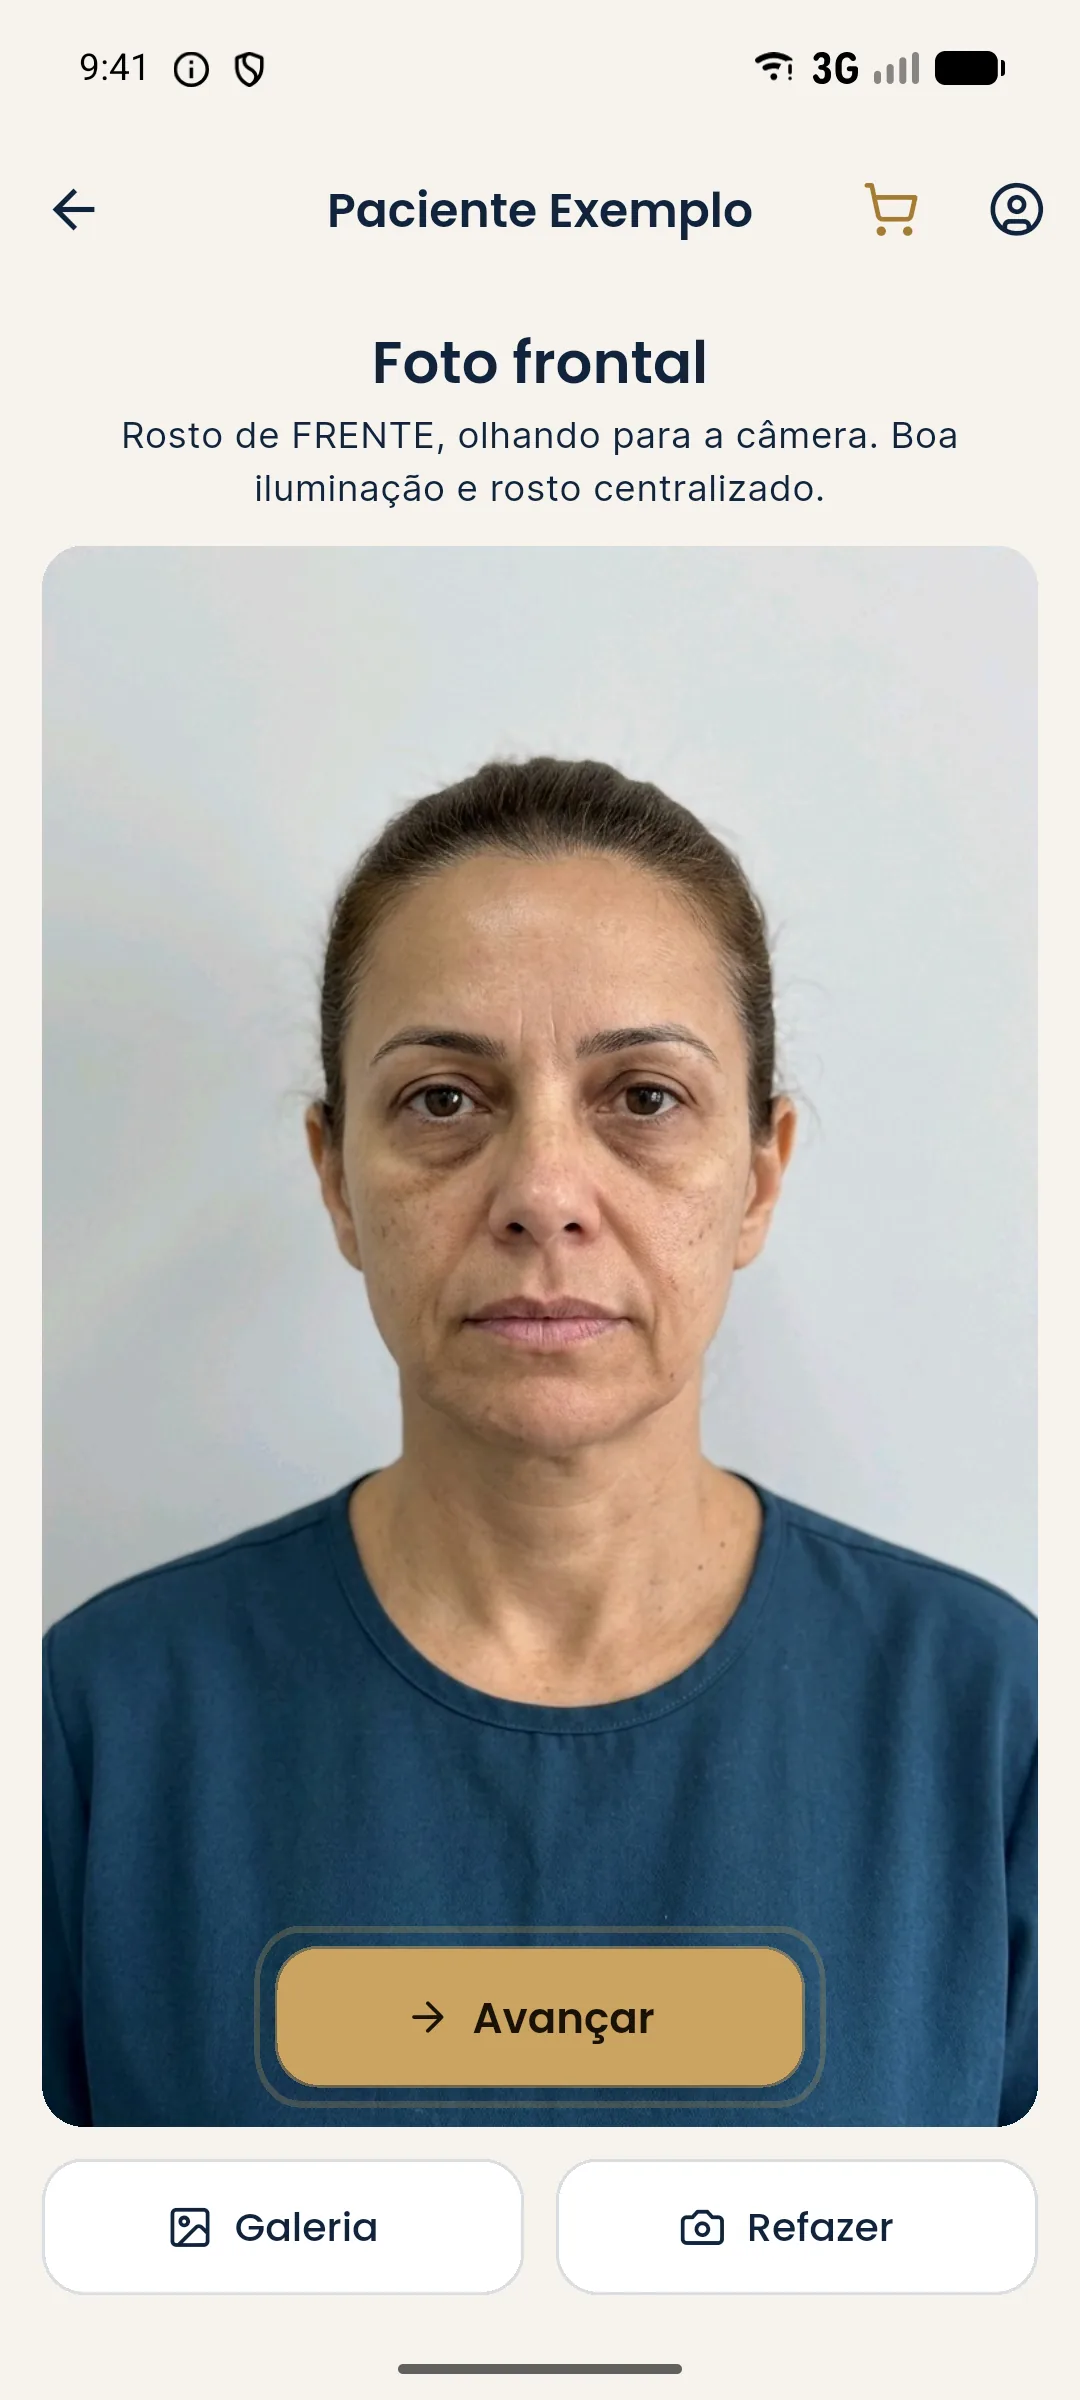
The app was designed for the phone workflow: you open a new projection, enter the patient, take the frontal photo with the camera or pick one from the gallery, and the app detects the face on the device itself. The projection uses only that frontal photo. The better the photo, the more reliable the illustrative simulation. See also a single frontal photo to plan in the app.
When is it worth investing in equipment?
Only after the method is right. If the light varies, the distance changes and the background is improvised, a better phone or an expensive camera will not fix it. When the routine is already stable and the professional misses something specific, such as more exposure control or sharper photos from a distance, then it makes sense to consider a tripod, a fixed diffuse light or a camera app with manual mode. Each addition should solve a problem you have already identified in your own photos, not a catalog promise.
Summary
The phone is enough. What guarantees quality is clean settings, stable light, repeated distance and height and a fixed capture script. Standardize the method, keep the original file and protect the photos outside the personal gallery.
Frequently asked questions
Can I take good clinical photos with just a phone?
Yes. A current phone, well configured and always used with the same light, distance and height, delivers comparable photos. What matters is standardization, not the price of the device.
Which phone camera should I use for clinical photos?
Generally the main rear camera, which has better quality and less automatic beautification than the front one. Avoid ultra-wide and digital zoom.
Do I need a tripod?
It is not required, but it helps keep height and distance identical between visits. Without a tripod, use floor marks and a positioning routine.
Can I use my personal phone to photograph patients?
There can be privacy risks, such as automatic backup to a personal cloud. The ideal is a clinic device or, at minimum, settings that prevent clinical photos from syncing.
Harmy images are illustrative simulations generated by AI from the patient's photo to support the conversation between practitioner and patient. They are not a promise of results. Indication, technique, product and volume are solely the decision of the licensed practitioner. This content is for information only and does not replace a clinical assessment.