
Camera and lighting for clinical HOF photos

The clinical photo is the foundation of several steps in orofacial harmonization (HOF): assessment, planning, simulation and follow-up. But a photo only helps when it is comparable: taken every time with the same distance, the same light and the same position, so that the difference between two images comes from the patient and not from the equipment. The good news is that this does not require a studio: a well-organized corner and a few simple accessories do the job.
This guide shows a low-cost setup, the order of assembly, the mistakes that distort the image and a checklist. Combine it with standardized clinical photography and standardized frontal photo in Harmy. Equipment prices vary, so we do not quote them: compare options and choose what fits your budget.
Why standardize the photo?
Without standardization, it is impossible to know whether a change between two photos came from the treatment or from the environment. A closer photo, light from above or a raised chin changes how under-eye hollows, folds, lips and jaw look. This can lead to wrong decisions and to conflicts with the patient ("my before photo looked different").
Standardizing also protects the clinic: a consistent record supports the patient chart and communication. See patient records and documentation in HOF.
What should you use as a camera?
| Option | Advantage | Caution |
|---|---|---|
| Recent phone | Already at hand, practical, enough resolution | Turn off portrait mode, filters and automatic beautification |
| Dedicated camera | Control of lens, distance and exposure | Higher cost and learning curve |
| Tablet | Large screen to show the patient | Camera is usually worse than a phone's |
If you use a phone, lock the settings that change between photos: focus, exposure and zoom. Use the rear camera when possible, which usually has better quality. Avoid digital zoom: move the device closer or farther, but keep the standard distance.
How do you set up the lighting?
Light is the factor that changes the photo the most. The goal is light that is soft, even and repeatable.
- Diffuse source: a light with a diffuser (softbox or panel) avoids harsh shadows. Direct light from a bare lamp creates glare and shadows.
- Frontal position: the light should come from in front of the patient, slightly above eye level, to reduce shadows under the eyes and nose.
- Consistency: always at the same height, distance and intensity. Mark the equipment position on the floor.
- No mixed light: avoid mixing natural window light with artificial light, because different color temperatures change skin tone.
- Avoid backlight: a window behind the patient darkens the face.
What background and environment should you use?
Use a plain, neutral background, always the same: light gray, white or grayish blue. Avoid strong colors, which reflect on the face, and patterns, which distract. Keep the room free of objects that show up in the photo. If there is no suitable wall, a fabric or a portable backdrop panel works.
Make sure the background reveals nothing identifiable: documents, screens, names. The environment is part of privacy care too.
What distance and position should you use?
This is the main source of error. Keep:
- A fixed distance between camera and patient, marked on the floor.
- Camera height at the patient's eye level.
- Head aligned, not tilted up, down or sideways. One reference is the horizontal plane through the eyes and ears (the Frankfurt plane, which generally ends up parallel to the floor).
- A relaxed expression, mouth at rest, looking at the lens.
- A face free of accessories, hair pulled back, no glasses or heavy makeup, when possible.
A very short distance distorts proportions (the nose looks bigger, the sides narrower). A somewhat longer distance, cropped afterward, tends to be more faithful. But what matters most is repeating the same value in every session.
Which mistakes distort the photo the most?
| Mistake | Effect on how the photo reads |
|---|---|
| Light from above | Accentuates under-eye hollows, folds and bags |
| Camera too close | Distorts nose, cheekbone and jaw |
| Camera below the chin | Makes the chin and neck look bigger |
| Tilting the head | Changes how the jaw and asymmetries read |
| Slight smile | Changes lips, cheekbone and folds |
| Filter or automatic beautification | Hides what you want to assess |
| Different light each session | Makes before and after impossible to compare |
When the photo did not turn out well, retake it on the spot. It is far cheaper than discovering later, during the comparison, that the photo is useless. If the initial photo in Harmy is poor, the projection may come out with lower fidelity. See poor photo in Harmy: how to improve it and face not detected in Harmy.
Does the Harmy photo need anything special?
Harmy uses one frontal photo, taken with the phone camera or chosen from the gallery. The app detects the face on the device itself, and the contours are calculated there and are not stored. The better the photo (sharp, well lit, facing forward), the better the area marking and the projection.
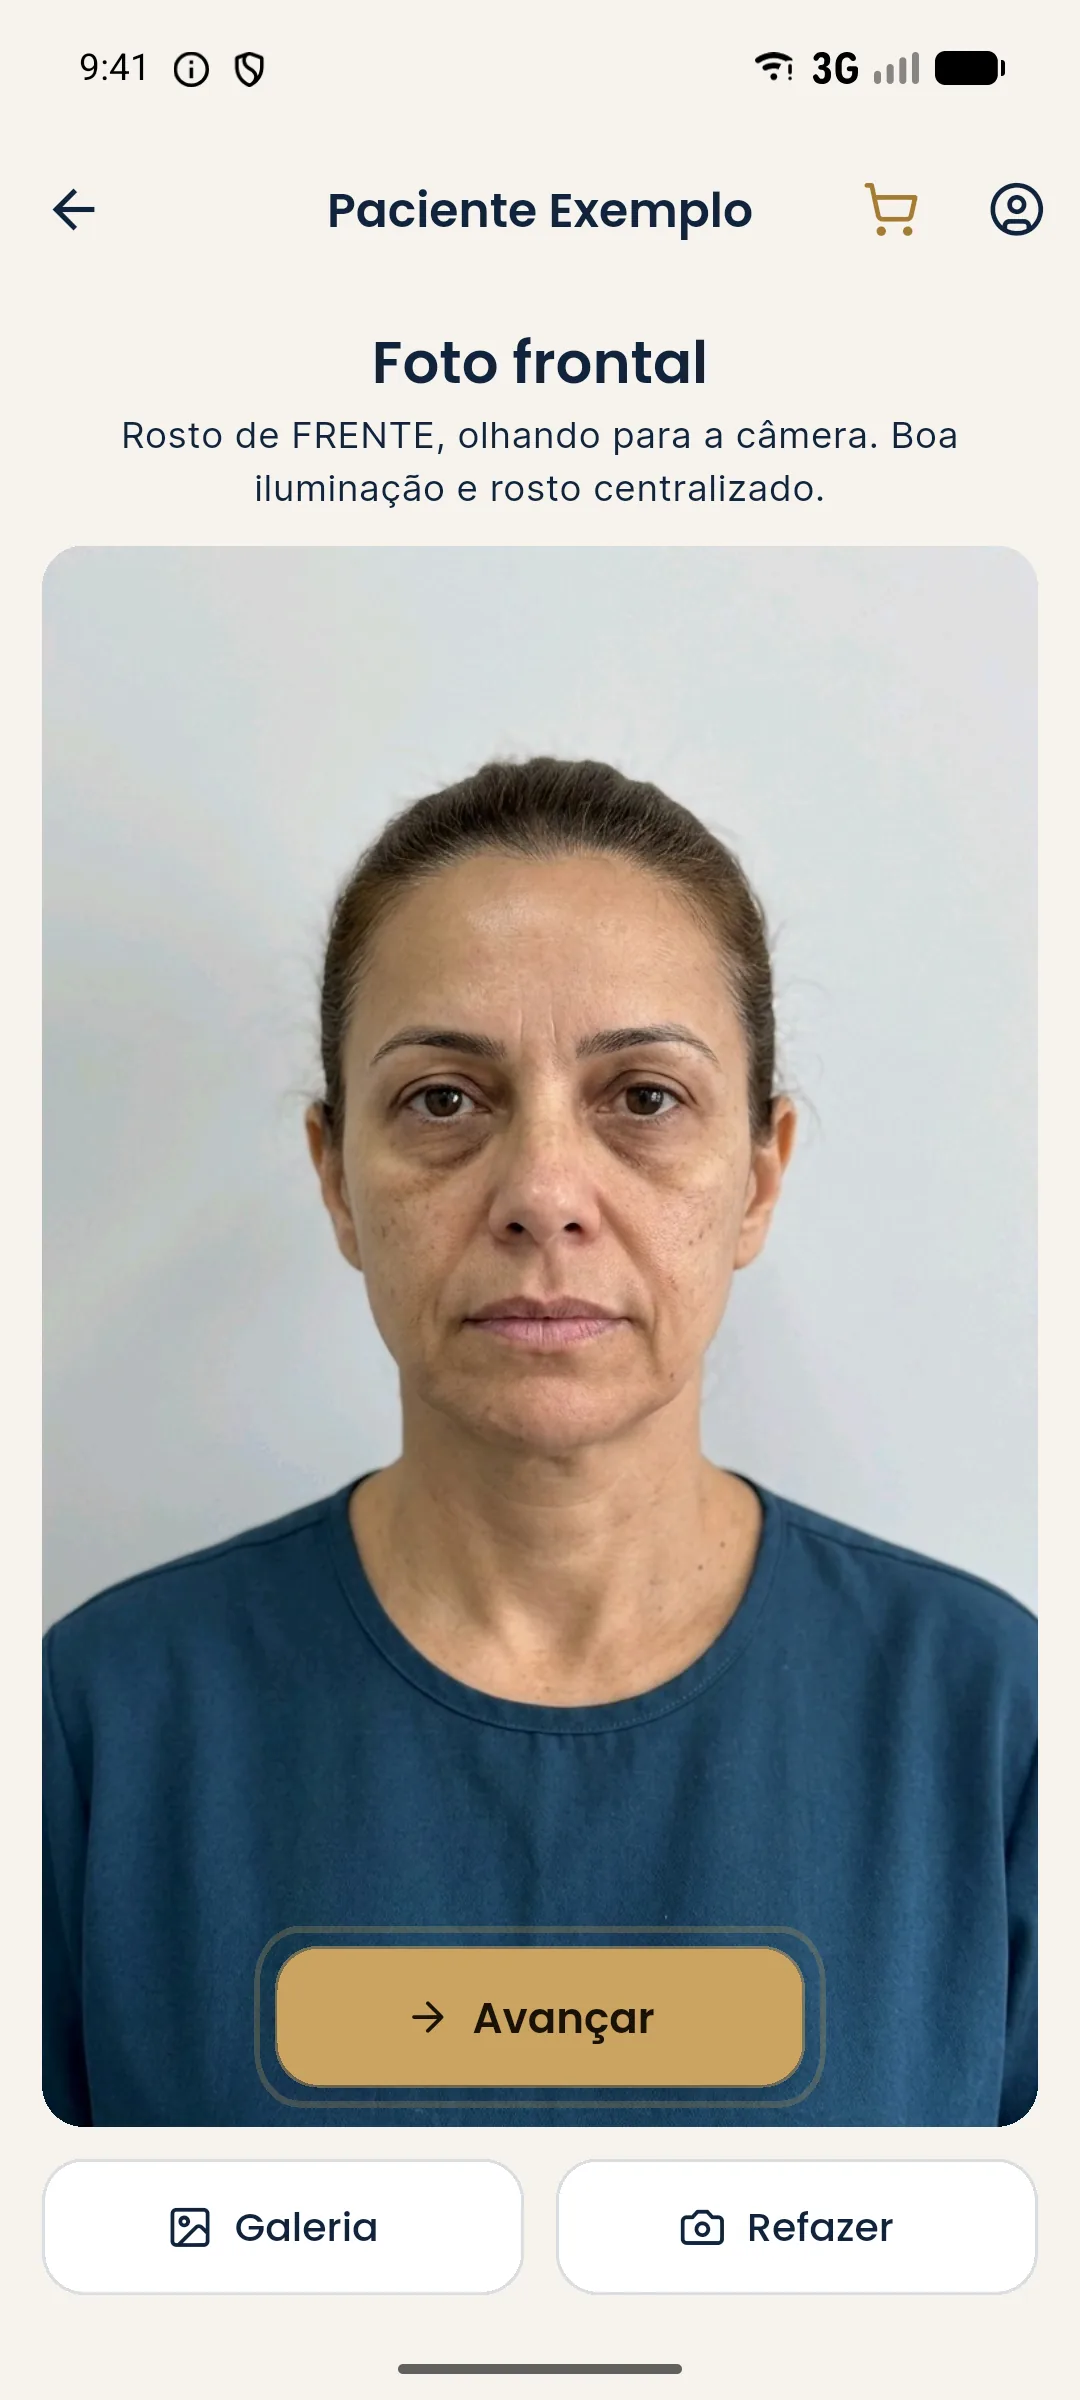
To compare with the actual result later, Harmy's guided capture shows the "before" photo as a transparent overlay on the camera, which helps repeat the framing. See aligned after photo in Harmy and comparing projection and actual result in Harmy.
Privacy and consent
A face photo is sensitive personal data. Before photographing, explain the purpose and record consent, keeping use in the patient chart separate from any public disclosure. See LGPD consent for patient photos, consent and LGPD in photos and disposal of patient photos and data. The LGPD (Brazil's General Data Protection Law) is the reference in Brazil.
How much does the setup cost?
Less than many clinics imagine, because the essential part is method and not equipment. A tripod, a plain backdrop, a diffuse light and floor marks cover the basics. Compare options in stores and choose for stability and ease of repeating. A simple setup used with discipline beats an expensive one used with no standard.
How do you train the team to always photograph the same way?
Write a one-page step-by-step guide, with photos of the setup, and post it near the spot. Run a practical test with each person who will take photos and compare two photos taken by different people: if they look alike, the method works. Review the standard once a year.
Frequently asked questions
Do I need a professional camera for clinical HOF photos?
Not necessarily. A recent phone is usually enough, as long as you standardize distance, light, background and patient position. What makes the photo useful is standardization, more than the equipment.
What is the best light for a clinical face photo?
Diffuse, frontal light with no harsh shadows, always in the same position and at the same intensity. A soft source placed in front of the patient usually reduces the shadows that distort how under-eye hollows and folds look.
What background should I use for clinical photos?
A plain, neutral background, always the same one. It cuts distractions, makes photos easier to compare and avoids color reflections on the face.
Can I use my phone's portrait mode or a filter?
It is not recommended. Portrait mode, filters and automatic beautification alter the face and undermine analysis and comparison. Use the regular camera, with no effects.