
Bite and Teeth in the Lip Photo: Jaw Position
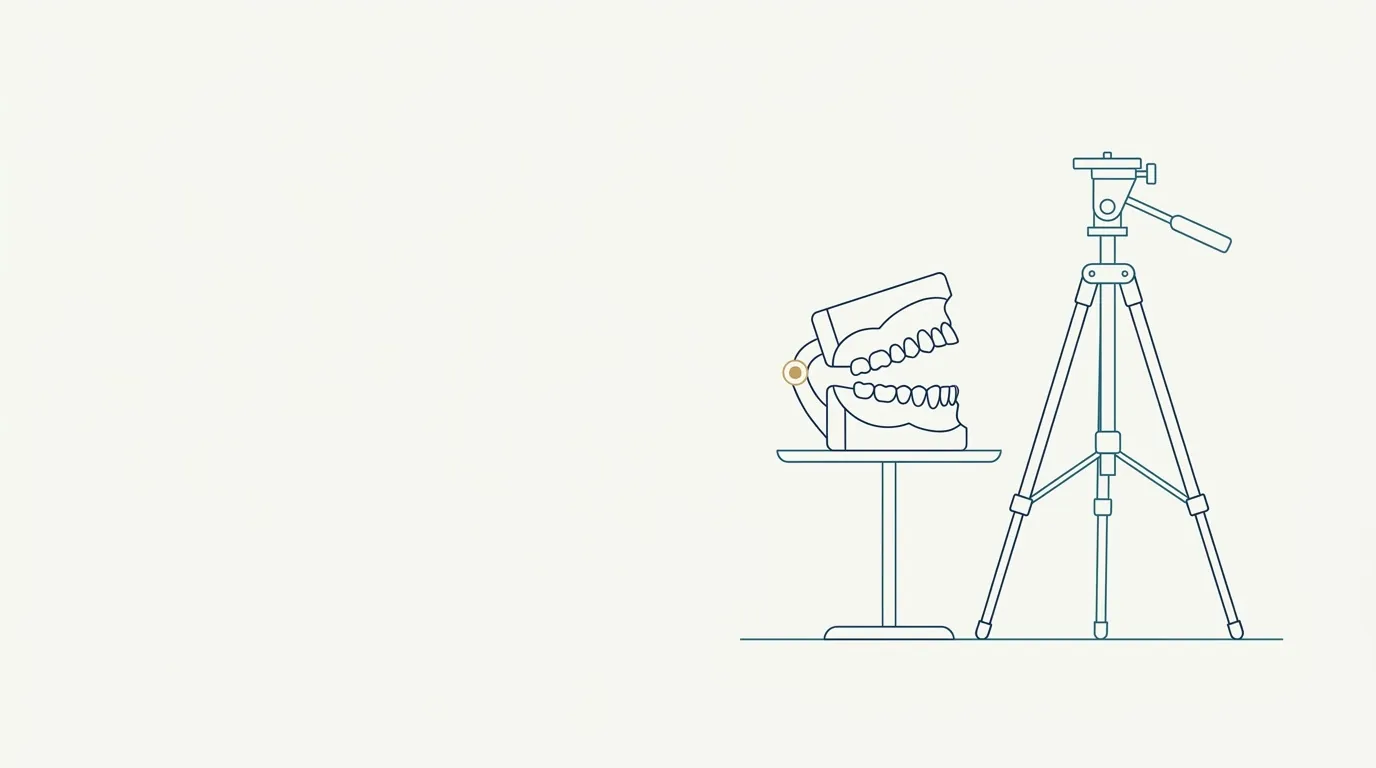
Quick facts
- Ideal position
- Teeth in light contact, lips relaxed and closed without pressure, tongue on the palate.
- Common mistake
- Clenching the teeth or lips, which thins the vermilion, tenses the chin and changes the philtrum.
- Trick
- Ask the patient to swallow, breathe out and let the mouth relax before the shot.
- Record
- Photo at rest and, when indicated, smiling and speaking (video) to assess dynamics.
The lip photo looks like the simplest one: the patient closes their mouth and you click. But the lip is one of the structures most sensitive to the state of the surrounding muscles. A slight clench of the teeth, a lip the patient tightens without noticing, a jaw pushed slightly forward: all of it changes the shape of the vermilion, the height of the philtrum and the look of the chin. When comparing before and after a lip filler, these small variations become the main noise.
Why does jaw position affect the lip photo?
The lips are supported and moved by the orbicularis oris muscle, which connects to the muscles of the chin, cheeks and mouth corner. When the patient clenches the teeth or tightens the lips, this whole group changes shape:
- the lip vermilion (the pink part) thins, because the lip is pulled inward;
- the chin wrinkles and rises, and the groove below the lower lip deepens;
- the philtrum changes in height and depth;
- the Cupid's bow loses definition;
- the mouth corners rise or drop.
To understand lip anatomy, see the terms lip vermilion, philtrum and Cupid's bow.
What is the right position?
The resting position, the closest to natural, has these characteristics:
- Teeth in light contact or slightly apart, without pressure.
- Lips closed and relaxed, not pressed against each other.
- Tongue on the palate, behind the upper teeth, in resting position.
- Neutral jaw, neither pushed forward nor pulled back.
- Chin muscles loose, not scrunched.
- Nasal breathing, calm.
A practical technique to get there: ask the patient to swallow, breathe out through the nose and let the mouth "rest". Click right after. If the chin is still scrunched, repeat.
What does each mistake do to the photo?
| Patient mistake | What shows in the photo |
|---|---|
| Clenching the teeth | Tense masseter and chin, thinner vermilion |
| Pressing the lips together | Upper lip less visible, philtrum shortened |
| Pushing the jaw forward | More prominent lower lip, altered profile |
| Pulling the jaw back | Less defined chin, more marked mentolabial fold |
| Scrunching the chin | "Orange peel" texture on the chin |
| Mouth slightly open | Less defined lips and teeth showing |
| Slight smile | Raised upper lip and mouth corners |
These mistakes can make a lip look like it has much less volume than it does, and the professional may attribute that to the procedure. The solution is to compare photos with the same position, which depends on method, not on the camera.
What about a patient with an altered bite?
Open bite, crossbite, overbite and jaw deviation change the relationship between lips and teeth. In those cases, "light contact" of the teeth may not be possible. Photograph in the patient's real resting position and note the condition in the chart, so you can repeat it the same way later. Never ask them to "correct" the bite for the photo, because the face ends up looking different from usual.
Which other photos complement it?
For complete lip documentation, the rest photo is usually accompanied by others:
- Soft smile and wide smile: show tooth display and upper lip elevation. See smile photo in facial assessment.
- 90-degree profile: assesses lip projection relative to the nose and chin.
- Lip close-up: same tight framing, with the same light (see lip photo in documentation).
- Speech video: shows how the lip moves in motion (see speech video to assess the lips).
What about the before and after of a lip filler?
After a lip filler, the lip usually has swelling in the first days. The after photo should respect the interval set in your routine, and the mouth position should match the before. If the patient presses the lips together out of anxiety or caution, the photo does not reflect real volume. For recording progress, see result photo with swelling still present.
What changes in Harmy?
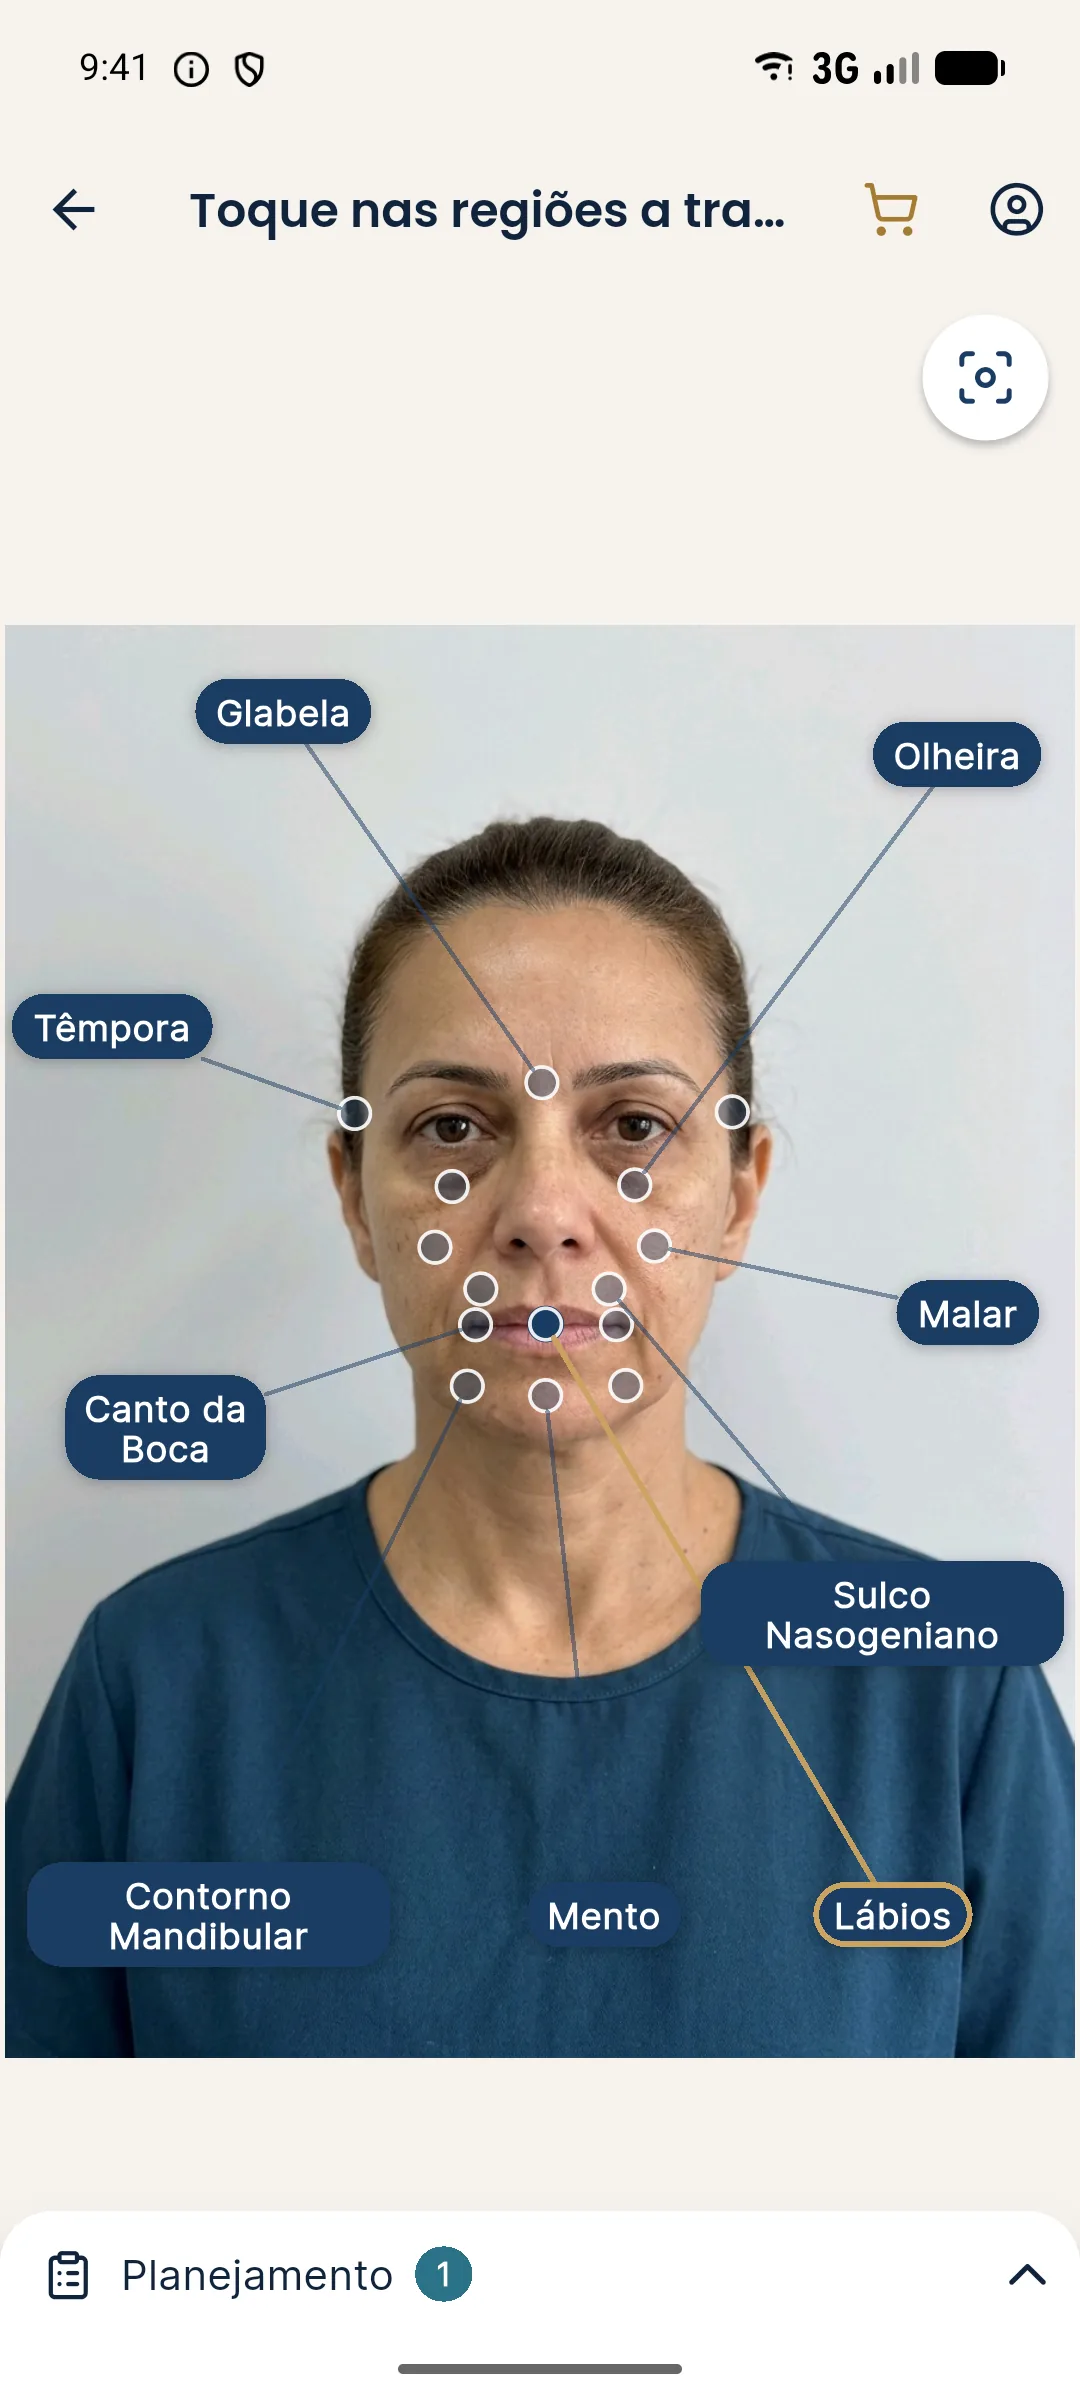
In Harmy, the Lips point is marked from the front-facing photo, and the projection changes lip volume according to the ml and intensity chosen. The input photo should have the mouth at rest: pressed lips or a slightly open mouth hinder reading of the area and lead to a less faithful illustrative simulation. See standardized front-facing photo and the marking step in marking areas and volumes.
Summary for your routine
Standardize the prompt to the patient, ask for true rest, avoid pressed lips and clenched teeth, note bite conditions and repeat the same position in follow-up photos. The lip photo is sensitive, and a small care in mouth position separates a useful record from a misleading one.
Frequently asked questions
How should the patient position the mouth in the lip photo?
With the teeth in light contact and the lips closed and relaxed, without pressing. A tip is to ask them to swallow and breathe out, letting the perioral muscles rest before the shot.
Does clenching the teeth change the look of the lips?
Yes. Clenching the teeth or lips thins the vermilion, contracts the mentalis muscle and changes the look of the chin and philtrum. The photo may seem to show less volume than the lip has at rest.
Can the patient's bite get in the way of the photo?
It can. An open bite, crossbite or jaw deviation alters the position of the lips and chin. Record the condition in the chart and repeat the same position in later photos.
Do I need to photograph the patient smiling too?
For many lip concerns, yes, because the smile shows tooth display and lip dynamics. Always use the same smile prompt and, when indicated, add video.
Harmy images are illustrative simulations generated by AI from the patient's photo to support the conversation between practitioner and patient. They are not a promise of results. Indication, technique, product and volume are solely the decision of the licensed practitioner. This content is for information only and does not replace a clinical assessment.