
First harmonization consultation: what happens
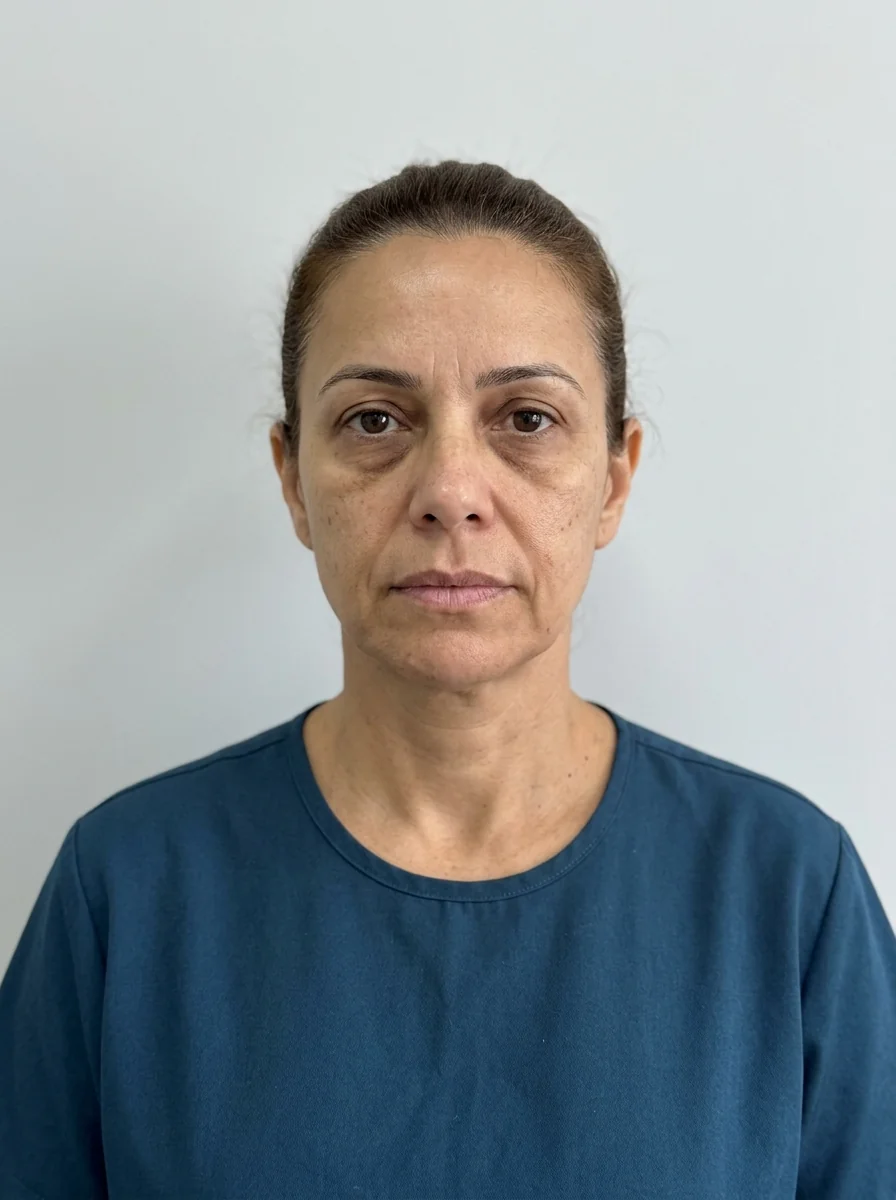
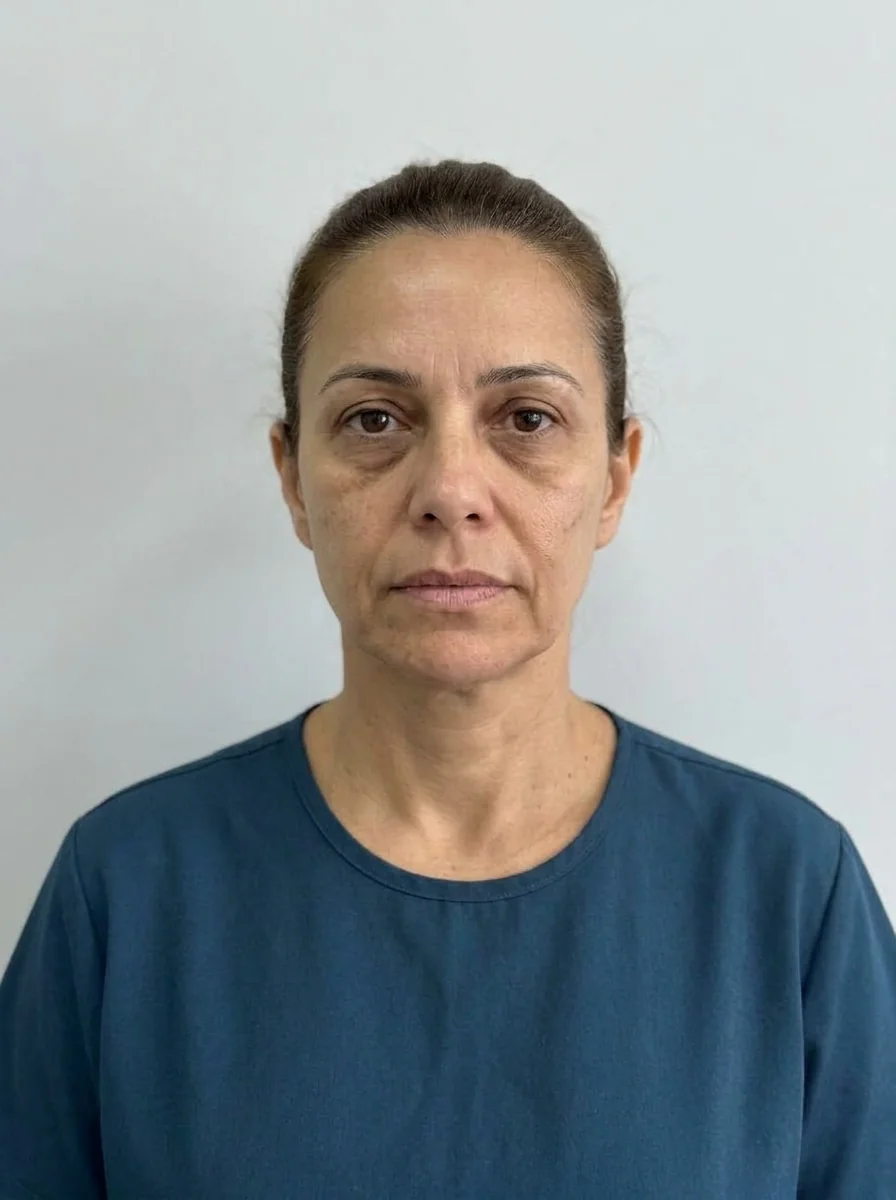 BeforeSimulation
Quick facts
- Question
- What happens in the first harmonization consultation
- Usual steps
- Listening, medical history, exam, photos, plan, quote and consent
- Length
- Usually 30 to 60 minutes, depending on the case
- Procedure on the same day
- Not always; many consultations are assessment only
The first harmonization consultation is the moment when the patient decides whether to trust you. They arrive with expectations, worries, photos saved on their phone and a list of questions. What you do in those 30 to 60 minutes determines whether they come back, follow the plan and trust you with the procedure. That is why it pays to have a clear and transparent script.
This page describes, in order, what usually happens at the first consultation, with points of attention for the professional and language you can use with the patient. Approaches are at the discretion of the qualified professional, following the rules of their professional council.
Step 1: listening to the concern
Start by asking what bothers the patient and what they hope for. Avoid suggesting procedures before listening. Often the stated concern ("I want lip filler") hides another ("I look tired in photos"). Write it down in their words. This moment also reveals their expectation of a natural look, which will be the center of the alignment later. The listening technique is in active listening in the orofacial harmonization consultation.
Step 2: medical history
The medical history covers health history, medications, allergies, pregnancy or breastfeeding, autoimmune diseases, history of herpes, previous procedures and smoking. Also ask about expectations and past experiences, good or bad. Patients leave out information through forgetfulness or fear of being turned away; explain that the information serves their safety.
Step 3: examining the face
The exam begins with the face at rest and in expression, in good light and without heavy makeup. Look at proportions by thirds, symmetry, skin quality, laxity, volume and muscle dynamics. Reading the face by upper third, middle third and lower third helps organize the conversation, as shown in facial assessment by thirds.
Show the patient their natural asymmetries before any procedure. A face without asymmetry does not exist, and patients are often surprised to notice it. This keeps you from being blamed for what was already there.
Step 4: standardized photos
Photos serve the patient record and future comparison, and require consent. The standardized front-facing photo is the basis of any simulation. Keep the same light, the same distance and a neutral face, as described in standardized clinical photography. The photo is also the starting point for the projection in Harmy.
Step 5: plan and simulation
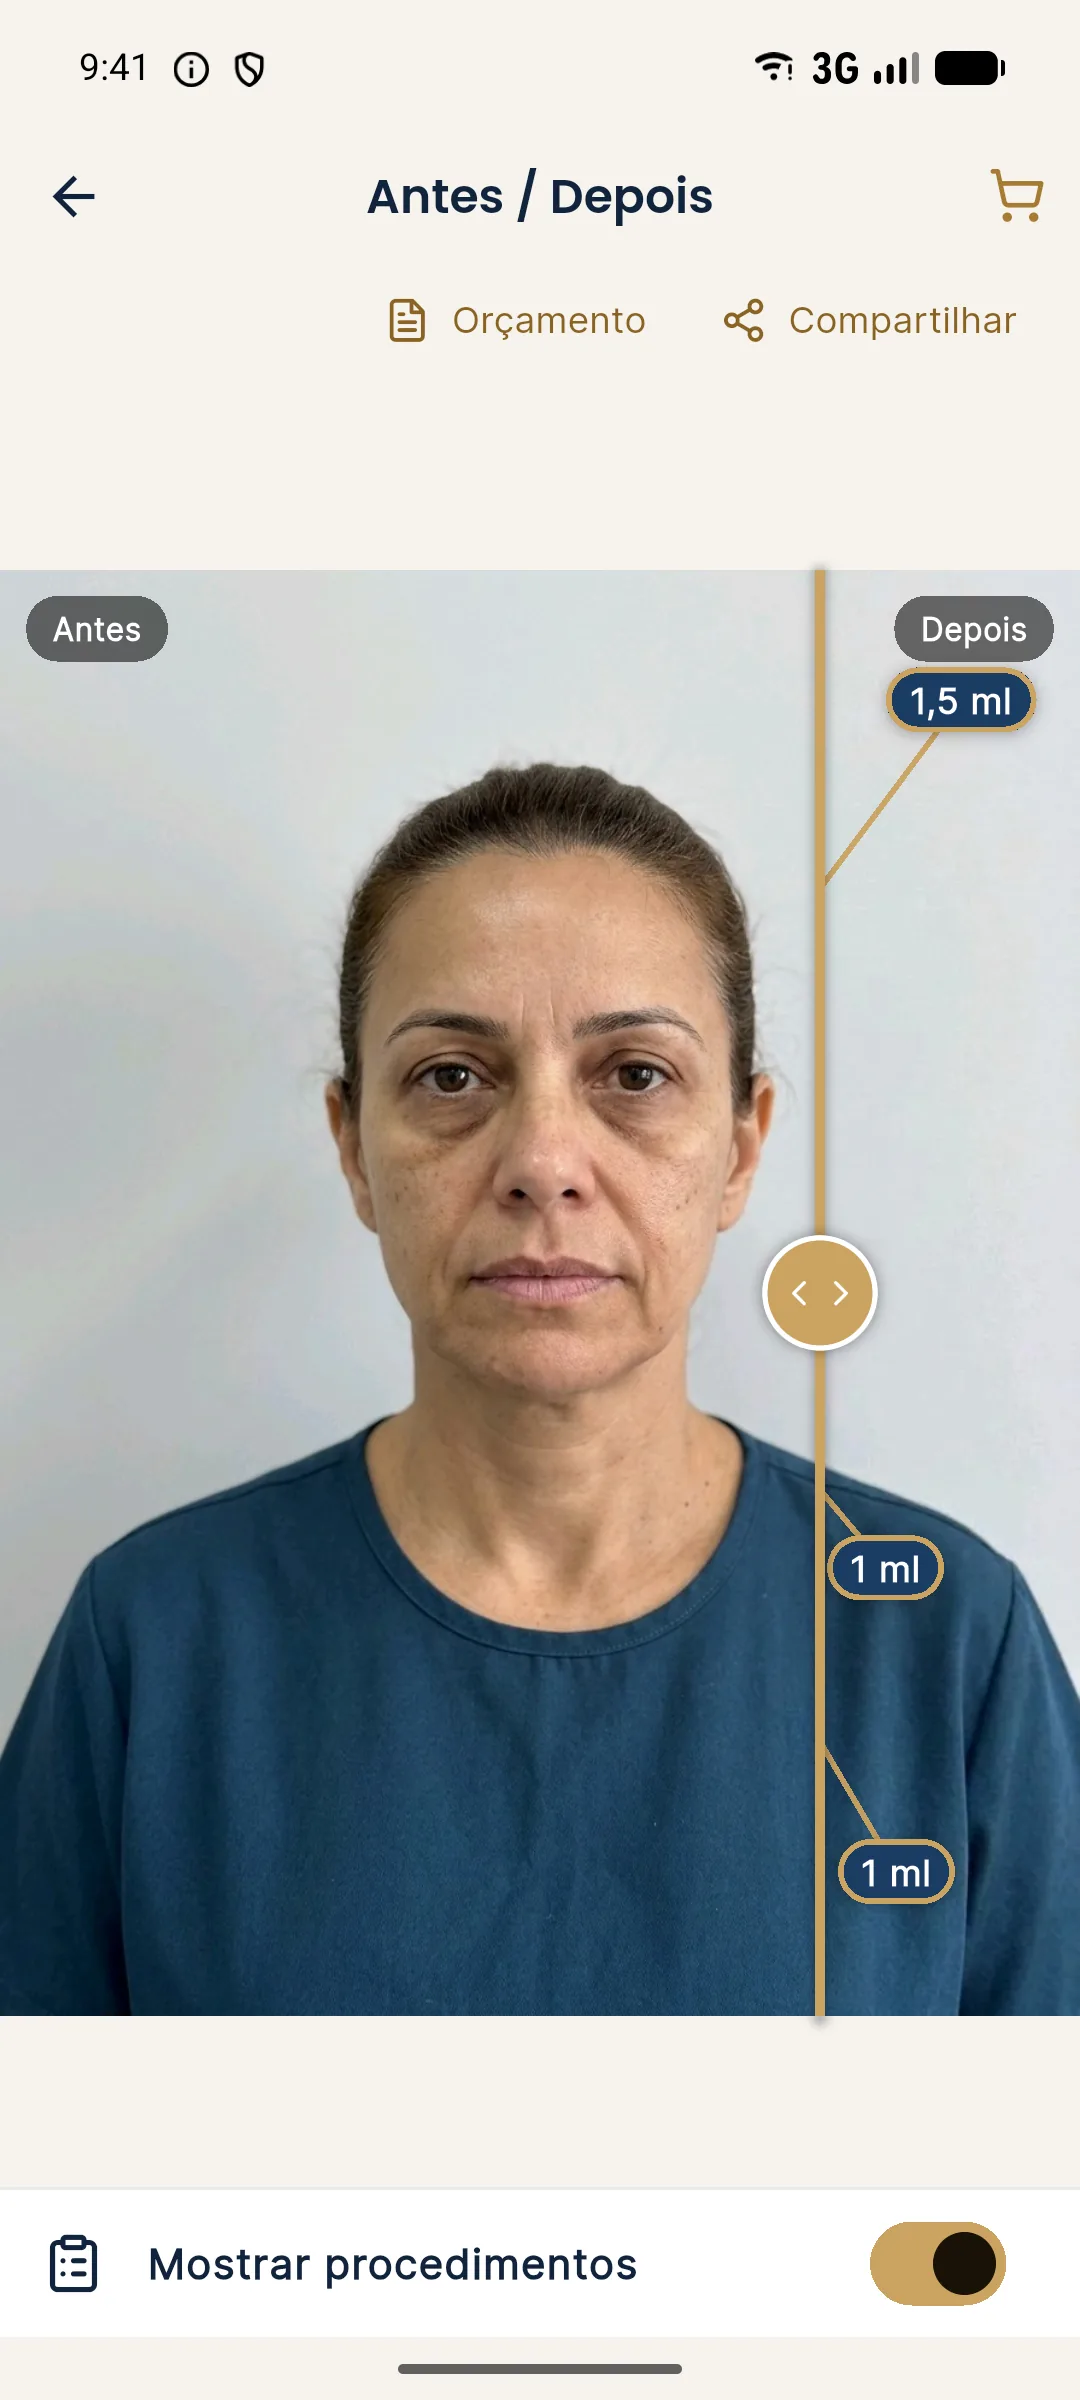
With the assessment done, present the plan in order of priority, not price. Explain what each area is meant to solve, what is optional and what can wait. If you use a simulation, make clear that it is illustrative, not a promise of results. In Harmy, you photograph the patient from the front, mark the areas and the ml, and generate the projection in moments; the patient sees the Before and After on the slider. For the on-screen conversation, see presenting the projection in the consultation.
Step 6: quote and consent
The quote should be clear, by area, with a validity date and payment terms. Next comes the informed consent, read calmly and signed only after questions are answered. Let the patient take the document home, if they prefer. The logic for explaining the consent is in how to explain the informed consent.
What the patient can bring to help
When not to treat on the first day
Some signs suggest it is better to wait: unrealistic expectations, intense anxiety, indecision, a request to "do everything," use of medication that increases bleeding without guidance, active infection or pregnancy. In these cases, the assessment consultation stands on its own and treatment is left for another time.
After the consultation
Record everything in the patient record and send the patient a written summary: what was agreed, what is left for later and the amount of the quote. This avoids misunderstandings and shows organization. A well-run first consultation is the best marketing there is, because the patient leaves knowing they were heard.
Frequently asked questions
What happens in the first facial harmonization consultation?
In general there is a conversation about the concern, a medical history, an exam of the face, standardized photos, an explanation of the plan and the quote, and a reading of the informed consent. The treatment may or may not happen the same day.
Do I need to bring anything to the first consultation?
It is usually helpful to bring an ID, a list of medications, information about previous procedures and, if you have them, older photos of your face.
Can I have the procedure at the first consultation?
It depends on the professional and the case. Many prefer to assess first and schedule the treatment later, to leave time for the decision.
How long does the first consultation last?
It usually lasts 30 to 60 minutes, and can run longer when it includes detailed planning and simulation.
Harmy images are illustrative simulations generated by AI from the patient's photo to support the conversation between practitioner and patient. They are not a promise of results. Indication, technique, product and volume are solely the decision of the licensed practitioner. This content is for information only and does not replace a clinical assessment.