
Your first projection in Harmy in 5 minutes
This is the shortest route between downloading Harmy and showing the first projection to a patient. Each step has its own, more detailed tutorial, linked throughout the text. Here the idea is different: to see the flow end to end, in the order it happens, so that your first time in a consultation goes smoothly. With the account ready and a good photo, the path usually fits in a few minutes.
What do you need before you start?
- The app installed, downloaded from Google Play (Android) or the App Store (iPhone).
- An email you can access, or a Google or Apple account.
- A patient who has authorized the photo, or no patient: you can start with the fictional person test.
- A place with good light and a neutral background for the frontal photo.
Minute 1: create the account
- Open Harmy and tap Don't have an account? Sign up, or use Continue with Google or Continue with Apple (the latter on iPhone only).
- For email sign-up, check the LGPD consent (Brazil's data protection law) and confirm the 6-digit code that arrives by email.
- On first access, read the Terms of use and privacy and tap Accept and continue.
The full walkthrough is in create an account. A new account already comes with 1 welcome projection.
Minute 2: start the projection
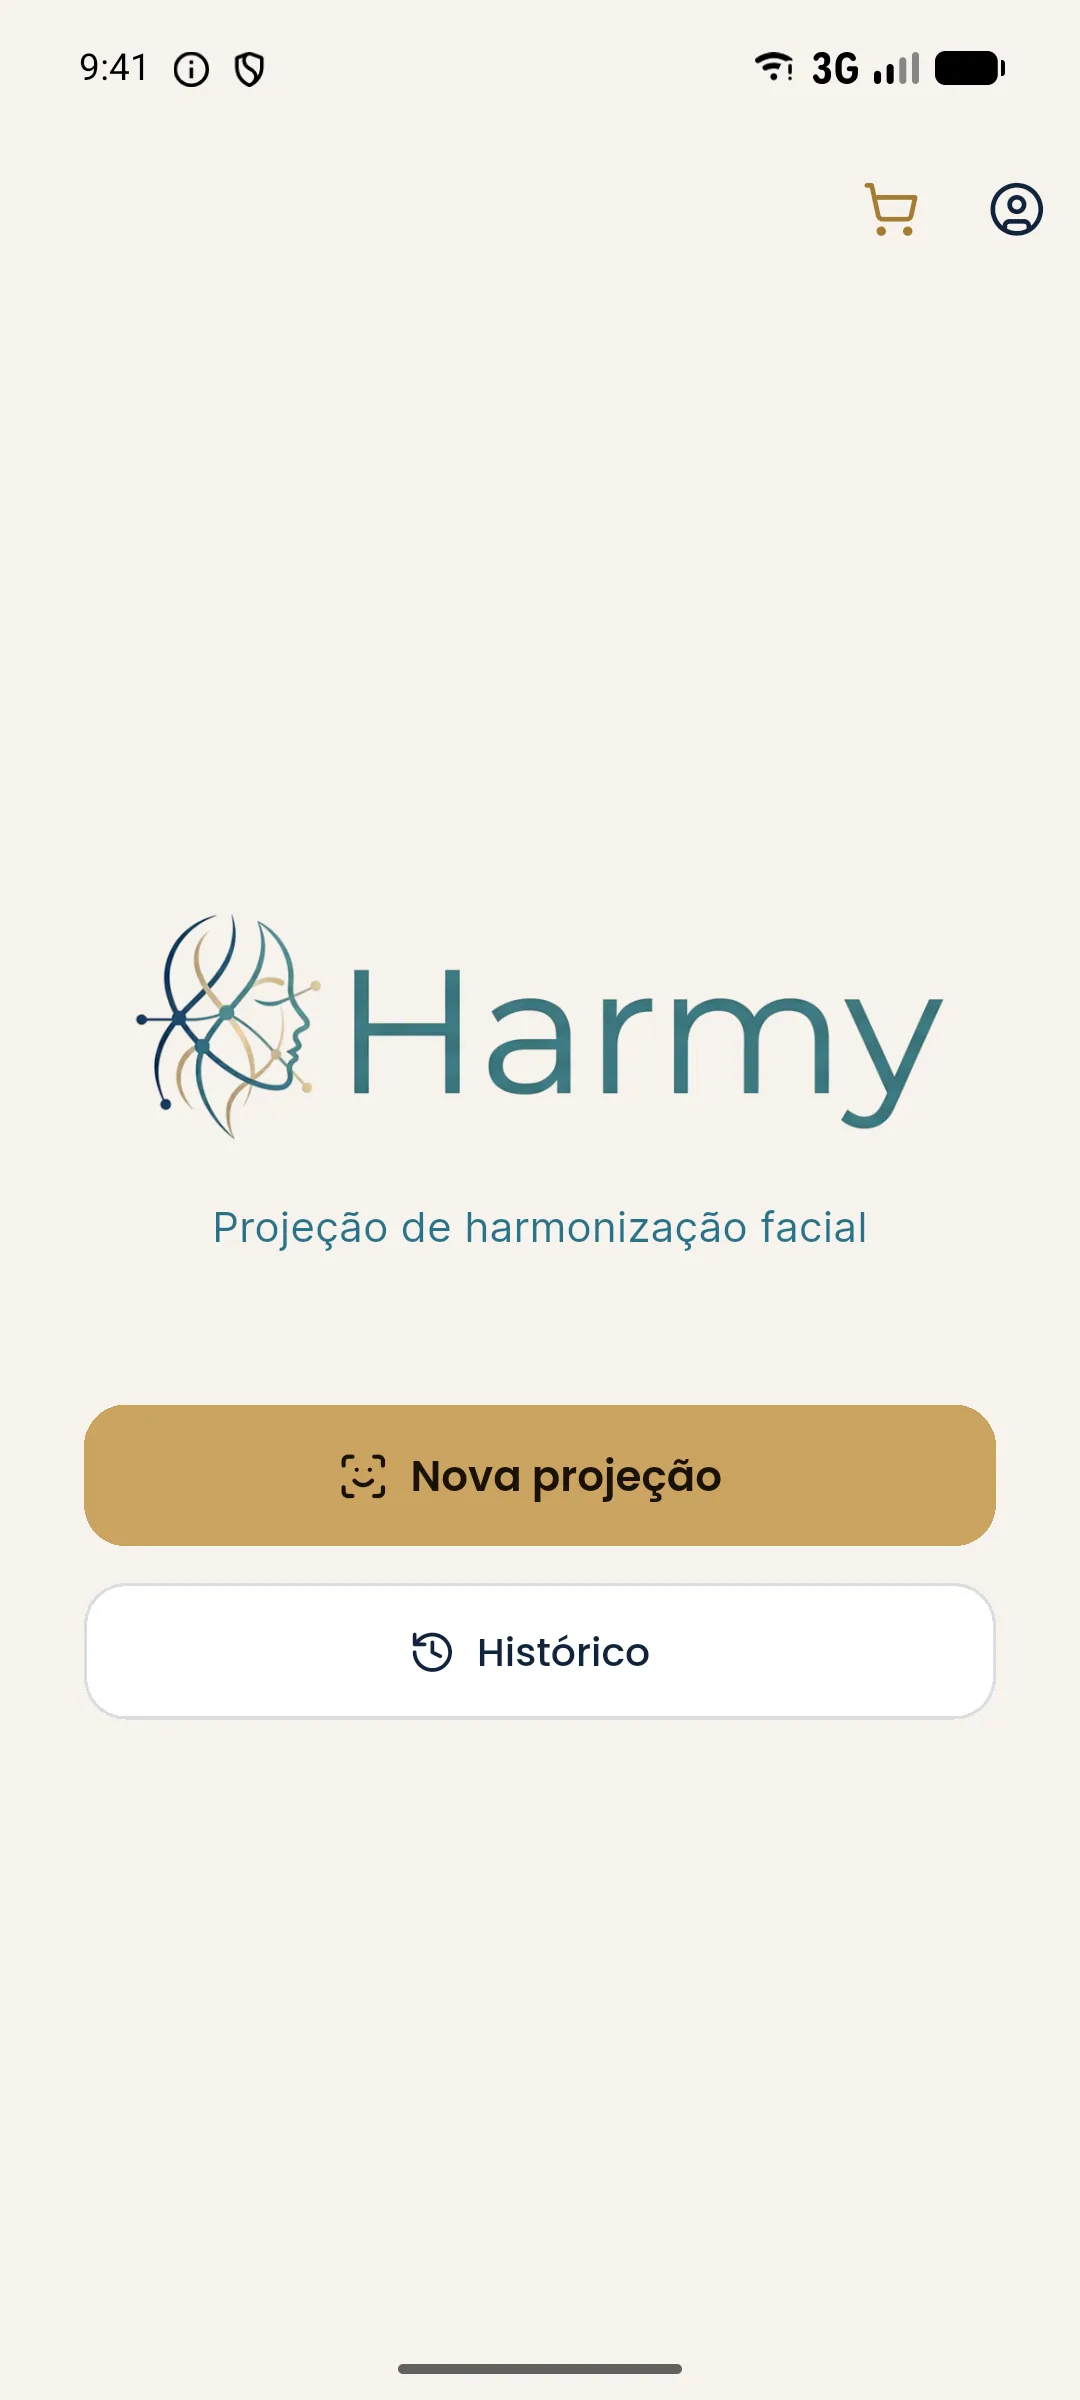
- On the home screen, tap New projection. On first use the app shows short tips at each step.
- Under New patient, type the patient's name and tap Continue to photo.
No patient right now? On the same screen, the No patient right now? box opens a test with a fictional person, with the photo ready and Tear Trough and Lips marked at 1 ml. This test uses the welcome projection. Details in example patient.
Minute 3: take the frontal photo
- Take the photo with the camera or tap Gallery.
- The app checks that there is a single face, facing forward and well lit. If something is off, it explains and you tap Retake.
- With the photo approved, tap Next.
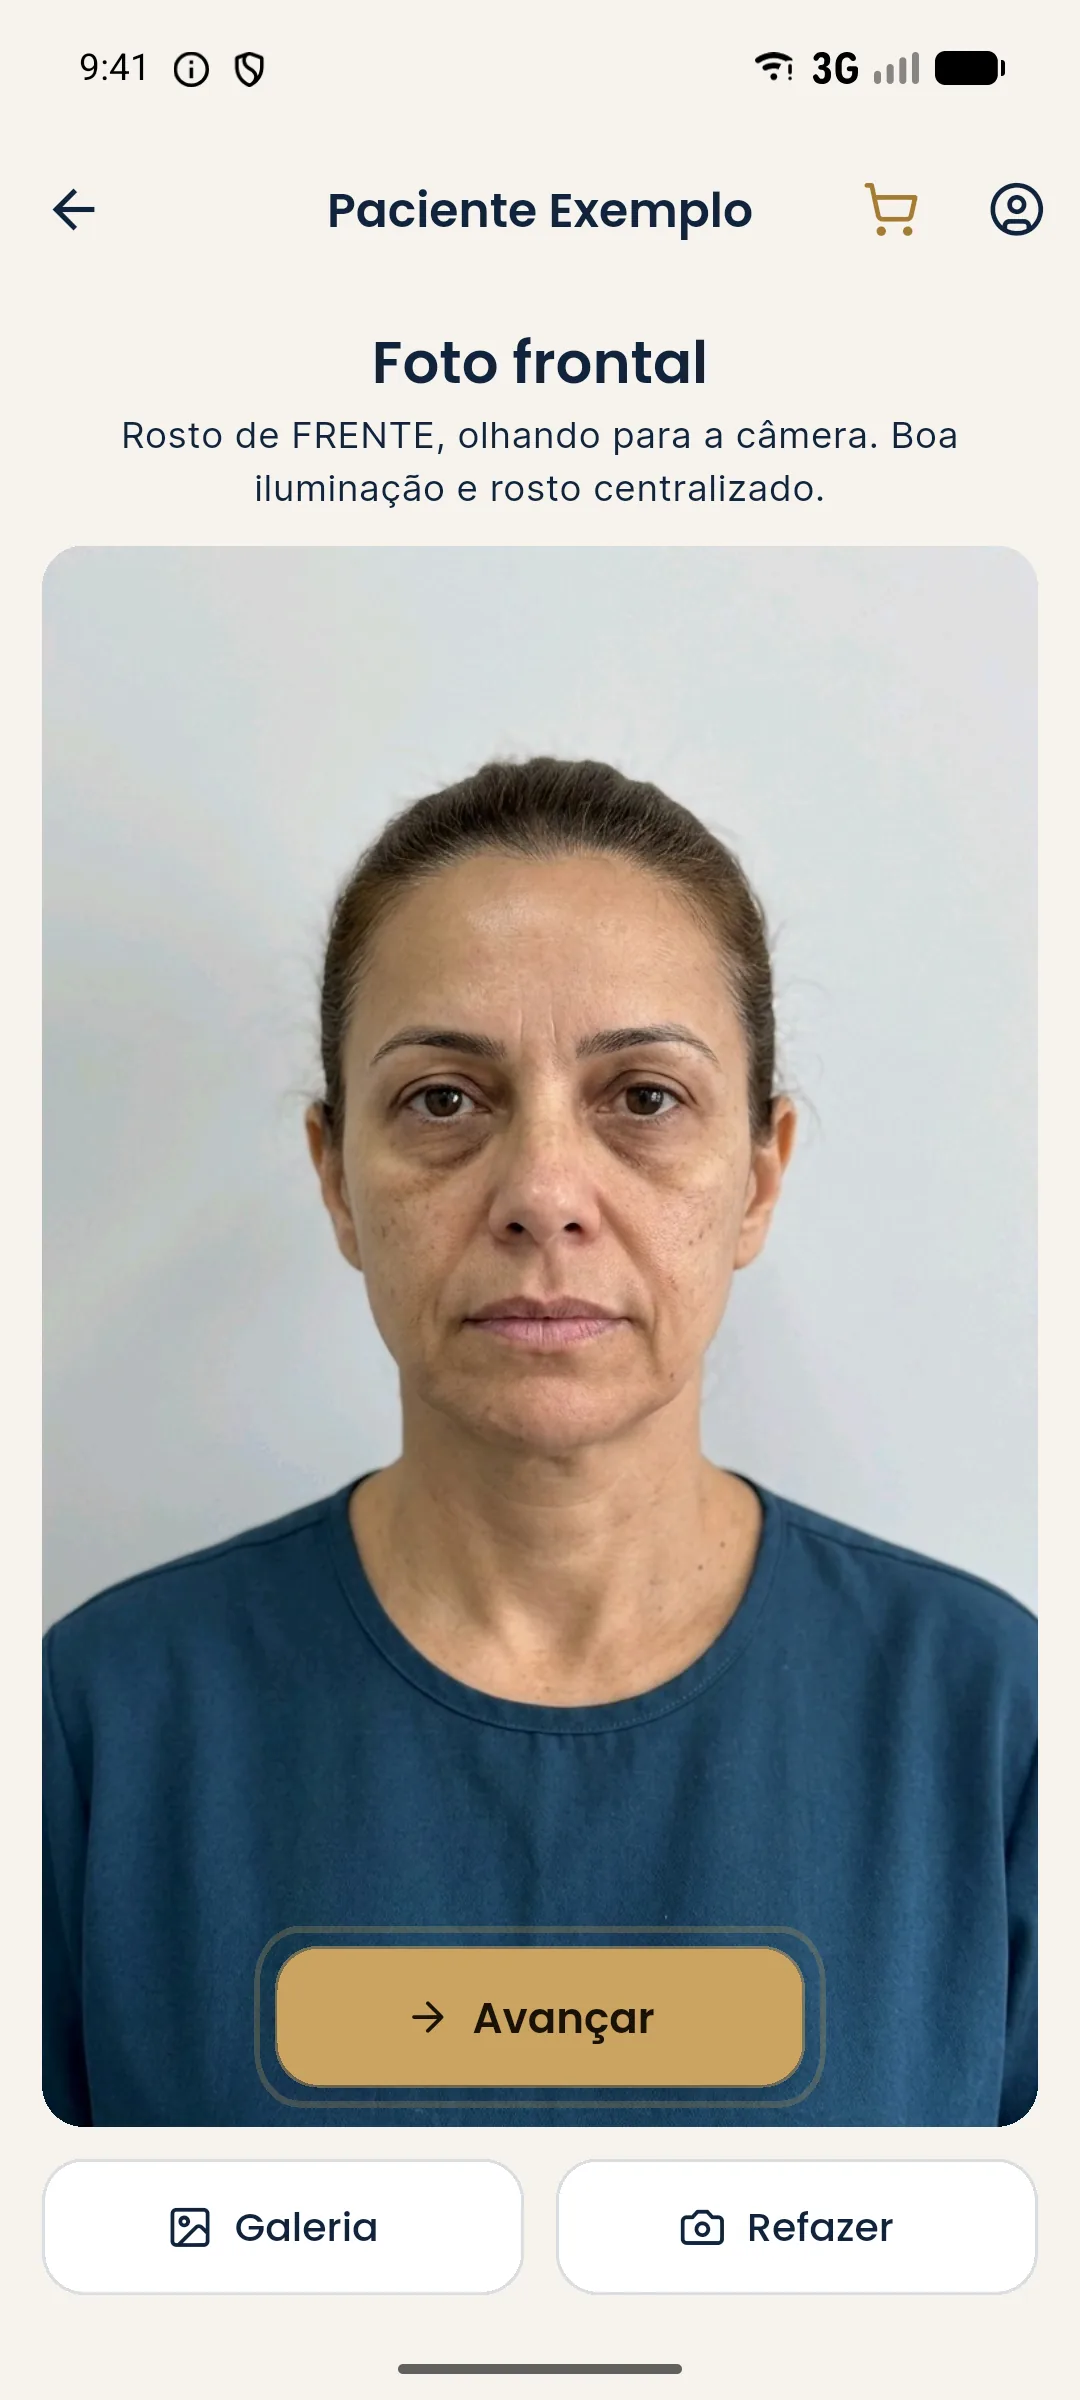
The photo is what weighs most on the quality of the projection. See how to standardize it in standardized frontal photo.
Minute 4: mark the areas and volumes
- The app detects the face on the device itself and shows the points: Glabella, Temple, Tear Trough, Cheekbone, Nasolabial Fold, Mouth Corner, Lips, Chin and Jawline.
- Tap the points or labels of the areas you will propose. Each one enters the Plan.
- Open the Plan and adjust the volume of each area in ml, from 0.5 to 5 ml, in steps of 0.5 ml. For a bilateral area, the value is the total of both sides.
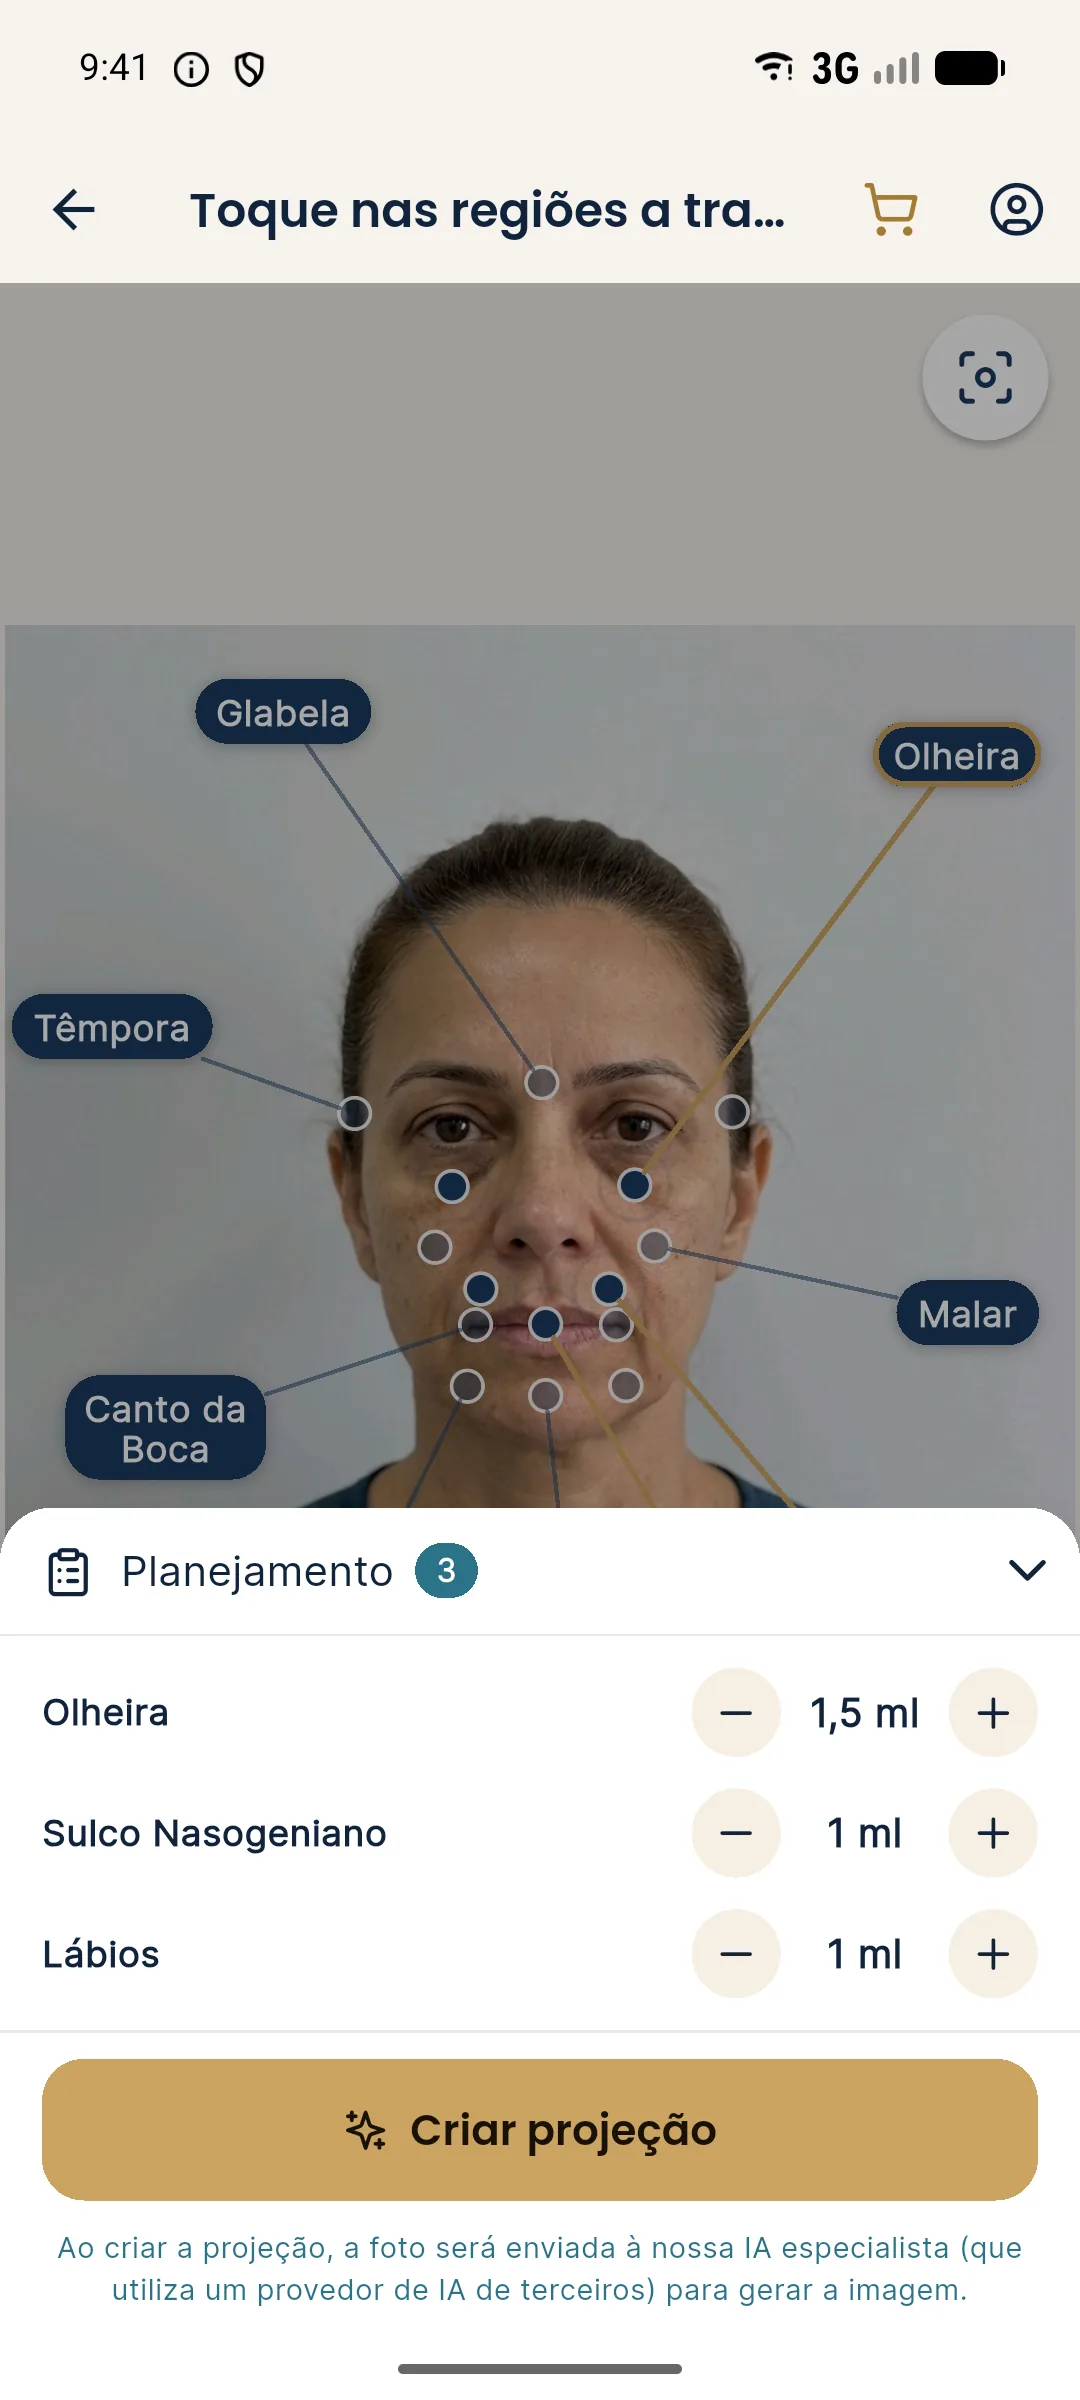
Use the volumes you would actually inject, at your discretion after assessment. More details in marking areas and volumes.
Minute 5: create the projection and show it to the patient
- Tap Create projection. The first time, the Sending the photo to our AI window explains that the photo goes to a third-party AI provider and asks you to confirm the patient's consent. Tap I accept and send.
- When it finishes, the Before / After screen opens. Drag the gold line to compare and use two fingers to zoom in.
- Turn on Show procedures to display the ml of each area over the image.
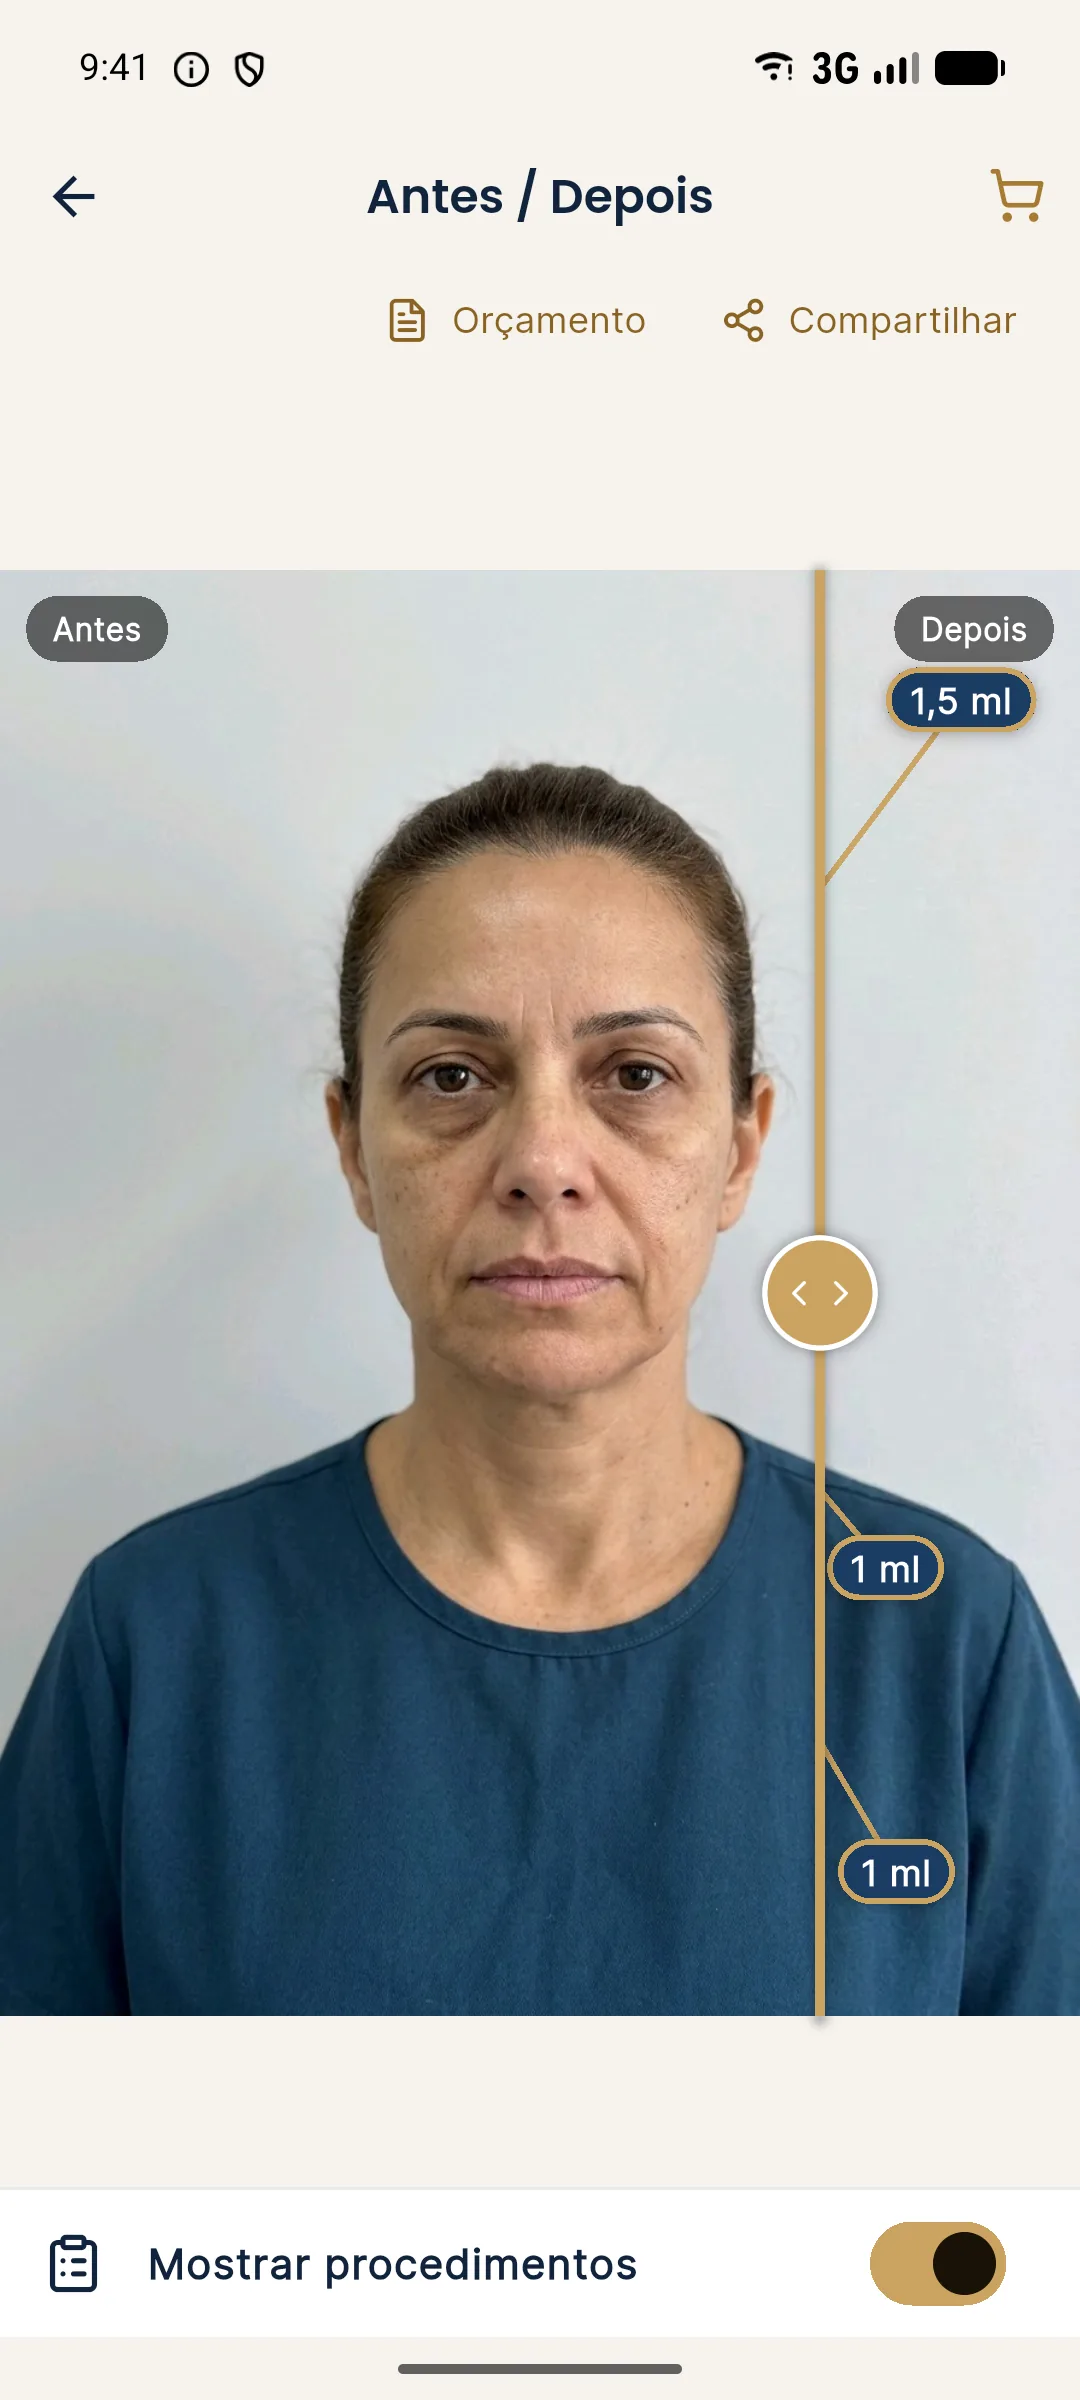
Explain to the patient that the image is an illustrative simulation of the plan, not a promise of results. The guide presenting before and after in the consultation helps with that conversation.
What comes after the first projection?
- Share: send the before and after image with the simulation notice. See Before / After and sharing.
- Quote: generate the PDF with the price per ml for each area, from the Plan. See PDF quote.
- Your brand: register name, contact and logo in My clinic so everything goes out with your identity.
- History: the session is saved under the patient's name. After treatment, add the actual result photo. See history and actual result.
- Credits: each new projection costs R$ 3.99. See credits and top-up.
Common mistakes and how to fix them
| Situation | What to do |
|---|---|
| The sign-up code did not arrive | Check spam and use the resend option on the confirmation screen. |
| "Could not detect the face" | Retake the photo facing forward, with the whole face and good light. |
| The projection changed little | Check the volume in the Plan. The AI respects the ml you entered and changes tend to be subtle. |
| "Not enough credits" | Top up. Your marking stays saved and the app returns to it when the credit arrives. |
| I left the app midway | The home screen offers to resume the draft with photo, areas and volumes. |
Frequently asked questions
Do I have to pay to make my first projection in Harmy?
No. A new account gets 1 welcome projection. After that, each projection costs R$ 3.99, with no monthly fee.
Can I make the first projection without a patient?
Yes. While the account has no projections, the New patient screen offers a test with a fictional person, with Tear Trough and Lips already marked.
How many photos does Harmy need to generate the projection?
One frontal photo of the patient, taken with the app camera or chosen from the phone gallery.
Does the Harmy projection change the whole face?
No. The AI changes only the marked areas, at the intensity of the volume entered, and keeps the skin, expression, background, hair and lighting.