
How to Measure Facial Symmetry on the Patient's Photo
- Nerve
- Highlighted area
Quick facts
- Topic
- Measuring symmetry on the frontal photo
- Method
- Reference axis and point pairs
- Limit
- Pose, lens and expression error
- Use in the plan
- Describe the difference, do not chase perfection
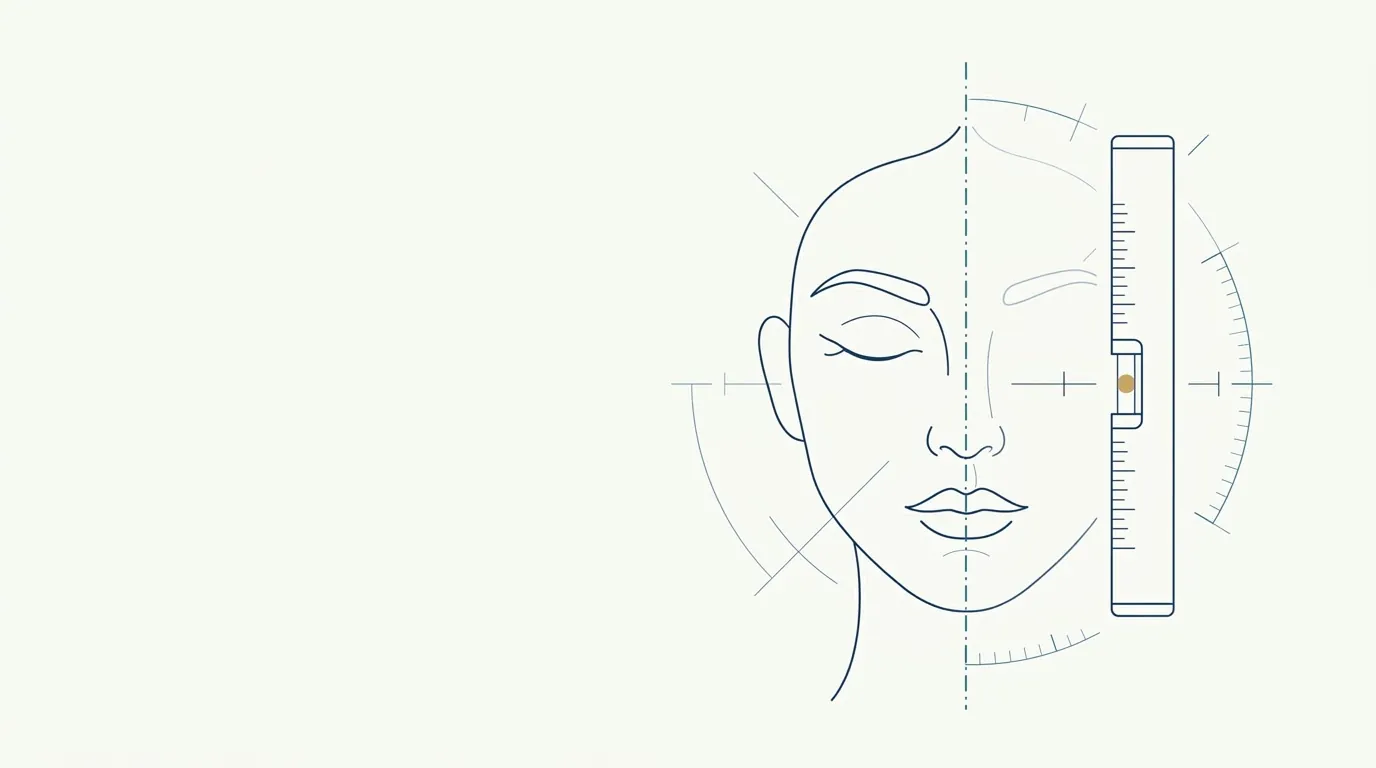
Measuring symmetry seems easy: draw a line down the middle and compare the sides. In practice, almost every error comes from the photo and the axis. This page describes a simple, repeatable method that is honest about its limits, so the measurement supports the plan instead of steering it.
What is measured when you measure symmetry?
You are not measuring "beauty". You are measuring the difference between pairs of points that, in theory, should sit in mirrored positions. The most commonly used pairs:
| Pair or point | What to compare |
|---|---|
| Inner and outer eye corners | Height and distance to the axis |
| Eyebrows | Position of the highest point and of the tail |
| Nostril wings | Height and distance to the axis |
| Mouth corners | Height at rest and when smiling |
| Jaw angles | Height and apparent width |
| Tip of the chin | Deviation from the axis |
Each measurement answers a clinical question. If the mouth corners are at different heights, for example, the next question is whether there is muscle pull or bone asymmetry. For reading the midline, see midline deviation: how to plan.
How do you standardize the photo before measuring?
Without standardization, the measurement measures the photographer. The minimum requirements:
See the details in distance and lens in the assessment photo, neutral expression in the planning photo, photo lighting and digital rulers and scale in the photo. The general standard is in standardized clinical photography.
What is the step-by-step method?
- Choose the frontal photo that meets the list above.
- Draw the vertical axis. The choice of axis is decisive: it can pass through the midpoint between the inner eye corners, or through the nasion and the subnasale. Use the same criterion across all of the patient's photos. See reference lines on the frontal photo.
- Draw a horizontal line joining the pupils. If it is tilted, the photo may be rotated.
- Mark the point pairs and measure height and distance to the axis.
- Record the differences in approximate millimeters or as "higher on the right", with the date and photo conditions.
- Compare with another photo from the same day to estimate the repeat error.
What is the measurement error?
Even when done well, a 2D photo has limits. A slight head rotation, one higher shoulder and one raised eyebrow already create apparent differences. The error depends on the device, the lens and the care taken, so a difference should only be treated as real when it repeats and when it is clinically noticeable.
What do you do with the finding?
The measurement is only worth something if it changes what you do. Four common paths:
- Observe and record. Mild asymmetry without a concern needs no action.
- Explain to the patient. Often, just knowing that "every face is asymmetrical" is enough. Use explaining natural asymmetry to the patient.
- Plan partial compensation. When there is a concern, the plan can distribute volume differently on each side, without aiming for a mirror image. See plan for an asymmetrical face and simulation in a patient with asymmetry.
- Refer. When the problem is a relevant bone or dental one, treatment may belong to another specialty.
Does the Harmy simulation measure symmetry?
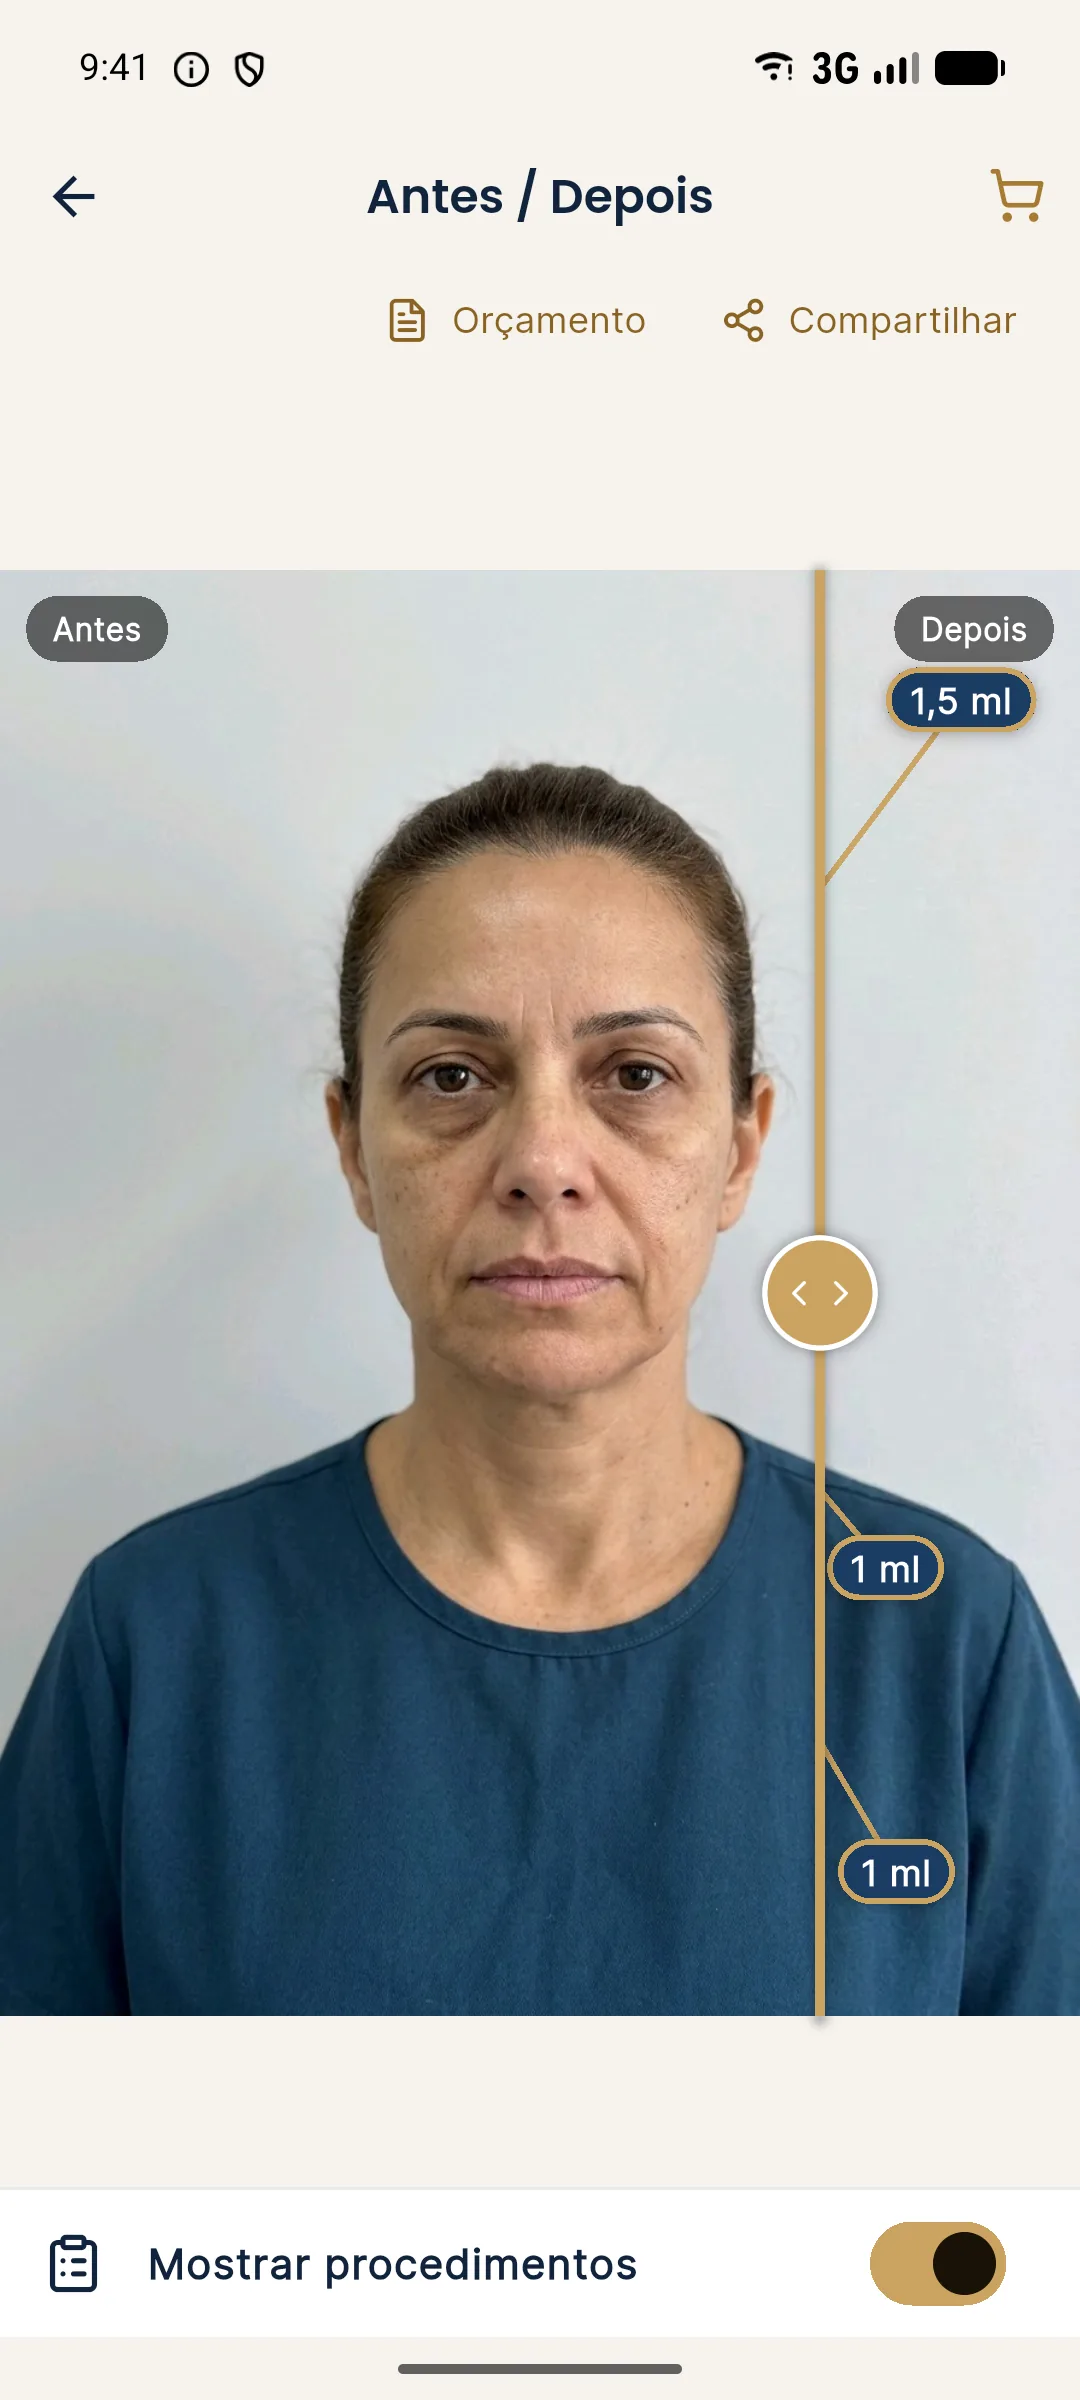
No. Harmy does not measure symmetry or correct the facial axis. It detects the face on the device itself to help with marking and generates a projection of only the marked areas. In a bilateral area (such as Cheekbone), the ml entered is the total, split between both sides. If the plan requires different volumes per side, that is at your discretion and must be explained to the patient, because the simulation will split the total.
How do you record the measurement in the patient record?
Write it briefly and in a comparable way. A useful entry includes the date, the type of photo, the axis used, the pairs measured and the clinical conclusion. Hypothetical example of wording: "Level frontal photo of 10/29/2026; axis through midpoint of inner eye corners; right mouth corner slightly lower at rest; no patient concern; plan: observe."
Three habits make the record more reliable:
- Always use the same axis. Changing criteria between visits creates differences that do not exist.
- Note what could not be measured. A rotated photo, a tense expression or hair over the face should appear as a limitation.
- Separate measurement from interpretation. The measurement is a fact about the photo, and the interpretation is a clinical hypothesis that depends on the exam.
Over time, the record lets you see whether an asymmetry is stable or changing, which can point to a dynamic, dental or aging cause. If it changes clearly and quickly, assess the cause carefully.
Finally, remember that the measurement exists to serve the conversation with the patient, not to replace it. A concern about asymmetry that the ruler does not confirm still deserves to be heard: what bothers the patient may be the expression, the light or their self-image, as in mirror, selfie and photo.
Summary
Measure with a standardized photo, a consistent axis and repetition. Interpret the difference in light of the in-person exam. Act only when there is a concern or clinical relevance. Planning, volume and technique are at the discretion of the licensed professional, according to the rules of their professional board in Brazil.
Frequently asked questions
How do you measure facial symmetry in a photo?
Draw a vertical reference axis, mark pairs of matching points (eye corners, nostril wings, mouth corners, jaw angles) and compare heights and distances to the axis. The photo must be frontal, level and with a neutral expression.
Does every face have asymmetry?
Yes, to varying degrees. Mild asymmetry is common and part of a person's identity. It only enters the plan when it bothers the patient or has functional relevance.
Can I trust a measurement taken from a selfie?
In general, no. The short distance and angle distort proportions and create asymmetry that does not exist in the real face.
Is the goal of the plan to make the face symmetrical?
No. Perfect symmetry is neither a realistic nor a desirable goal. The plan aims for perceived balance and the patient's concern, respecting natural differences.
Harmy images are illustrative simulations generated by AI from the patient's photo to support the conversation between practitioner and patient. They are not a promise of results. Indication, technique, product and volume are solely the decision of the licensed practitioner. This content is for information only and does not replace a clinical assessment.