
Simulation in a patient with marked asymmetry
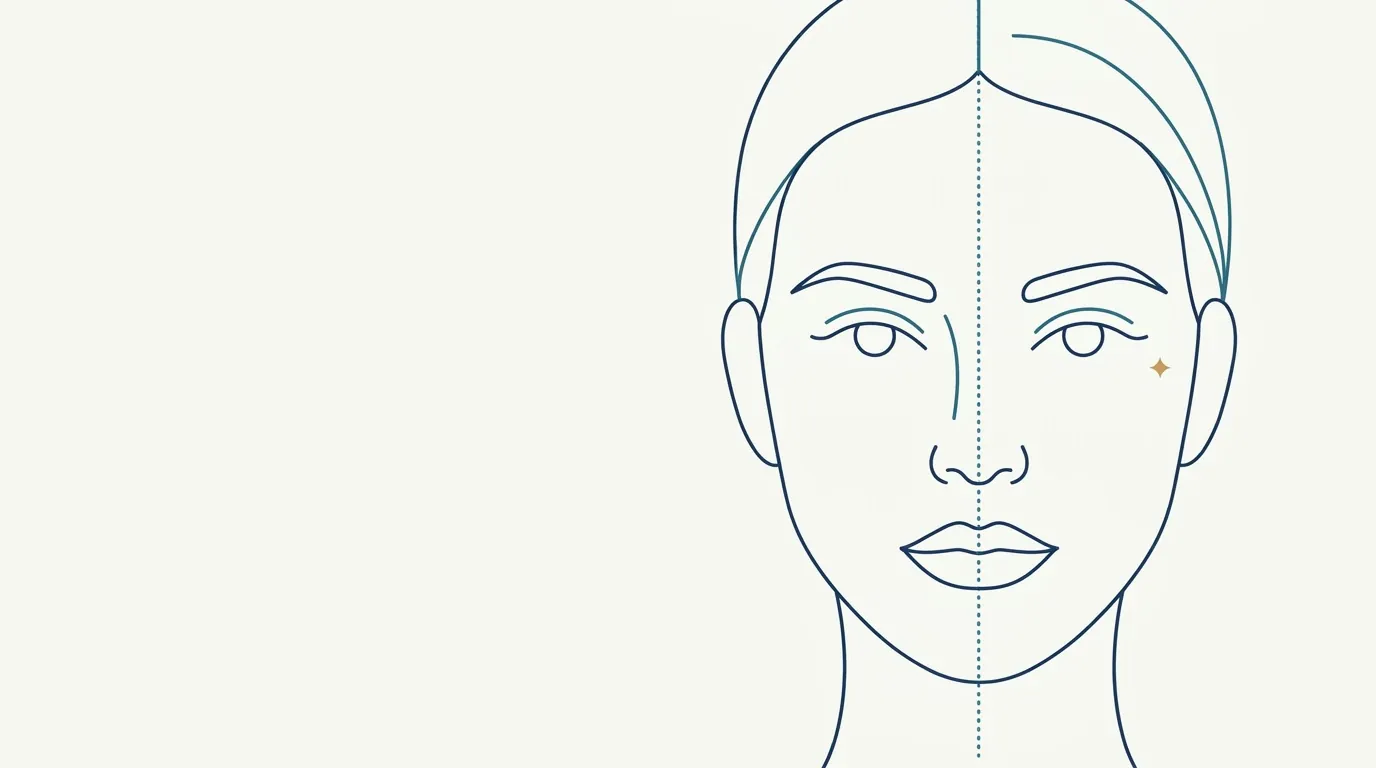
Quick facts
- Topic
- Simulation in marked asymmetry
- Central problem
- The projection treats bilateral areas in a balanced way
- Risk
- The patient reading the image as a correction of the difference
- Approach
- Explain the limits before showing, and focus on reducing, not evening out
- Complement
- In-person exam and photos taken under standardized conditions
There is a question every patient with marked asymmetry asks before deciding: "Can it be made even on both sides?" Anyone using a simulation at that moment risks answering with an image what should be answered with a conversation. The 2D projection is very useful for planning overall harmony, but it has clear limits when the differences between the sides are marked. This page covers reading and expectation cautions in that situation.
What is marked asymmetry?
Everyone has asymmetries, and most are tolerated. We speak of marked asymmetry when the difference between the sides is evident to the patient and to other people, whether at rest or in motion. It can involve orbits at different heights, midline deviation, a deviated chin, cheekbones with different projections, a tilted mouth or one side of the face that is visibly fuller.
Causes vary: bone, muscle, volume, skin, postural, or the result of previous procedures. Understanding the cause is the first step, as shown in perfect symmetry is not the goal. For the overall plan, see plan for an asymmetrical face and midline deviation: how to plan.
Why does the simulation need extra care here?
In Harmy, the projection works on the marked areas, with the ml entered per area. In bilateral areas (cheekbone, tear trough, temple, nasolabial fold, mouth corners and jawline), the ml is the total and is split between the two sides. This means the app does not, on its own, simulate a larger volume on one side to compensate for the other. The image shows a balanced set, which can sound like a correction to anyone who has not read the caption.
In addition, bone asymmetry does not change with filler. The image may suggest an improvement that facial harmonization only partly delivers. The risk is that the patient leaves the visit believing the sides will be even, and comes back disappointed when they see the actual result.
How to lead the conversation?
The order of "explain before showing" is the key. When the patient sees the image unprepared, they read it as a promise. With preparation, the image becomes support. See aligning expectations about asymmetry and how to point out asymmetry without offending.
How to prepare the photo for the analysis?
Asymmetry is easily created or hidden by the photo. A slightly turned face, a close camera and side lighting can make one side look larger or smaller. To avoid mistakes, follow the photo standard: face straight on, aligned by the eyes, neutral expression, good diffuse light and the camera at eye level. Take more than one photo and confirm the finding with the in-person exam.
See photo with a tilted face and symmetry, reference lines on the frontal photo and distance and lens for the assessment photo.
Which areas usually show asymmetry in the simulation?
| Area | How the asymmetry appears | Caution with the image |
|---|---|---|
| Cheekbone | Different projections between the sides | The projection splits the ml evenly; the bone difference remains |
| Tear trough | One deeper than the other | The image softens both sides; the difference may remain visible |
| Lips | One side fuller or a tilted mouth | The simulation treats the whole; the tilt is structural |
| Chin | Chin deviation | Bone deviation does not change with volume |
| Jawline | Different angles and widths | Be careful with expectations of a symmetrical line |
| Temples | Greater hollowing on one side | Adjustment may be possible, with caution and clinical assessment |
The table highlights the logic: what is soft tissue can be softened, and what is bone tends to remain. For the bone-origin view, see when bone is the problem, not volume.
How does Harmy fit into the conversation?
Mark the relevant areas, set the ml and the intensity, and show the Before and After slider. Use the magnifier to enlarge the treated area and explain what changed. If the difference between the sides is the main concern, also show the original photo with the reference lines and talk about what facial harmonization can soften. If helpful, create a second projection at Subtle intensity, to show that the goal is discreet.
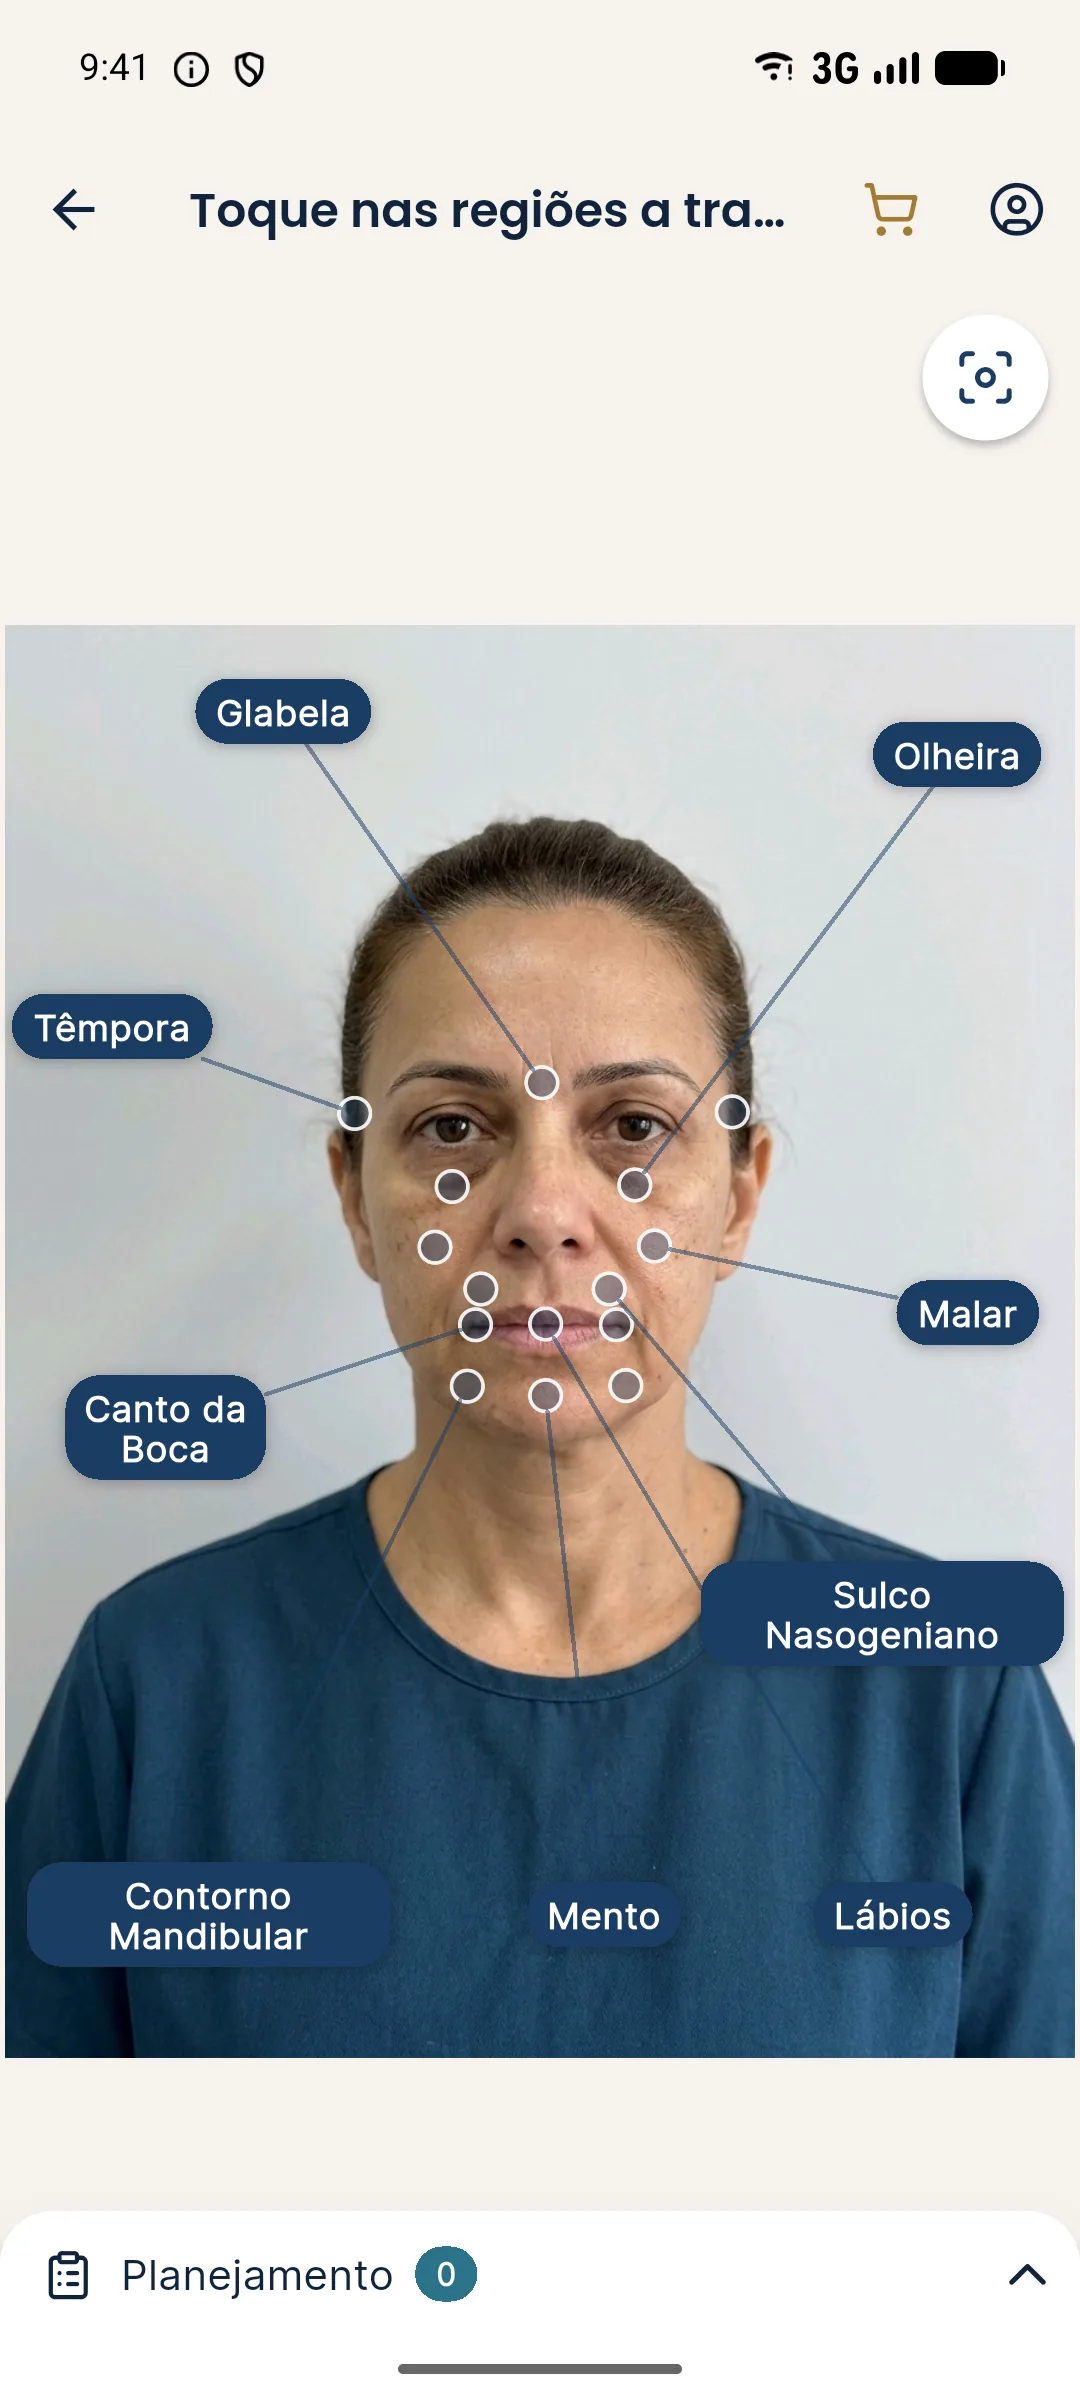
See the simulation does not show movement and limits of 2D simulation.
When to postpone or avoid the simulation?
If the patient has an unrealistic expectation of symmetry or marked distress about the asymmetry, showing the image can make things worse. In those cases, consider talking first, documenting and, when needed, considering appropriate professional support. With asymmetry of surgical or bone origin, referral to the relevant specialty may be more honest than any simulation. See when the simulation gets in the way of the plan.
How to plan the ml when the sides differ?
The app works with one ml value per area, split between the sides, but the clinical plan can differ. In the consultation, you may decide that one side will receive more volume than the other, and that is a clinical decision the image does not reproduce. To avoid confusing the patient, explain that the ml entered in the app is the total for the area and that the split between sides will be decided in the session, based on the assessment. Document that explanation in the patient record.
Another good practice is to photograph the patient at more than one point in time, to confirm that the asymmetry you see is constant. Variations in posture, sleep and swelling can accentuate or hide differences. If the difference changes between photos, wait before deciding. And if the asymmetry appeared after a previous procedure, look into the history before proposing any new volume.
What to record in the file?
Note the asymmetry observed (area, side and degree), the probable cause, the conversation about limits and the decision: treat, respect or refer. Include the statement that the image is illustrative and balanced. Photograph with the reference lines to track progress. See plan diary: progress record per session and new asymmetry during the plan.
Frequently asked questions
Does the Harmy simulation correct facial asymmetry?
No. In bilateral areas the ml entered is the total and is split between the two sides, and the AI changes only what was marked. The image was not designed to simulate the correction of one specific side.
Is it worth using the simulation on a patient with marked asymmetry?
It works as a conversation aid, as long as the professional explains the limits first. With asymmetry of bone or muscle origin, the image can create an expectation that facial harmonization does not deliver.
How do I talk about asymmetry without discouraging the patient?
Acknowledge the concern, explain the probable cause and talk about reducing the difference that bothers them most, not about making the sides identical. Show the image as an illustration and offer stages with reassessment.
What should the analysis photo look like?
Good light, face straight on and aligned, neutral expression and the camera at eye level. A tilted face and a close camera create or hide asymmetries that do not exist.
Harmy images are illustrative simulations generated by AI from the patient's photo to support the conversation between practitioner and patient. They are not a promise of results. Indication, technique, product and volume are solely the decision of the licensed practitioner. This content is for information only and does not replace a clinical assessment.