
Complete midface: which areas go together in the plan
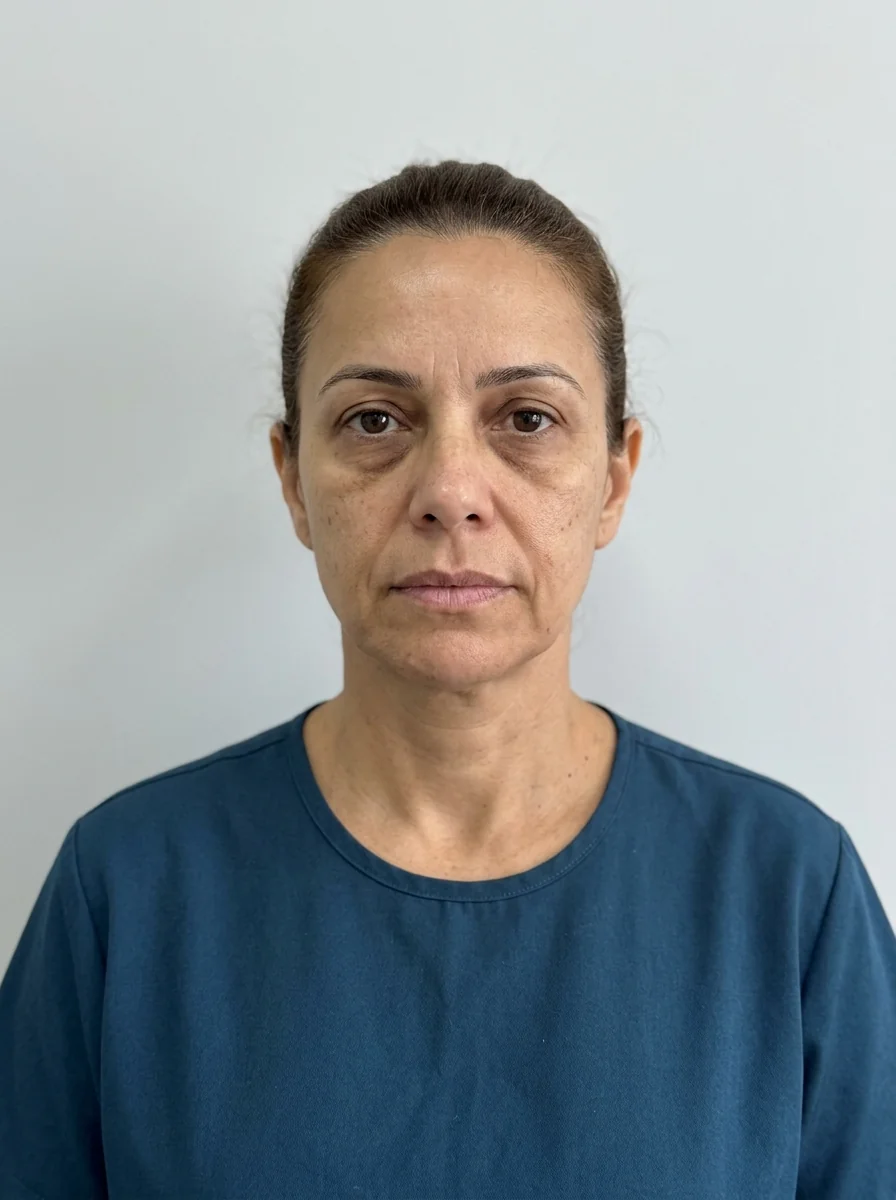
 BeforeSimulation
Quick facts
- Areas in the set
- Tear trough, cheekbone, nasolabial fold and nose
- Logic
- Support before the fold, structure before detail
- Highest risk
- Vascular, at the tear trough, nasolabial fold and nose
- Simulation in Harmy
- Tear Trough, Cheekbone and Nasolabial Fold points
- Who decides
- Qualified professional, after assessment
The midface is the visual center of the face: it concentrates the tear trough, cheek, nasolabial fold and nose, and it is where the loss of support from aging shows first. It is also where the areas depend most on each other, which turns the plan into a puzzle of sequence. This page offers a way of reasoning to decide which pieces go in and in what order, with no technique protocol and no promise of results.
What makes up the midface?
From the line of the eyes to the base of the nose, the midface includes the orbital rim and tear trough, the cheekbone, the nasolabial fold, the lateral part of the nose and the maxilla. The definition is in midface. The practical value of looking at the whole set is that each piece changes how its neighbor reads: a projected cheekbone softens the tear trough and the fold; a marked tear trough draws attention to the lack of support; a prominent nose can accentuate the fold by contrast.
Understanding these relationships helps avoid the most common mistake, which is treating the fold or the tear trough in isolation without looking at the support. The line of reasoning is in the domino effect between areas of the face and midface fat compartments in the plan.
What is the most common order for thinking it through?
The most common order goes from support to detail. First, the structure that holds up the midface (cheekbone and, when relevant, maxilla); then the transition to the tear trough; finally, the fold. This is because a change in support can already alter how the other two read, and treating in the reverse order can lead to excess.
| Reasoning step | Guiding question | Area |
|---|---|---|
| 1. Support | Does the midface have enough support? | Cheekbone, maxilla |
| 2. Transition | Is the passage from tear trough to cheek smooth? | Tear trough |
| 3. Fold | Does the fold still bother after the support? | Nasolabial fold |
| 4. Profile | Does the nose change how the set reads? | Nose, only when the concern involves it |
This order is not a rule. In a young patient with a tear trough from pigmentation, for example, the support may be adequate and the tear trough is the issue. What the table does is remind you to ask before treating. More on sequence in what to treat first in harmonization.
How does each piece fit in?
The cheekbone is the anchor point. Planning the desired projection, without widening the face, is the first step; see ideal cheekbone projection. The tear trough calls for care: it is a risk area, the skin is thin and irregularities show. Its integration with the cheekbone is in cheekbone and tear trough: combining in the plan. The nasolabial fold often improves in part with support; see nasolabial fold and cheekbone and tear trough and nasolabial fold. The nose comes in through its relationship with the fold and the upper lip, and needs its own planning, covered in nose and upper lip.
Which vascular risks add up?
The tear trough, nasolabial fold and nose are areas of concern because of their proximity to important arterial and venous branches. Vascular occlusion is rare and serious. Swelling and bruising are common. Irregularities, nodules and the Tyndall effect can appear, especially in thin skin like that of the tear trough. When hyaluronic acid is used, hyaluronidase must be available on site. Details in vascular danger zones of the face and safety and complications, overview.
For that reason, plans that combine several of these areas in the same session call for more caution, not less. Splitting into stages gives the professional the chance to observe the response of each area and to stop the plan if something does not go as expected.
How do you simulate the midface in Harmy?
In Harmy, the midface appears in the Tear Trough, Cheekbone and Nasolabial Fold points. You mark the points on the frontal photo, choose the ml (from 0.5 to 5 ml, in steps of 0.5) and the intensity (Subtle, Moderate or Pronounced) for each one, and create the projection. For a bilateral area, the ml is the total, split between both sides.
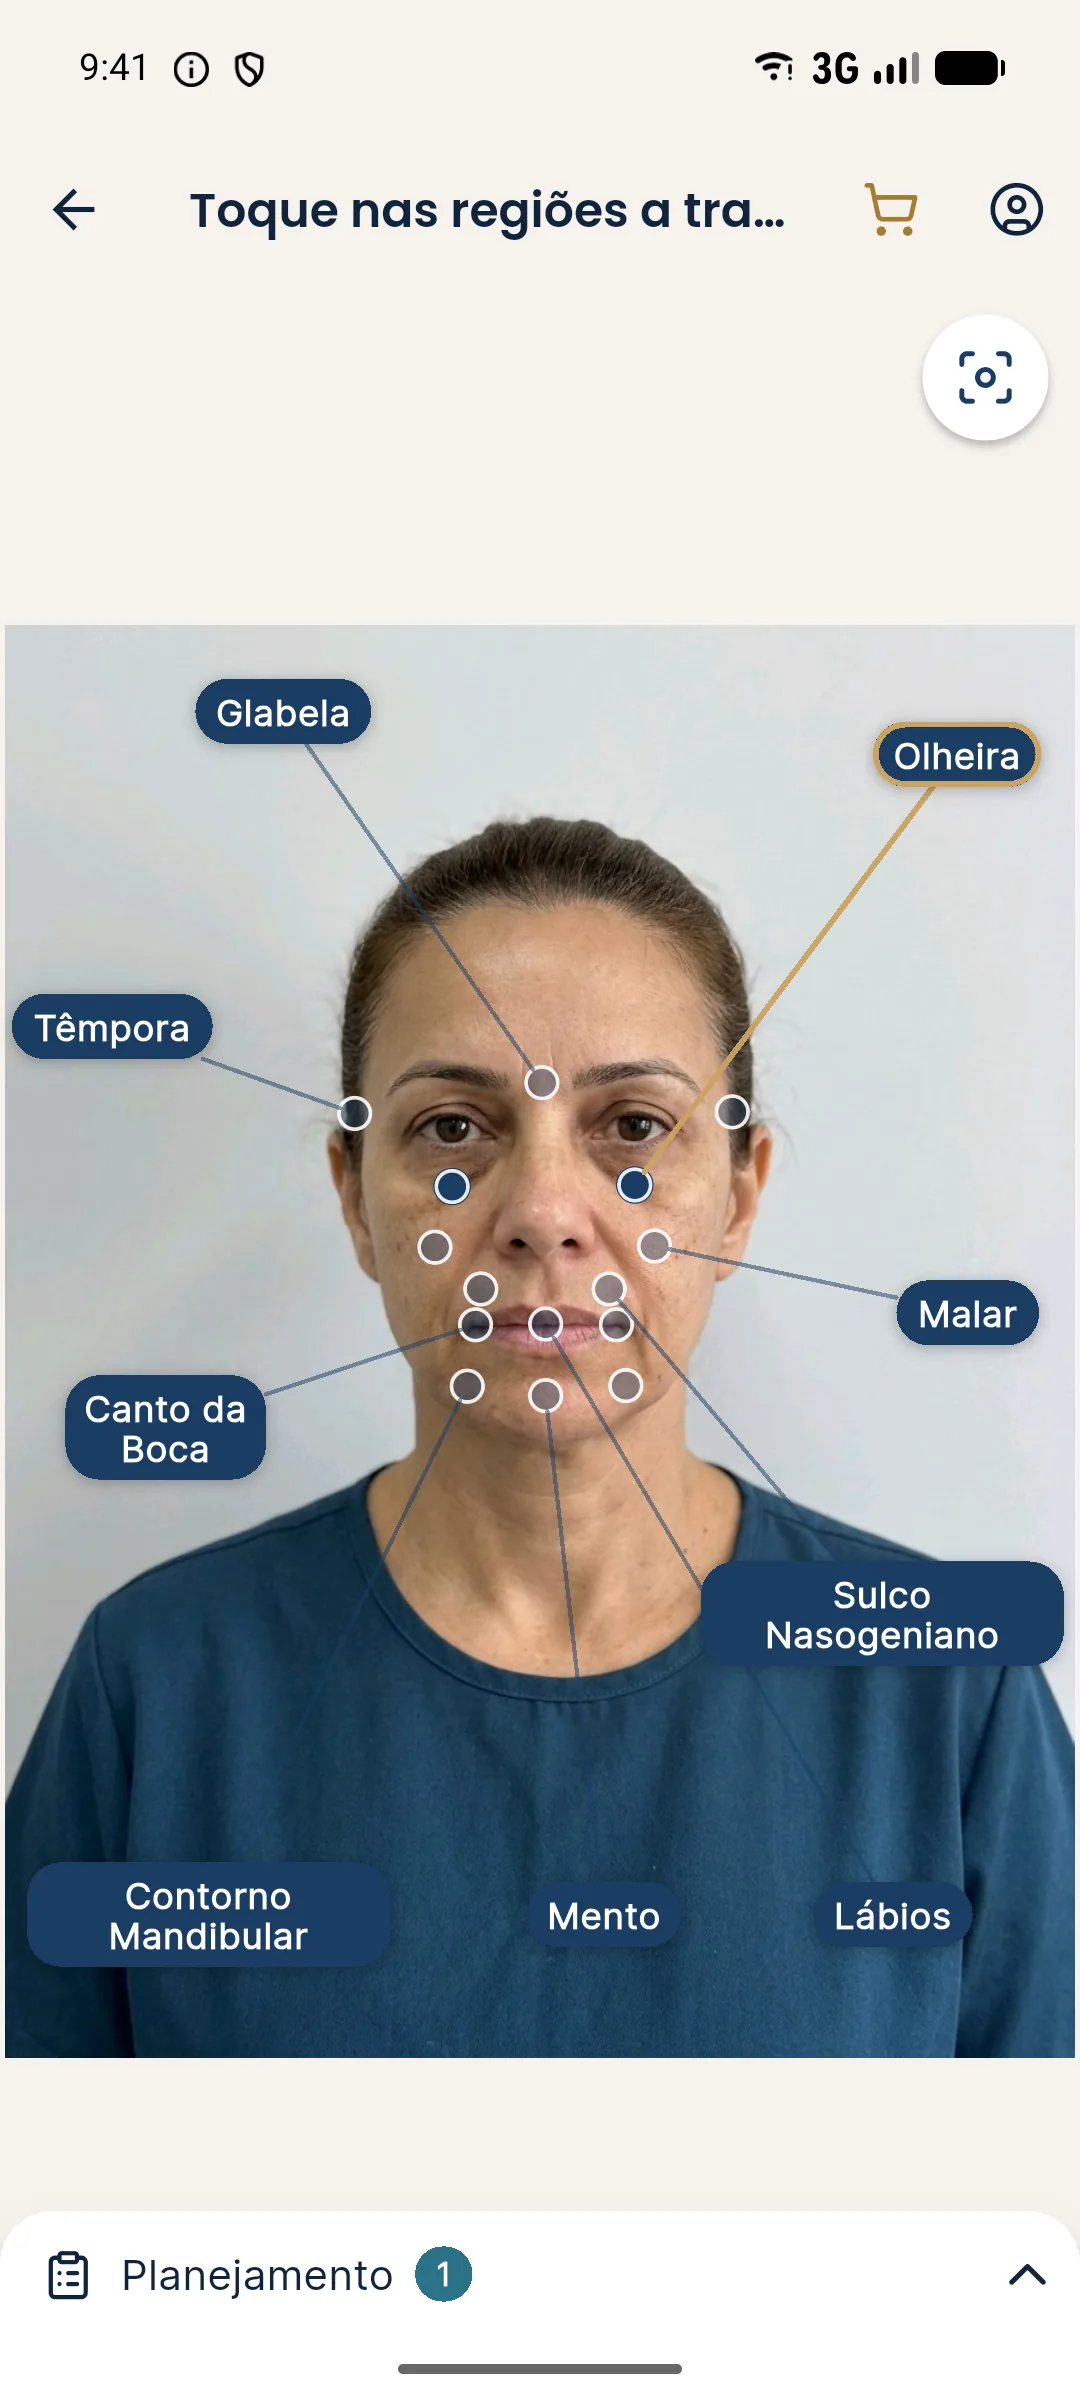
A smart use is to generate two projections: one with only the cheekbone and another with cheekbone, tear trough and fold. The comparison shows the patient how much each piece contributes and helps justify splitting into stages. The "First time" shortcut brings tear trough 1 ml at Subtle; "Full harmonization" brings cheekbone 2 ml and fold 1 ml at Moderate, with tear trough 1 ml at Subtle. All values are adjustable.
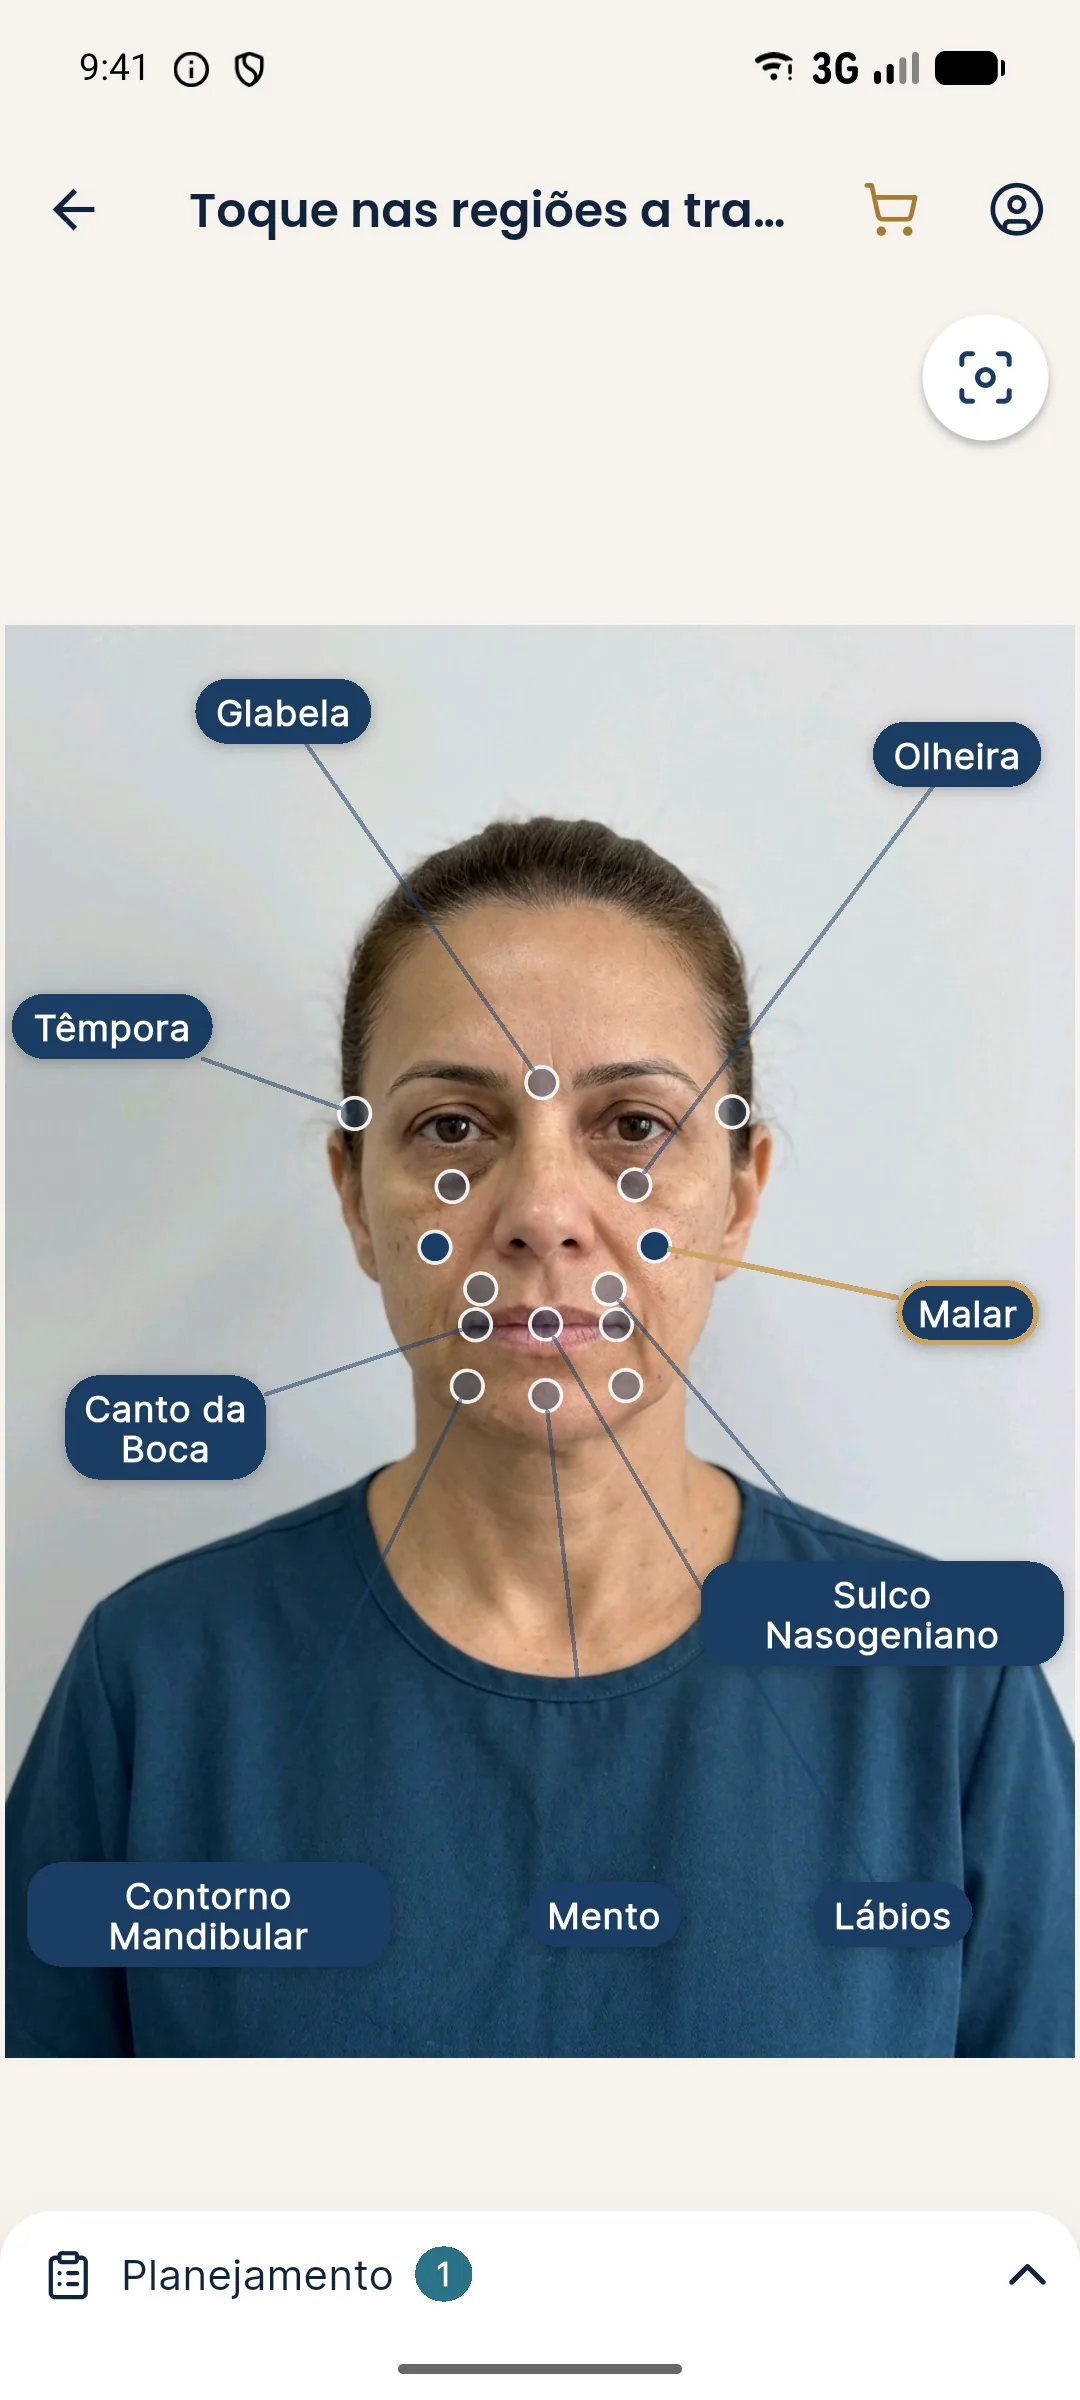
The limitation is the usual one: frontal photo, no profile and no bone structure. For the nose and for cheekbone projection in profile, the simulation does not replace the exam. It is an illustrative simulation, not a promise of results. See limits of 2D simulation.
How do you organize the plan in stages?
The reassessment cadence is in reassessment at 3, 6 and 12 months, and the logic of splitting the volume in when to split the volume across sessions.
What to tell the patient?
This line supports the split into stages and answers the most common question: "why not treat everything at once?". If the patient brings a reference photo, go back to their facial identity; see facial identity: how to preserve it.
Check before closing the midface plan
Quick review
Summary
The complete midface brings together the tear trough, cheekbone, fold and, in some cases, the nose, and the pieces influence each other. Think from support to detail, split into stages, respect the vascular risk of the tear trough, fold and nose, and use Harmy's simulation as a conversation aid, knowing that it uses only the frontal photo and has no point for the nose.
Frequently asked questions
What is the most common order in the midface?
Many professionals think support first (cheekbone), then the tear trough and the nasolabial fold. But the concern and the anatomy decide, and the order can be different.
Can I treat tear trough, cheekbone and nasolabial fold in one session?
It is possible, but it increases the total volume and the complexity. Splitting into stages usually allows you to reassess the transition between areas.
Does the nose belong in the midface plan?
It can, when the concern involves the profile or the proportion of the nose with the rest of the midface, but it is a high vascular risk area and needs its own planning.
Does Harmy simulate the whole midface?
It simulates the marked areas (tear trough, cheekbone and nasolabial fold), with ml and intensity for each. The nose is not a marking point in the app.
Harmy images are illustrative simulations generated by AI from the patient's photo to support the conversation between practitioner and patient. They are not a promise of results. Indication, technique, product and volume are solely the decision of the licensed practitioner. This content is for information only and does not replace a clinical assessment.