
Total volume in full face: reference ranges by plan
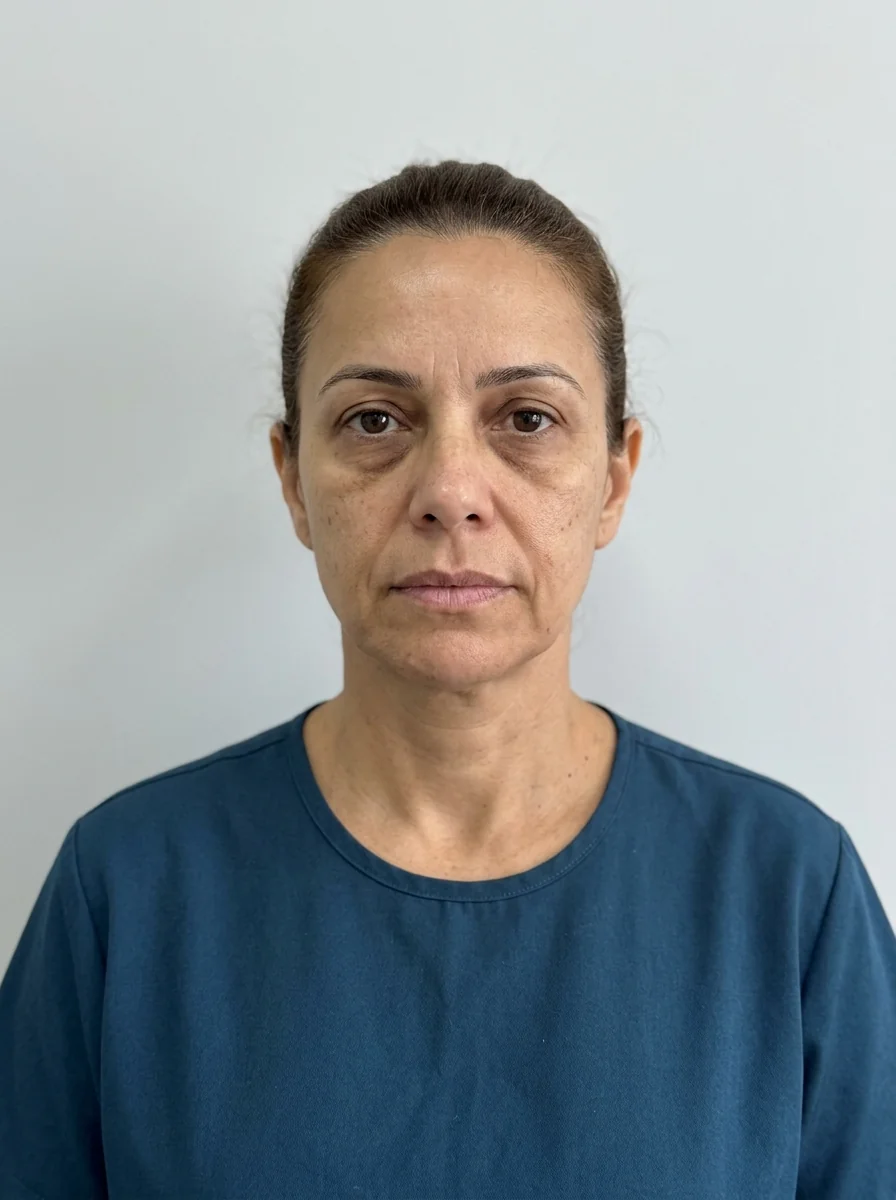
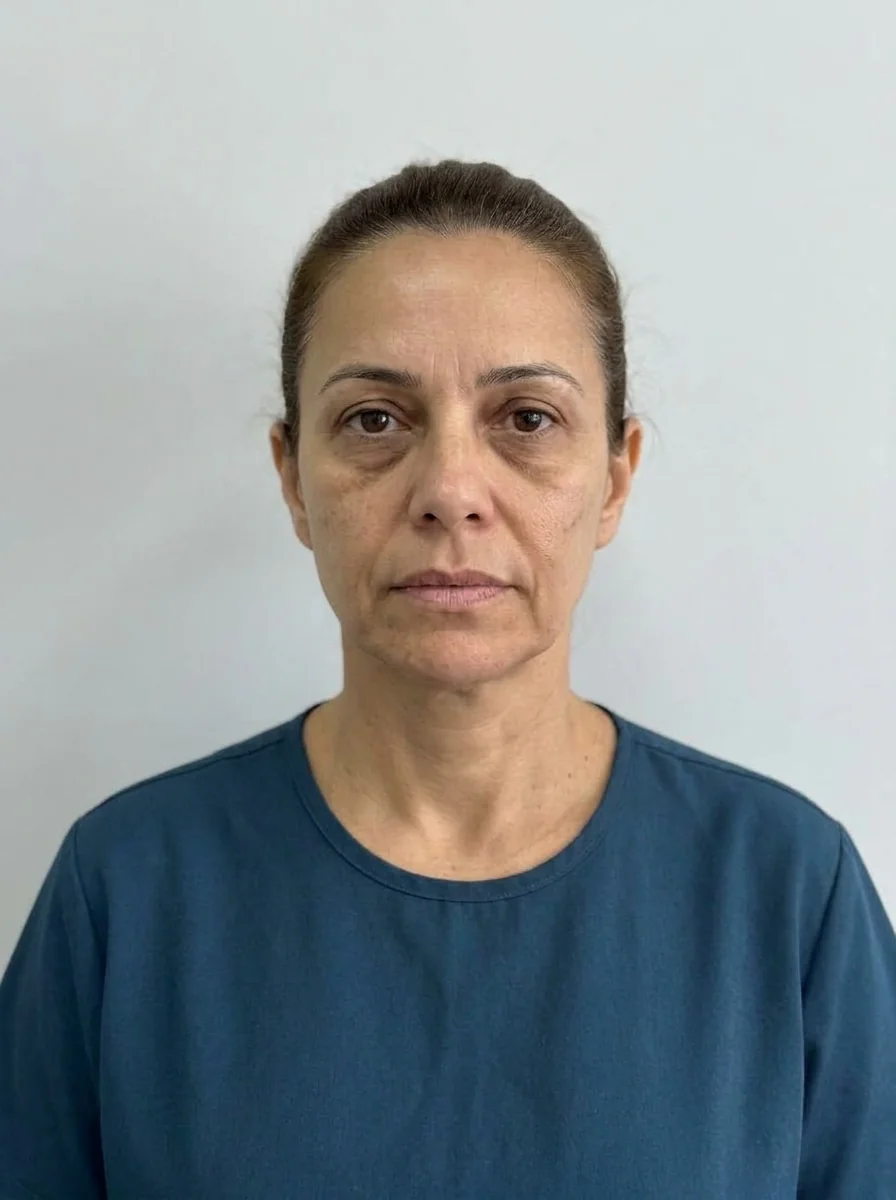 BeforeSimulation
Quick facts
- Topic
- Distribution of ml across areas in broad full face plans
- Core rule
- The total is a consequence of the areas chosen, never a target
- Shortcut in Harmy
- Full harmonization adds up to 8.5 ml across the shortcut's areas
- Main risk
- Excess from accumulation and lack of reassessment between stages
- Who decides
- Licensed professional, after assessment
"Full face" has become a commercial name for broad plans that combine several areas of the face in a single harmonization project. For the professional, the expression raises a practical question: how much product, in total, fits this plan? And the honest answer is that the total should not be the starting point. It is the sum of area-by-area decisions, made one at a time, from the exam. This page shows how to think about the distribution of ml across areas in broad plans, without a dose table and without promising results.
What usually goes into a full face plan?
There is no official list, but some sets appear often: midface (cheekbone, under-eye, nasolabial fold), lower third (chin, jaw, lips) and, in some cases, upper third (temples, glabella). The word "complete" suggests that everything should go in, and that is the trap: broad plans are not plans that treat everything, but plans in which several areas were selected with judgment.
For each area, the question is: does it need to go in? at what volume? in which stage? The set of areas that tend to go together is in areas that usually go together in the plan, and the view by thirds is in complete midface, complete lower third and complete upper third.
How to distribute volume across areas?
The most common logic is structure before detail: support areas (cheekbone, jaw, chin) tend to take more volume, and detail areas (lips, nasolabial fold, under-eye) take less. That is because support holds up the reading of the face and detail refines it. But it is not a rule; a face with very thin lips may have the lips at the center of the plan.
| Type of area | Role in the plan | Relative volume tendency |
|---|---|---|
| Support (cheekbone, jaw) | Structure and projection | Most of the total volume |
| Lower projection (chin) | Profile and proportion | Intermediate |
| Detail (lips, nasolabial fold, under-eye) | Refinement and expression | Low volumes |
| Upper third (temples) | Soften the lateral transition | Low to intermediate |
The table shows a reasoning tendency, not a dose range. To see how to think about the proportion between areas without fixing a number, see percentage distribution of volume across areas and ml by area: ranges in planning.
What does Harmy's "Full harmonization" shortcut illustrate?
Harmy's "Full harmonization" marking shortcut fills in starting areas and volumes to speed up the conversation: cheekbone 2 ml, jaw 2 ml, chin 1.5 ml, lips 1 ml and nasolabial fold 1 ml, all at Moderate, plus under-eye 1 ml at Subtle. The sum of the shortcut's values is 8.5 ml. That sum is a consequence of the points included, not a recommendation. The shortcut is for showing the patient, in the simulation, how the set may look, and you adjust each area before creating the projection.
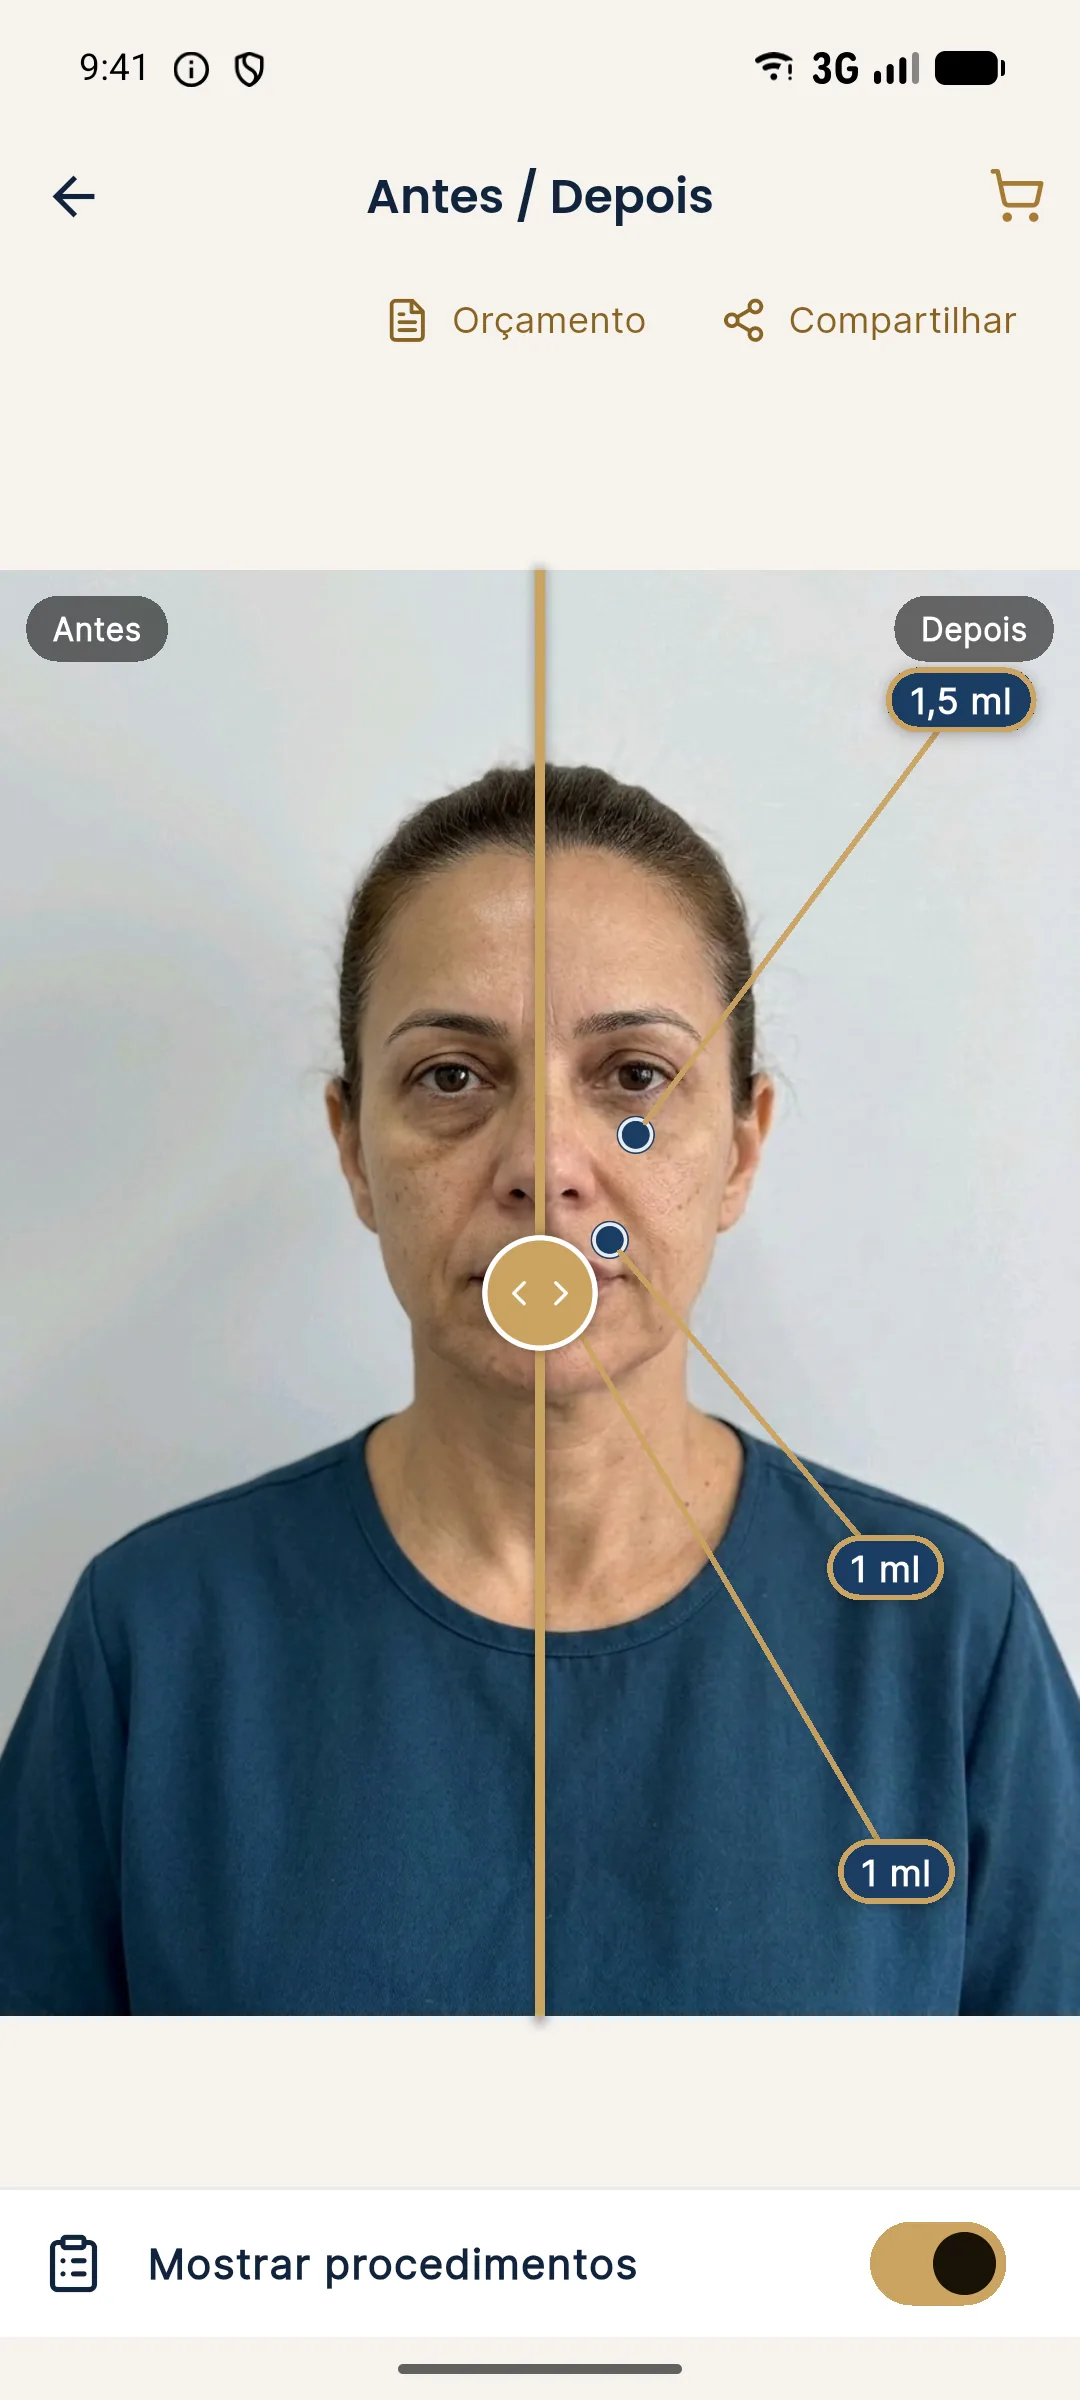
When "Show procedures" is turned on, Harmy displays the ml for each area over the After image, which helps in discussing the distribution across areas. For bilateral areas, the ml entered is the total and is split between the two sides.
Why shouldn't the total be a target?
Because a total target produces the wrong behavior. If the plan starts with "we will use X ml on the full face," each area gets negotiated to fit the number, instead of being sized for the face. The result is usually excess in the easy areas and too little in the difficult ones.
Another problem is how the patient reads it. If they hear a high number, they may interpret it as "more result" or "more risk," depending on their personality. Talking about areas and stages, with ml per area, is more honest than presenting a total. And when the total has to be shown (in the quote, for example), present it with the breakdown by area and by stage. See linking the plan and the quote in HOF.
When to split a broad plan into stages?
Almost always. Broad plans add procedure time, swelling, risk of complications and difficulty in reading the tissue's response. Splitting into two or three stages lets you reassess the transition between areas, adjust the ml and give the patient time to get used to it. A common structure starts with support and ends with refinement. See HOF plan in two sessions, HOF plan in three sessions and when to split the volume across sessions.
Which risks increase in broad plans?
On top of the individual risks of each area, the broad plan adds up: procedure length, accumulated swelling, chance of asymmetry, risk of excess and difficulty identifying the cause of a reaction. Vascular-risk areas (under-eye/tear trough, nasolabial fold, temples, glabella, nose) require their own planning, and hyaluronidase must be available on site when hyaluronic acid is used. Review vascular danger zones of the face and safety and complications, overview.
Excess volume over time is a risk in itself. See when total volume becomes excess and cumulative volume over the years.
How to simulate a full face without creating a false promise?
Generating a projection with many areas marked is tempting, but the result needs to be presented carefully. In Harmy, the AI respects the volume and changes only what was marked, which keeps the difference subtle and realistic. Even so, an image with several altered areas can suggest to the patient that "all of this" will be done at once. To avoid that, generate projections per stage, showing what each step adds, and use "Show procedures" to expose the ml of each area.
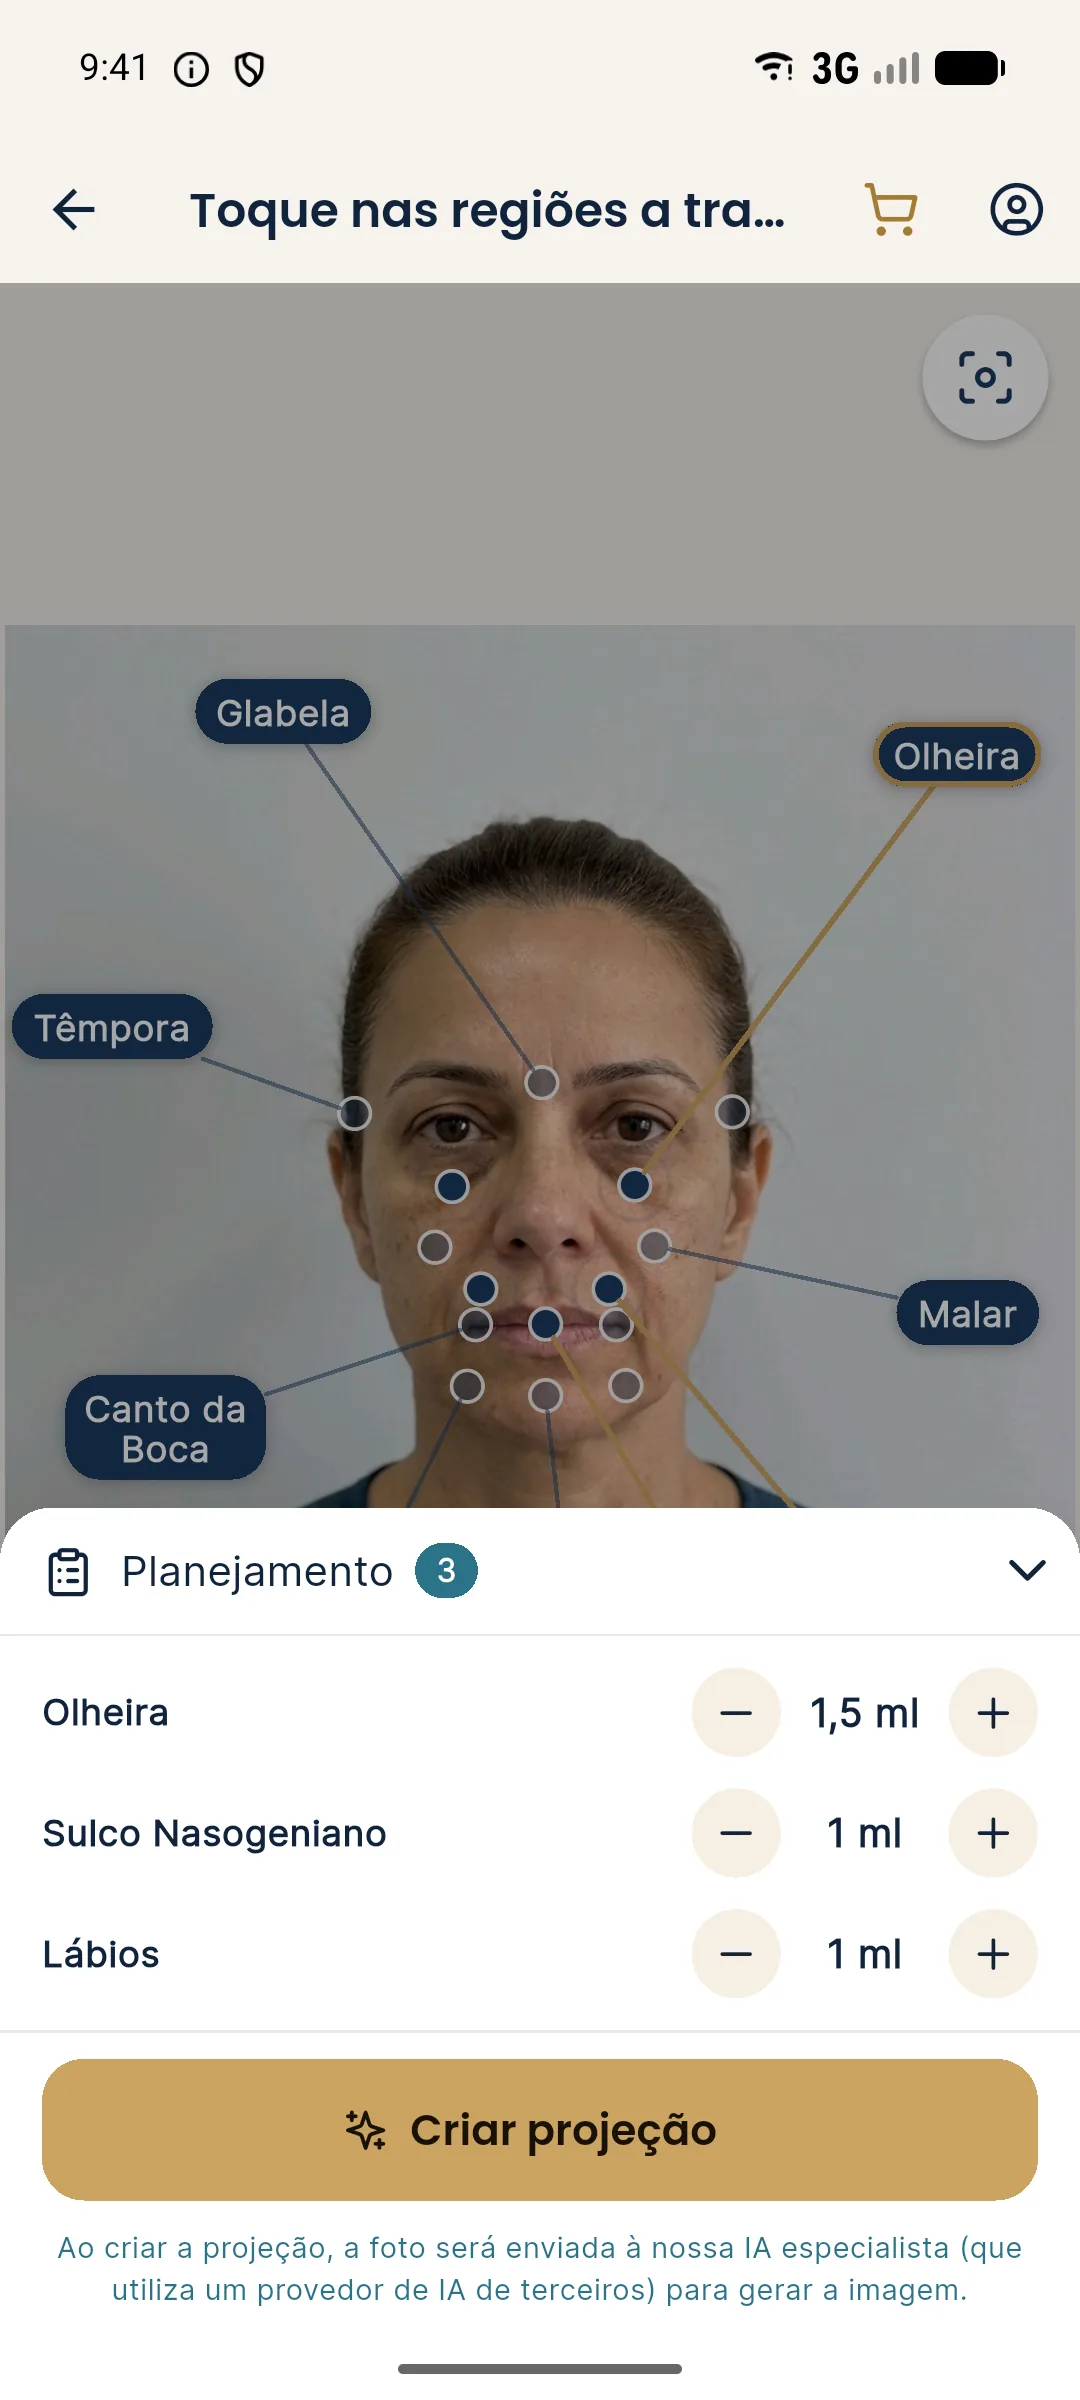
The limitation remains: frontal photo, no profile and no bone structure. In full face, the lack of profile matters, because the chin, nose and cheekbone projection are read from the side. See limits of 2D simulation and why the simulation should be subtle.
What to tell the patient?
If the patient asks for "the complete package," return to the logic of concern and stage. Record the decision and propose a quote per stage.
Checklist before closing a broad plan
Quick review
Summary
Full face is a set of areas chosen with judgment, and the total volume is a consequence, not a target. Distribute the ml from the exam, start with support, split into stages, respect vascular risk and simulate per stage in Harmy, without creating the idea that everything will be done at once.
Frequently asked questions
Is there an ideal total volume for full face?
No. The total varies with the face, the goal and the stage. Treating the total as a target leads to excess. Plan by area and add up at the end, as a consequence.
Does full face have to be done in one session?
No. Splitting into stages is usually more prudent, because it lets you reassess the tissue's response, adjust the ml and avoid excess.
What is the distribution across the areas?
It depends on the face. In general, support areas (cheekbone, jaw) take more ml and detail areas (lips, nasolabial fold, under-eye) take less, but the exam decides.
Does Harmy show the total ml?
Harmy shows the ml for each area over the After image when Show procedures is on. The decision about the plan's total and the split into stages is yours.
Harmy images are illustrative simulations generated by AI from the patient's photo to support the conversation between practitioner and patient. They are not a promise of results. Indication, technique, product and volume are solely the decision of the licensed practitioner. This content is for information only and does not replace a clinical assessment.