
Three-Quarter Facial Analysis: What the View Reveals

- Nerve
Quick facts
- What it reveals
- Cheekbone projection, ogee curve, nasolabial fold and the transition between face and neck
- Usual angle
- About 45 degrees of head turn, with the gaze on the camera, nose not covering the cheek
- When to use
- When the decision involves the cheekbone, contour or an asymmetry the frontal view does not show
- Limit
- Harmy does not project this angle; the reading is clinical
Many facial harmonization decisions in the midface are born from a view that a camera app rarely delivers: the face in three-quarter view. From the front, the cheek becomes a patch of light; in profile, it disappears behind the nose. By turning the head about 45 degrees, cheekbone projection, the hollow beneath the zygomatic bone and the contour line show up clearly, and that is where many assessments gain or lose accuracy.
This page shows what the oblique view reveals, how to photograph it without distortion and how to read the most important structures. It complements frontal facial analysis and profile facial analysis, within the sequence of facial analysis in facial harmonization.
What only shows up in three-quarter view?
The oblique view shows reliefs that the frontal view flattens. Four are the most useful for the plan.
| Structure | What you see | Why it matters |
|---|---|---|
| Cheekbone projection | Height and position of the cheek prominence | Guides the midface volume plan |
| Ogee curve | S-shaped line from forehead to cheek and contour | Marker of youth and of lost projection |
| Nasolabial fold and prezygomatic space | Depth of the fold and of the hollow under the zygomatic | Helps decide whether the fold is a cause or a consequence |
| Face and neck transition | Jawline, jowl and angle | Reveals a loss of definition that the frontal view hides |
A well-read cheekbone projection changes the order of the plan. When support is lacking in the area of the zygomatic bone and the zygomatic arch, treating the fold first may just move volume to an area with no base. See ideal cheekbone projection and zygomatic and lateral cheekbone in the plan.
How to read the ogee curve?
The ogee curve is the S-shaped line that, in three-quarter view, runs from the forehead to the tip of the cheek and the contour of the face. In young faces, it tends to be continuous and smooth, and loss of volume and support usually flattens it. Not every flat cheek is aging: the shape of the skeleton also counts, and the curve may be naturally more subtle.
Alongside it, the triangle of youth (base at the cheekbone, apex at the chin) helps read how volume is distributed: a wide base and a narrow apex are usually read as younger, and the opposite, with a lower base, as more aged. It is a reading reference, not a goal, and it varies with body type.
How to photograph the three-quarter view?
The view is only valid if the position is reproducible. Small differences in turn change the reading.
The most common mistake is photographing with overly lateral light, which creates a shadow under the zygomatic and simulates a hollow that does not exist. See lighting for the planning photo and distance and lens in the assessment photo. Routine details are in standardized clinical photography.
What does the contour transition show?
In three-quarter view, the jawline and the mandibular angle become sharp. Loss of definition, the jowl and deepening of the nasolabial fold are chained together: descent of midface tissue feeds the jowl, and the jowl breaks the jawline. Understanding this chain avoids filling each point in isolation.
For the contour plan, see facial contour definition plan, lower face laxity and chin and jaw: combining in the plan. For the relationship between cheekbone and fold, nasolabial fold and cheekbone: combining in the plan and cheekbone and jaw: combining in the plan.
How does asymmetry show up in three-quarter view?
A subtle asymmetry in the frontal view can gain weight in three-quarter view, and the opposite also happens. Compare the two sides carefully: the side the patient shows most in photos and in the mirror is usually the "working side", and the difference between it and the other can become a complaint after a plan made from the frontal view alone. Record both views before any procedure. See plan for an asymmetric face and new asymmetry along the plan.
And Harmy, how does it fit?
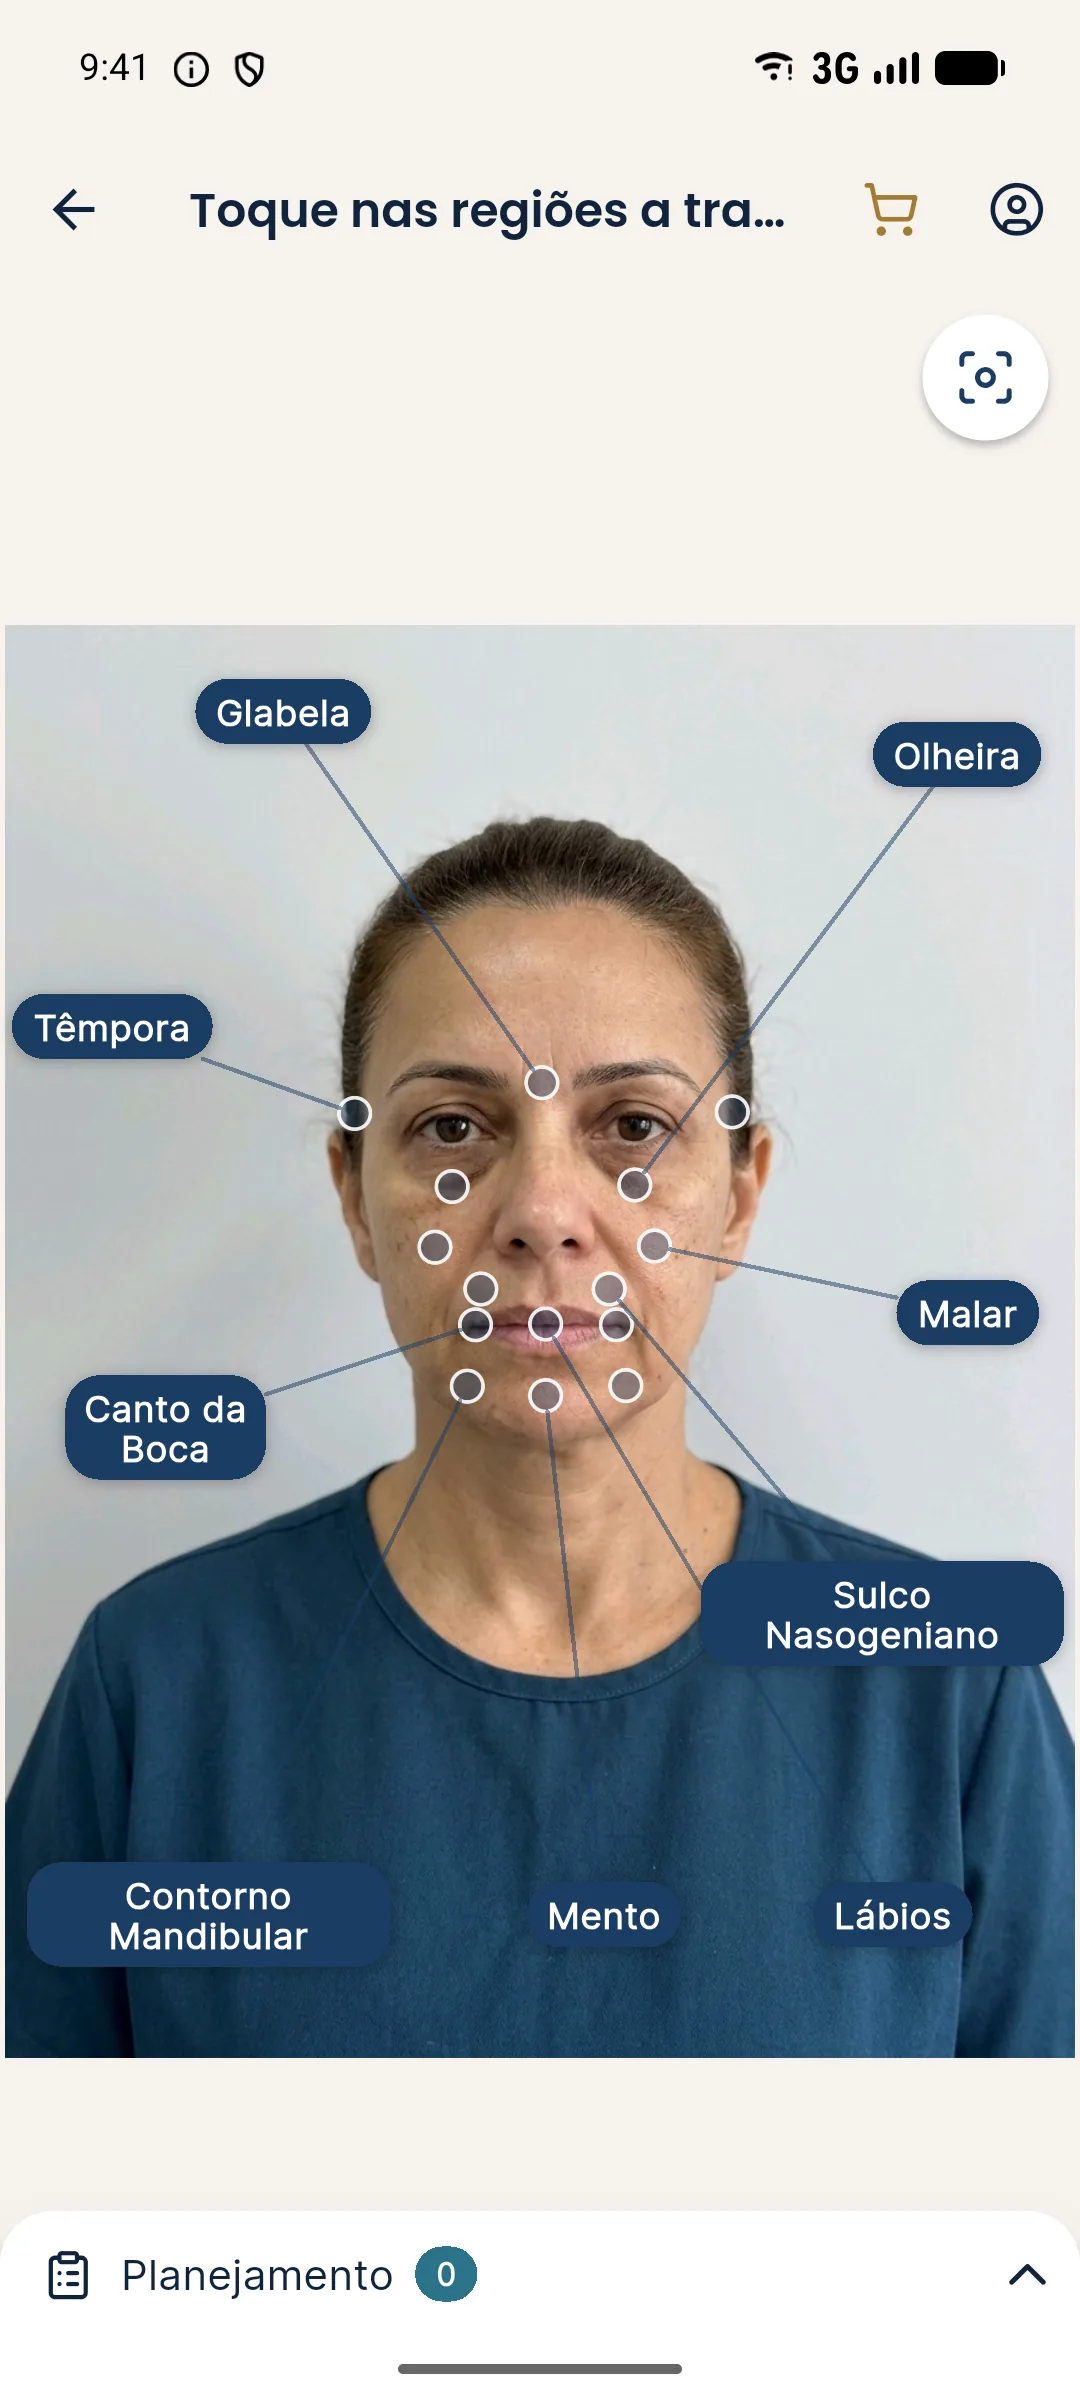
Explain this limitation to the patient: the after image is illustrative and frontal, and does not show what happens at other angles. See limits of 2D simulation and when simulation gets in the way of the plan.
Record in the patient record the photos of both sides, the angle used and the reasoning that led to the plan. Every indication of product, volume and technique is the decision of the licensed professional, according to the rules of their professional council.
Frequently asked questions
Why do a three-quarter facial analysis?
Because this view shows cheekbone projection, the ogee curve and the contour transition, which flatten in the frontal photo. It helps decide midface volume and read the jawline.
What is the ogee curve?
It is the S-shaped line formed by the forehead, the cheek and the contour of the face, seen in three-quarter view. When the cheek loses projection, the curve tends to flatten.
How to photograph the face in three-quarter view?
By turning the head about 45 degrees, with the gaze on the camera, soft and level light, and the nose not covering the cheek. Repeat for both sides with the same distance and background.
Does Harmy simulate the three-quarter view?
No. Harmy's projection uses only the frontal photo. The three-quarter view belongs to your clinical assessment and standardized photography.
Harmy images are illustrative simulations generated by AI from the patient's photo to support the conversation between practitioner and patient. They are not a promise of results. Indication, technique, product and volume are solely the decision of the licensed practitioner. This content is for information only and does not replace a clinical assessment.